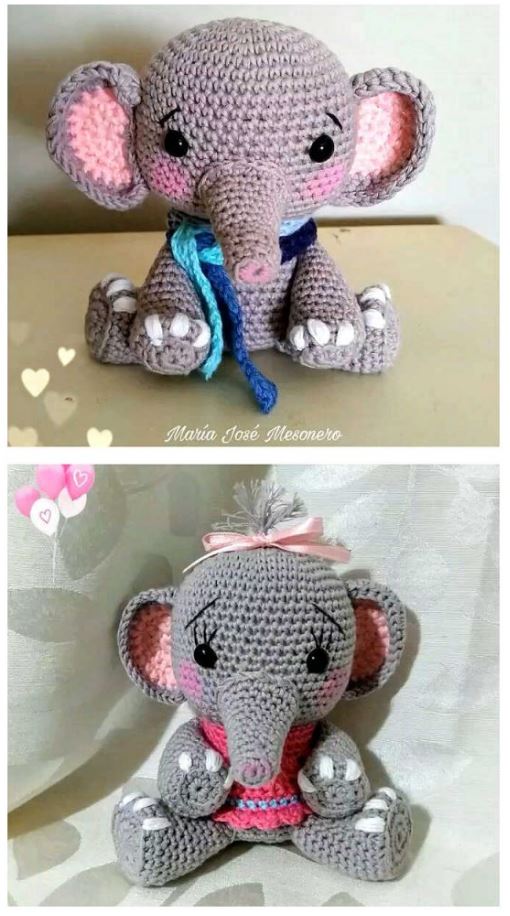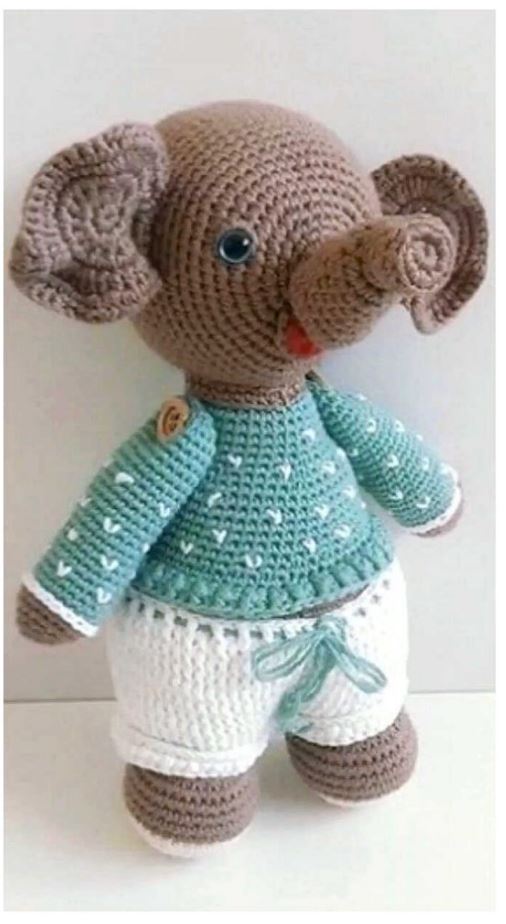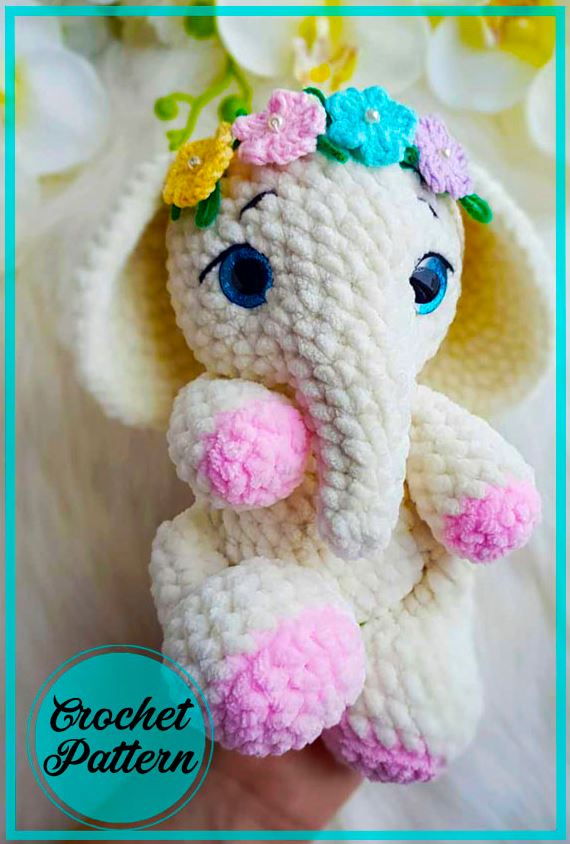
Velvet Plush Elephant Amigurumi Crochet Free Pattern
Hello my visitors who love to knit amigurumi. In this article, I share new amigurumi patterns for you free of charge. To knit free amigurumi patterns, it will be enough to follow the terms I shared for you. You can delight your children with amigurumi toys.
Materials:
1. Yarn Himalaya Dolphin baby 100g / 120m or equivalent;
2. Hook 3.5 mm;
3. Eyes on the mount 16 mm;
4. Yarnart Jeans yarn 50g / 160m for the decoration of the face;
6. Scissors, a plastic needle with a wide eye for sewing on parts;
7. Filler holofiber;
8. Needle and strong thread for tightening the muzzle.
Abbreviations:
AR – Amigurumi Magic ring
MR – Amigurumi Magic ring
App – application
ll – lift loop
sc : Single Crochet
inc : Increase
dec : Decrease
tr : Triple Crochet/ Treble Crochet
st: Stitch
dc : Double Crochet
hdc: Half Double Crochet
sl-st : Slip Stitch
ch : Chain
..in : make increase into same stitch as many as the number which is given in front of “inc” abbreviation (exp; 3inc, 4inc..).
FLO : Crochet into front loops only
BLO : Crochet into back loops only
BL : Bobble Stitch – do 5dc all in the same stitch and then yarn over and pull through all the loops on your hook (the original loop + 1 loop for each partially completed dc).
Quadtr= Quadruple treble crochet
trtr= Triple treble crochet
HEAD:
We knit with the main color
1. 6MR
2. 6sc (6)
3. 5sc, inc (7)
4. 6sc, inc (8)
5. 7sc, inc (9)
6. 8sc, inc (10)
7. 9sc, inc (11)
8. 10sc, inc (12)
9. 2sc, 6 sl st, 4sc (12)
10. (1sc, inc)*6 (18)
11. (2sc, inc)*6 (24)
12. (Зsc, inc)*6 (30)
13. (4sc, inc)*6 (36)
14-19. 36sc (36) 6 rows Fill the trunk with filler. We insert eyes between 12 and 13 rows at a distance of 11 columns (if we count from the Leg of the eye). The place where 6 connecting posts were knitted in the 9th row is the mouth of an elephant.
20. (4sc, dec)*6 (30)
21. (Зsc, dec)*6 (24)
22. (2sc, dec)*6 (18)
Fill your head tightly, especially the area between the eyes and additionally the cheeks.
23. (1sc, dec)*6 (12)
Stuff your head with filler all the way.
24. 6dec (6)
Knit sl st, cut the yarn, pull off the hole with the NEEDLE, hide the END of the yarn.
LOWER Paws (2 parts)
Start knitting with extra color
1. 6MR
2. 6inc (12)
3. (1sc, inc)*6 (18)
4. Change color to the main one, 18 sc Knit by the back half loop (18)
5-7. 18 sc (18)
8. Зsc, бdec, Зsc (12) Stuff a little filler, pushing the walls of the legs to the sides with your fingers
9. 4sc, 2dec, 4sc (10)
10-13. 10sc (10) Knit 1sc more, stuff tightly 2/3 of the legs with filler. Fold row in half and knit 5sc together. Cut the yarn, fasten.
UPPER PAWS (2 items):
Start knitting with extra color
1. 6MR
2. 6inc (12)
3. change the color to the main one, knit 12sc for the back half loop (12)
4-5. 12sc (12)
6. (4sc, dec)*2 (10)
7. 10sc (10)
Fill the part with filler
8. (Зsc, dec)*2 (8)
9. 8sc (8)
Fold row in half and knit 4sc together. Cut the yarn, fasten.
TRUNK:
1. 6MR
2. 6inc (12)
3. (1sc, inc)*6 (18)
4. (2sc, inc)*6 (24)
5. (Зsc, inc)*6 (30)
6. (4sc, inc)*6 (36)
7. we collect 8 ch and Knit along the chain 7 sl st, starting from the 2nd loop from the hook (this is the tail). We continue knitting as usual: 36sc (36)
8. 7sc, 5sc knit together with the lower paws, 12sc, 5sc together with the other paw, 7sc (36)
9. (4sc, dec)*6 (30)
10. 30sc (30)
11. (Зsc, dec)*6 (24)
12. (2sc, dec)*6 (18)
13. 18sc (18)
14. 4sc, 4sc knit together with the top paw, 5sc, 4sc together with the other paw, 1sc (18)
Knit sl st, cut the yarn, leaving a long end for sewing on the head.
Ears:
1. 6MR
2. 6inc (12)
3. (1sc, inc)*6 (18)
4. (inc, 2sc)*6 (24)
5. (3sc, inc)*6 (30)
6. 1sc, inc, (4sc, inc)*5, Зsc (36)
7. (5sc, inc)*6 (42)
Knit sl st, cut off the yarn, leaving the end for sewing on the ears.
ASSEMBLY:
1. We make a face tightening. We insert the needle under the trunk, where we knitted 6 slst, and draw it under the eye. Then we introduce the needle at the top of the eye and Draw it out at the top of the other eye. Now we insert the needle at the bottom of the eye and draw it out under the trunk near the end of the thread. Tighten the ends well so that the eyes are pulled together and the trunk looks down. Tie some knots and hide the ends of the thread in the head.
2. We embroider eyebrows and eyelids.
3. Sew the head to We use 2 knitting needles to fix the head evenly, and sew it on. Neck area Fill tightly with filler. We dec the needles after the head is completely sewn on.
4. Sew the ears to the head at your discretion. You can fold them in the form of “droplets” or sew them fully open, higher or lower, you decide. I sewed at the level of 20 rows of the head at a distance of 12-13 columns.
CONGRATULATIONS!
Your Elephant is ready!
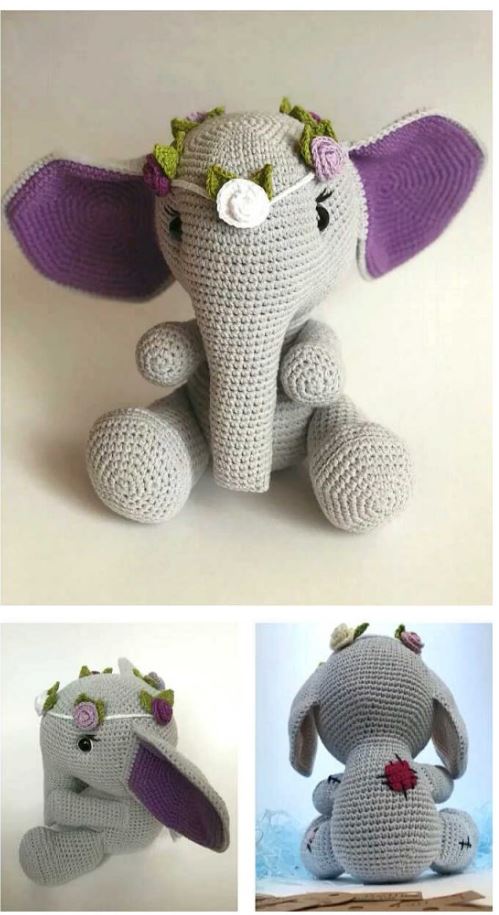
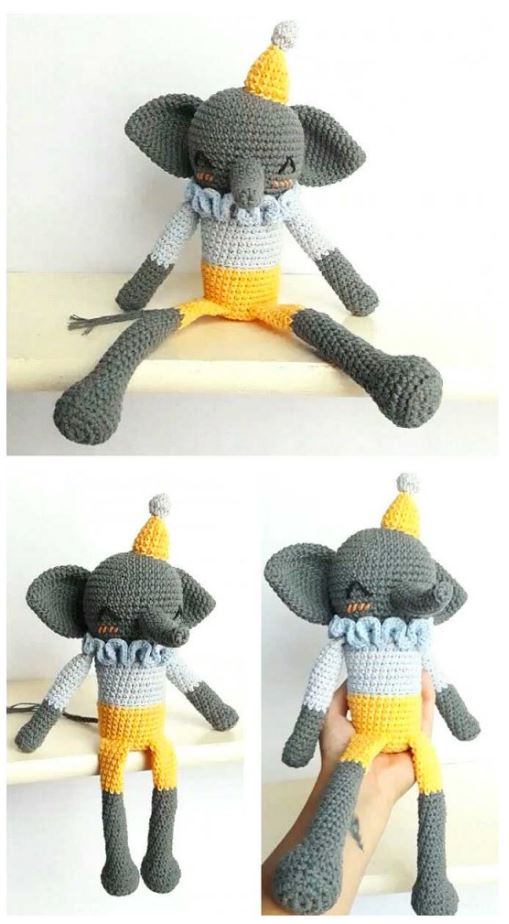
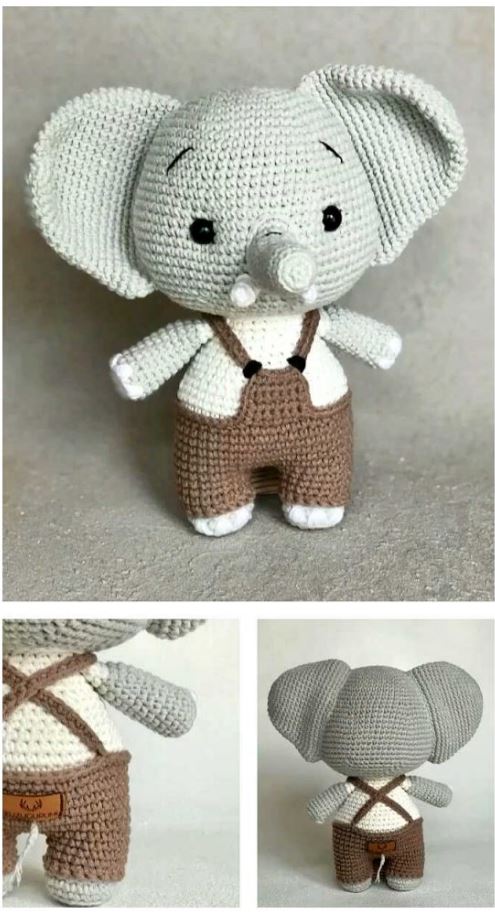
More Amigurumi Elephant İdeas: