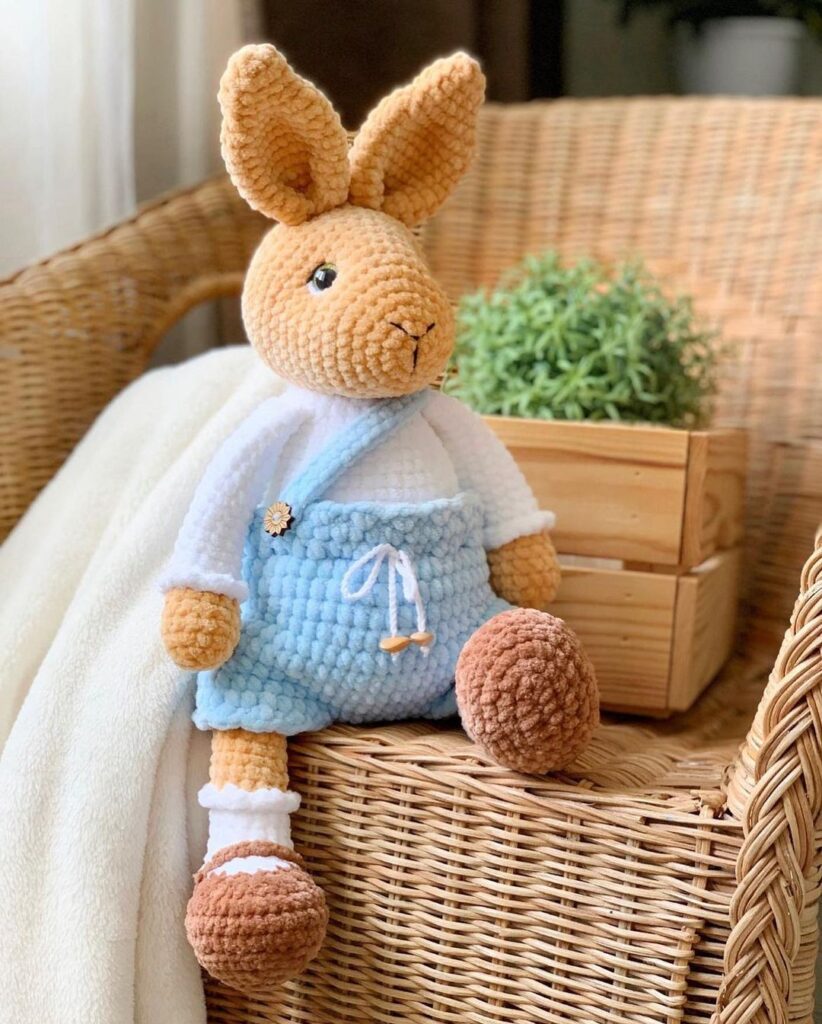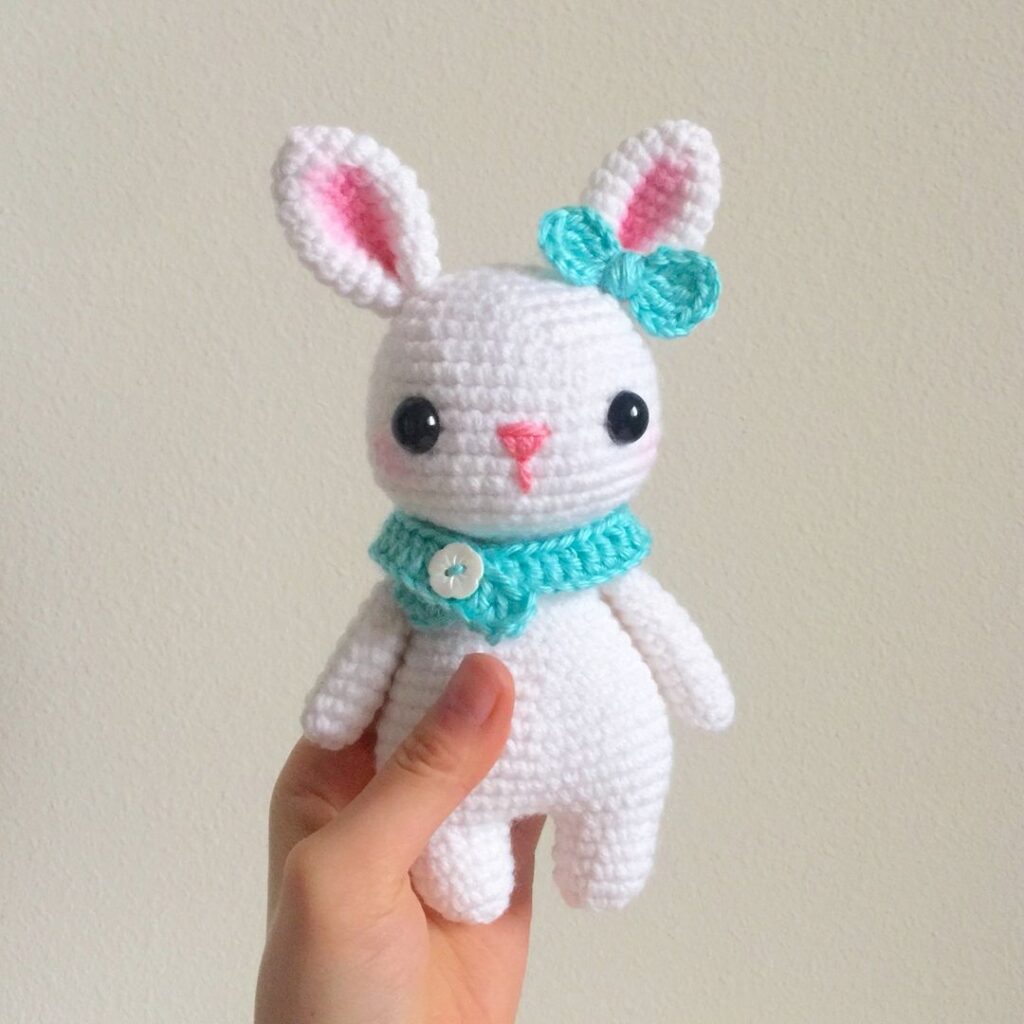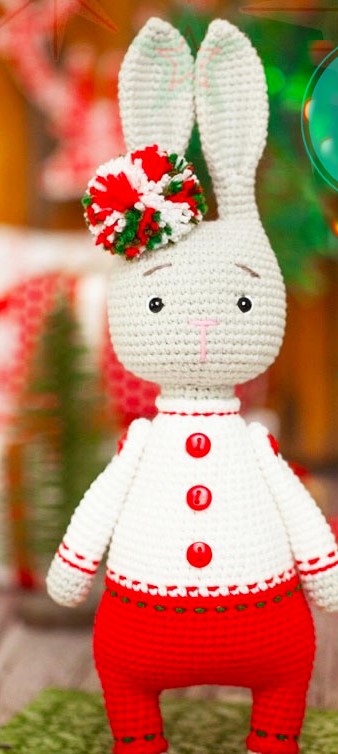
Crochet Christmas Cute Bunny Amigurumi Free Pattern
Hello my visitors who love to knit amigurumi. In this article, I share new amigurumi patterns for you free of charge. To knit free amigurumi patterns, it will be enough to follow the terms I shared for you. You can delight your children with amigurumi toys.
MATERIALS NEEDED:
Finish size from recommended materials 25 cm. YarnArt Jeans (160 m/50 gr):
– grey — No 49;
– red — No 90;
– green — No 82;
– white — No 62.
Sewing eyes plastic 5 mm- 2 pcs.
Crochet hook 1,75 mm.
Stuffing material.
Buttons 9 mm – 5 pcs.
Abbreviations:
sc : Single Crochet
inc : Increase
dec : Decrease
st: Stitch
hdc: Half Double Crochet
sl-st : Slip Stitch
ch : Chain
..in : make increase into same stitch as many as the number which is given in front of “inc” abbreviation (exp; 3inc, 4inc..).
FLO : Crochet into front loops only
BLO : Crochet into back loops only
OS : offset stitch
ARMS (MAKE 2):
Grey color.
1. 6 sc into MR
2. 6 inc (12)
3-5. (3 rnds). 12 sc
Change to white color.
6-21. (16 reds). 12 sc
Stuff only the lower part of the arm.
22. 6 dec
Close the hole.
TAIL:Grey color.
1. 6 sc into MR (6)
2. (sc, inc)x3 (9)
3-4. (2 rnds). 9 sc
Leave a long thread to sew on.
LEGS-BODY:
Grey color.
1. 6 sc into MR (6)
2. (sc, inc)x3 (9)
3. (2 sc, inc)x3 (12)
4. 12 sc
Change to red, leave the end of the red thread 50 cm outside.
5. 12 sc BLO
6-10 (5 rnds). 12 sc
Cut the thread on the first leg and fasten it.
On the second leg, do not cut the yarn, and crochet another 4 sc so that the colour change point is at the back.
Take the remaining red yarn out and tie it behind the FLO of row 5 by hooking from bottom to top — ch, sc into the same loop, 11 sc.
Fasten the thread and hide it.
Stuff the legs.
Continue crocheting the body. Chain 8.
Join the chain to the second leg so that
the colour change point is at the back.
11. 12 sc along the left leg, 8 sc along the chain, 12 sc along the pight leg, 4 sc along the chain — we have stopped in the middle of the backrest. Place a marker – this will be the start of the row.
12. (sc, inc)x2, 6 sc, inc, 5 sc, (inc, sc)x2, (sc, inc)x2, 5 sc, inc, 6 sc, (inc, sc)x2 (50)
13. (2 sc, inc)x2, 13 sc, (inc, 2 sc)x2, (2 sc, inc)x2, 13 sc, (inc, 2 sc)x2 (58) 14-21 (8 mds). 58 sc + OS
22. 46 sc, (dec, 2 sc)x3 (55)
23. (2 sc, dec)x3, 43 sc (52)
24. 52 sc
Change to white color.
25. 52 sc BLO
26. 52 sc + OS
Next, make sure that the beginning of the row is in the centre of the back. If necessary, crochet OS.
27. 4 sc, dec, 14 sc, dec, 8 sc, dec, 14 sc, dec, 4 sc (48)
28-30 (3 reds). 48 sc
31. (6 sc, dec)x6 (42)
32-34. (3 reds). 42 sc
35. (5 sc, dec)x6 (36)
36-38. (3 rnds). 36 sc Stuff.
39. (4 sc, dec)x6 (30)
40-42. (3 reds). 30 sc
43. (3 sc, dec)x6 (24)
44. (2 sc, dec)6 (18)
Change to grey color.
Do not cut the white thread, leave it on the outside.
45. 18 sc BLO
46-47. (2 rnds). 18 sc
Leave thread to sew on the head.
Stuff.
Crochet the neck with white thread behind the FLO stitches of row 45, hooking from bottom to top — (2 sc, inc)x6
Cut off the thread and fasten it.
Decorate as desired.
EARS-HEAD:
Grey color.
1. 6 sc into MR
2. (sc, inc)x3 (9)
3. (2 sc, inc)x3 (12)
4. (3 sc, inc)x3 (15)
5. (4 sc, inc)x3 (18)
6. (5 sc, inc)x3 (21)
7-15. (9 rnds). 21 sc
16. (5 sc, dec)x3 (18)
17. 18 sc
Mark stitches 4 to 9 of a row (inner ear).
18. 3 sc, skip the marked 6 loops (inner ear), 3 sc, 6 sc together with the inner ear loops (12)
19. 12 sc
20. (2 sc, dec)x3 (9)
21-22 (2 rnds). 9 sc
Cut off the thread on the right ear and fasten it.
On the left ear, if necessary, knit another 1-2 sc so that the end of the row is exactly at the side.
On the right ear, mark a point on the side.
Cast on 6 stitches from the left ear, connect to the right ear:
1. 9 sc along to right ear, 6 sc along to chain, 9 sc along to left ear, 6 sc along to chain (30)
2. 4 sc, inc, 5 sc, inc, 2 sc, inc, 5 sc, inc, 5 sc, inc, 2 sc, inc, sc (36)
3. 32 sc — we stopped at the back in the middle, put a marker the beginning of the row.
4. (5 sc, inc)x6 (42)
5. 42 sc
6. (6 sc, inc)x6 (48)
7-8 (2 rnds). 48 sc
9. (7 sc, inc)x6 (54)
10-18 (9 reds). 54 sc
19. (7 sc, dec)x6 (48)
20. (4 sc, dec)x8 (40)
21. (3 sc, dec)x8 (32)
22. (2 sc, dec)x8 (24)
Stuff.
23. (sc, dec)x8 (16)
24. 8 dec
Add filler material, close the hole.
Mark the attachment points for the eyes – 11 rows below the ear line, 10 stitches between points.
Eyes -5 mm.
Take a separate thread for each eye. Bring the threads down to the bottom of the head.
Embroider the nose 2 rows below the eyes, 3 stitches wide. Embroider the whites of the eyes and the eyebrows.
Assembly:
Sew the head onto the body. When a small hole remains, add filler to the neck.
Sew a tail on the back centre of the back.
Sew on hands with button fasteners.
If you wish, you can add accessories to the bunny.
Congratulations
More Amigurumi Bunny Ideas