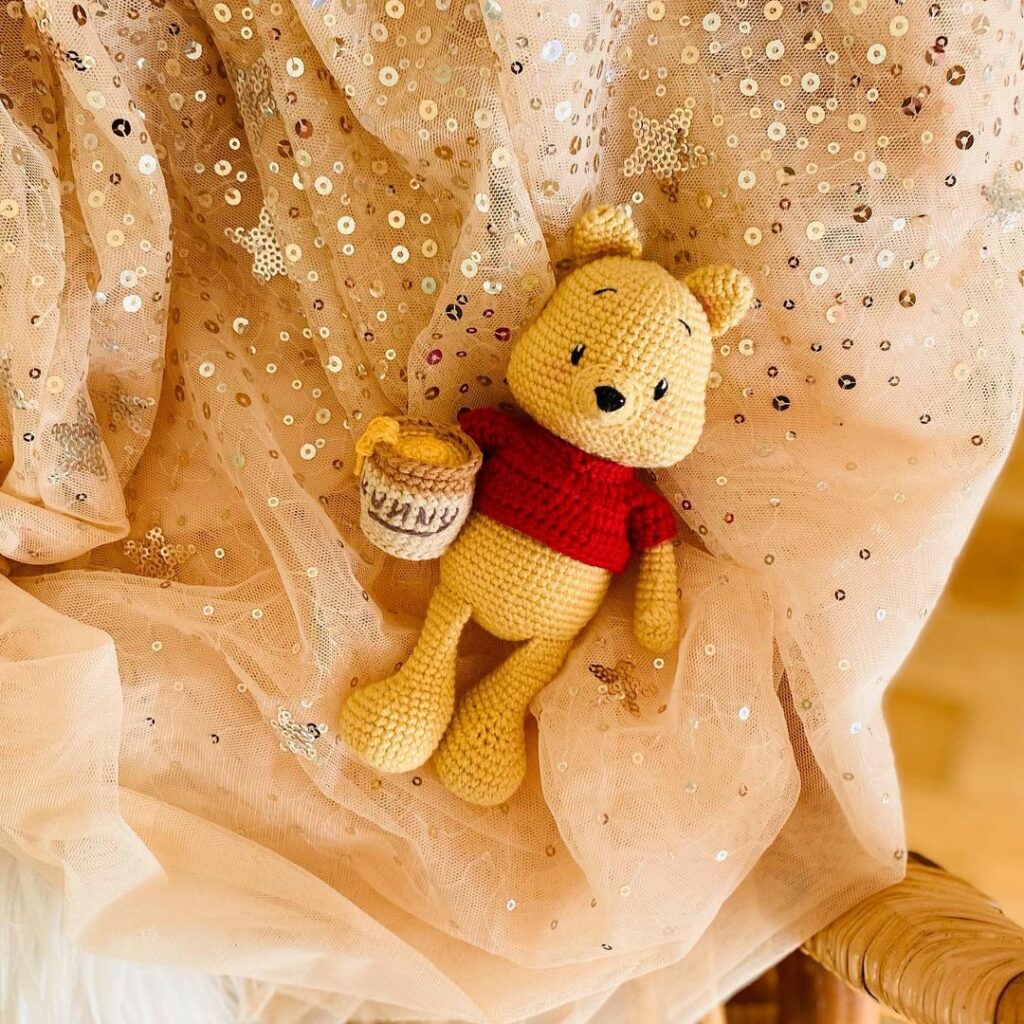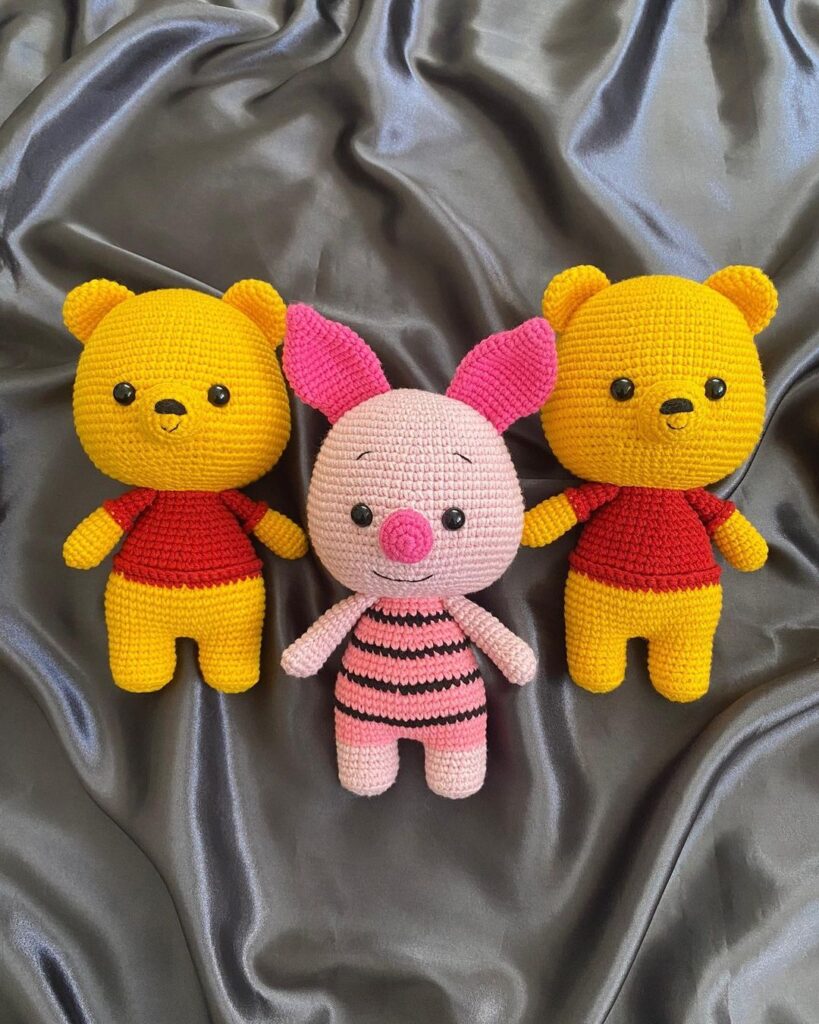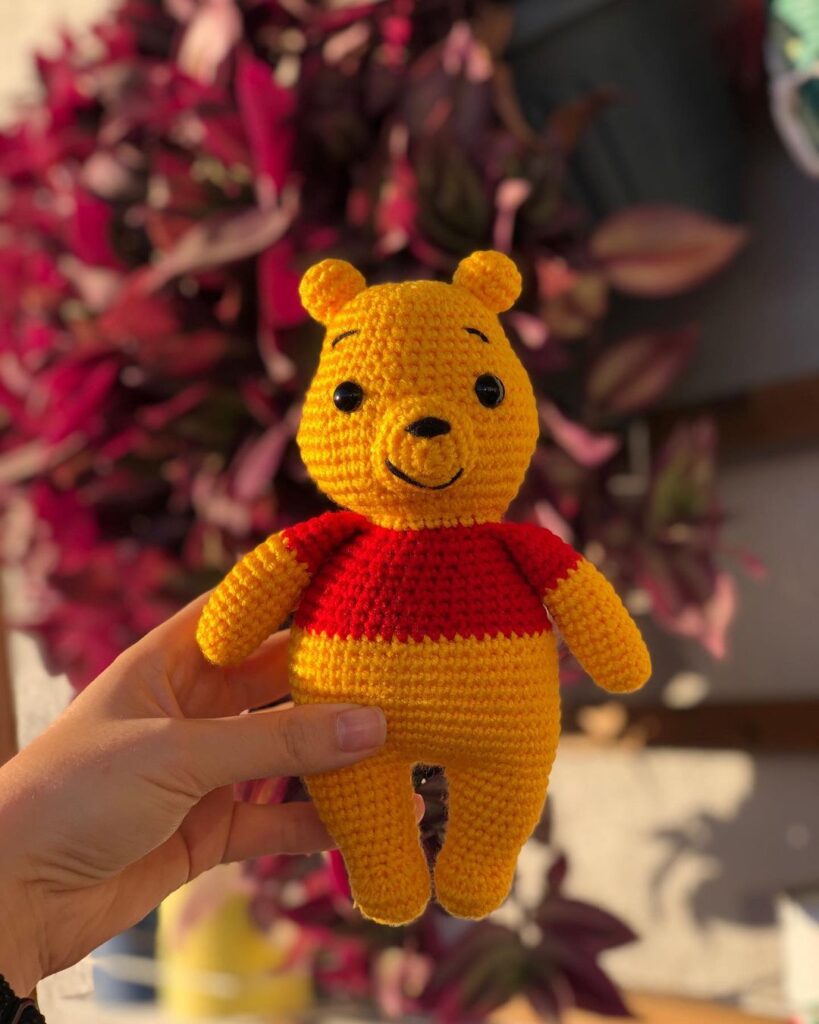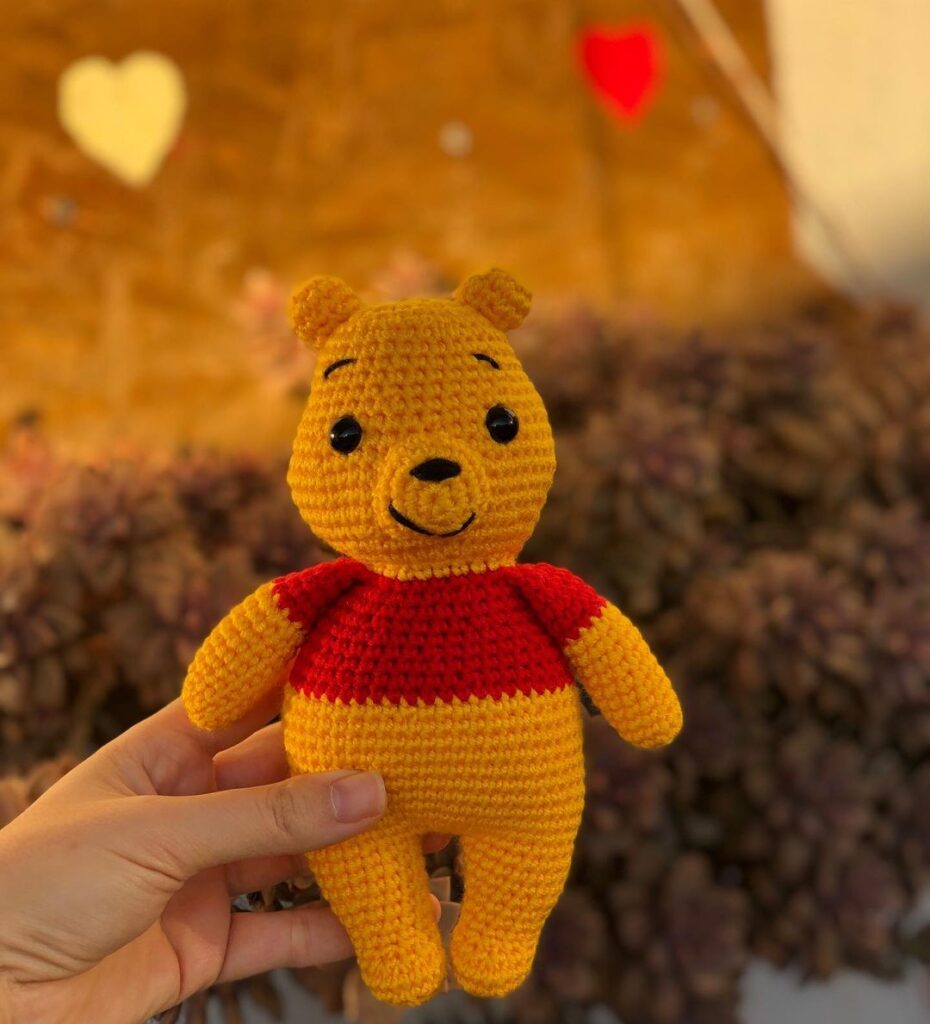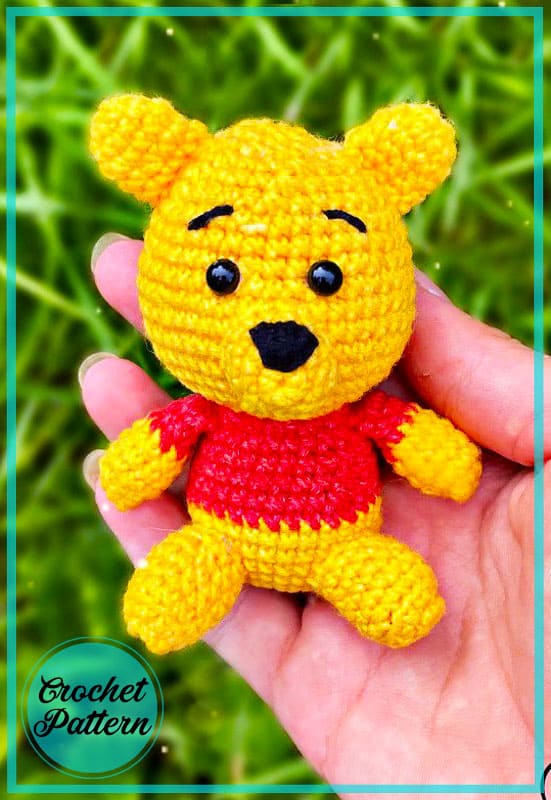
Amigurumi Winnie The Pooh Keychain Crochet Pattern
Hello my visitors who love to knit amigurumi. In this article, I share new amigurumi patterns for you free of charge. To knit free amigurumi patterns, it will be enough to follow the terms I shared for you. You can delight your children with amigurumi toys.
Materials:
1.Yarn (red, yellow)
2. Hook 1.5 mm.
3.Plastic eyes.
4.Scissors, needle
5 filler
Abbreviations:
AR – Amigurumi Magic ring
MR – Amigurumi Magic ring
App – application
sc : Single Crochet
inc : Increase
dec : Decrease
tr : Triple Crochet/ Treble Crochet
st: Stitch
dc : Double Crochet
hdc: Half Double Crochet
sl-st : Slip Stitch
ch : Chain
..in : make increase into same stitch as many as the number which is given in front of “inc” abbreviation (exp; 3inc, 4inc..).
FLO : Crochet into front loops only
BLO : Crochet into back loops only
BL : Bobble Stitch – do 5dc all in the same stitch and then yarn over and pull through all the loops on your hook (the original loop + 1 loop for each partially completed dc)
Hind legs:
1 -6 in MR
2 -incбавки (12)
3 -BLO 12sc
4 -12 sc
5 -( 2sc, dec.)*3 (9)
6 -9 sc
Leave the yarn for sewing.
Fill.
Front legs:
1 -6 in MR
2 -(1 sc., inc.)*3 (9)
3-5 -9 sc
change the color to red
6-7 -9 sc
Sew the part.
Body and Head:
We sew the front legs while crochetting the body.
The body and head are crochet in one piece.
1 -6 in MR
2 -6 inc (12)
3 -12 inc (24)
4 -(3 sc, inc)*6 (30)
5-8 -30 sc
Change the color to red.
9 -30 sc
10 -(8 sc, dec)*3 (27)
11 -(7 sc, dec)*3(24)
12 -24 sc
13 – we sew hands 24 sc
14 -12 dec (12)
Change the color to yellow.
15 -12 inc (24)
16 -(1 sc, inc)*12 (36)
17 -(2 sc, inc)*12 (48)
18-21 -48 sc
22 -3 sc, dec, (6 sc, dec)*5, 3 sc (42)
23 -42 sc
24 -(5 sc, dec)*6 (36)
25-26 -36 sc
27 -2 sc, dec, (4 sc, dec)*5, 2 sc (30)
28 -(3 sc, dec)*6 (24)
29 -(2 sc, dec)*6 (18)
30 -(1 sc, dec)*6 (12)
31 -6 dec
Muzzle:
1 -6 in MR
2 -6 inc (12)
3 -(3 sc, inc)*3 (15)
4 -15 sc
Leave the end to be sewn on.
Ears:
1 -6 in MR
2 -(1 sc, inc)*3 (9)
3-5 – 9 sc
Leave the end to be sewn on.
Assembly:
The rows are scolded from above.
1-Sew on the ears at a distance of 2-6 rows on the sides of the head.
2-Sew on the muzzle at a distance from 10 to 14 rows, embroider the nose with a triangle on the muzzle.
3 – glue the eyes between the 8-9 row, between the eyes 5 sc.
4 – embroider eyebrows at a distance of 5-6 rows.
5 – Sew on the legs (or that Winnie would sit, or that would stand)
Congratulations
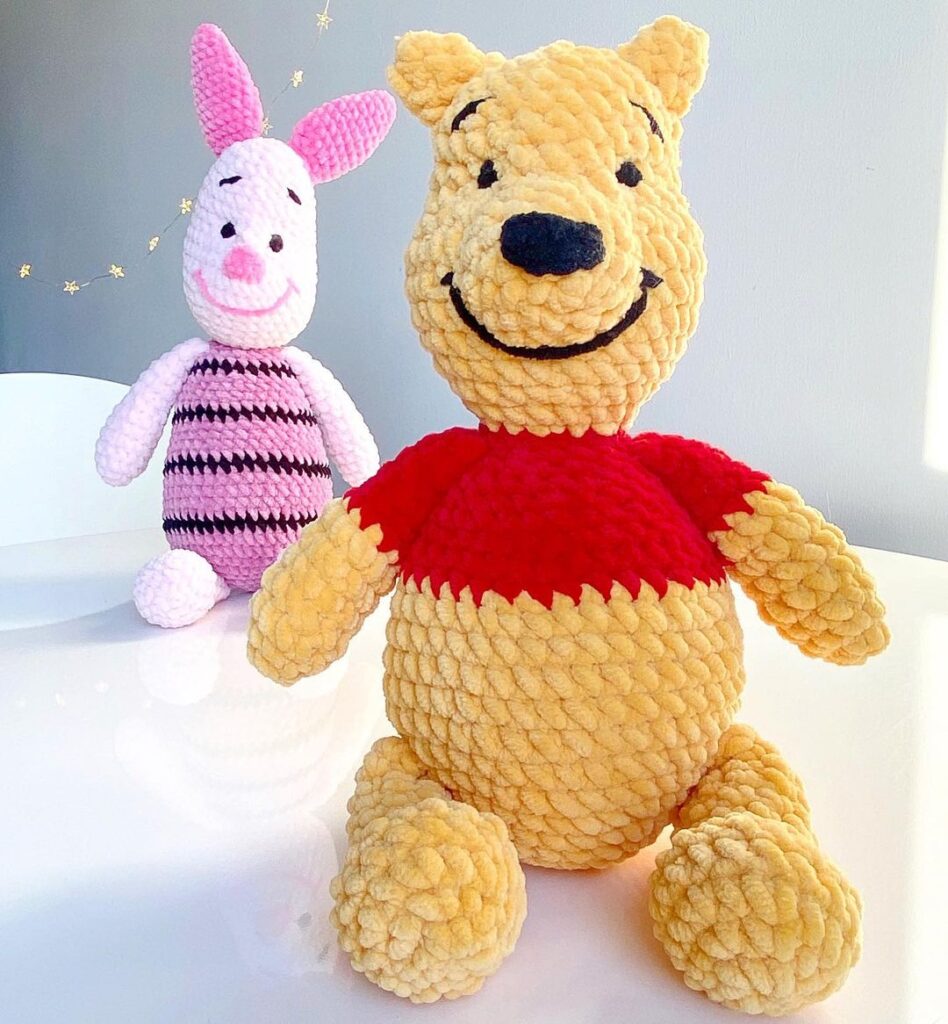
More Amigurumi Winnie The Pooh Ideas