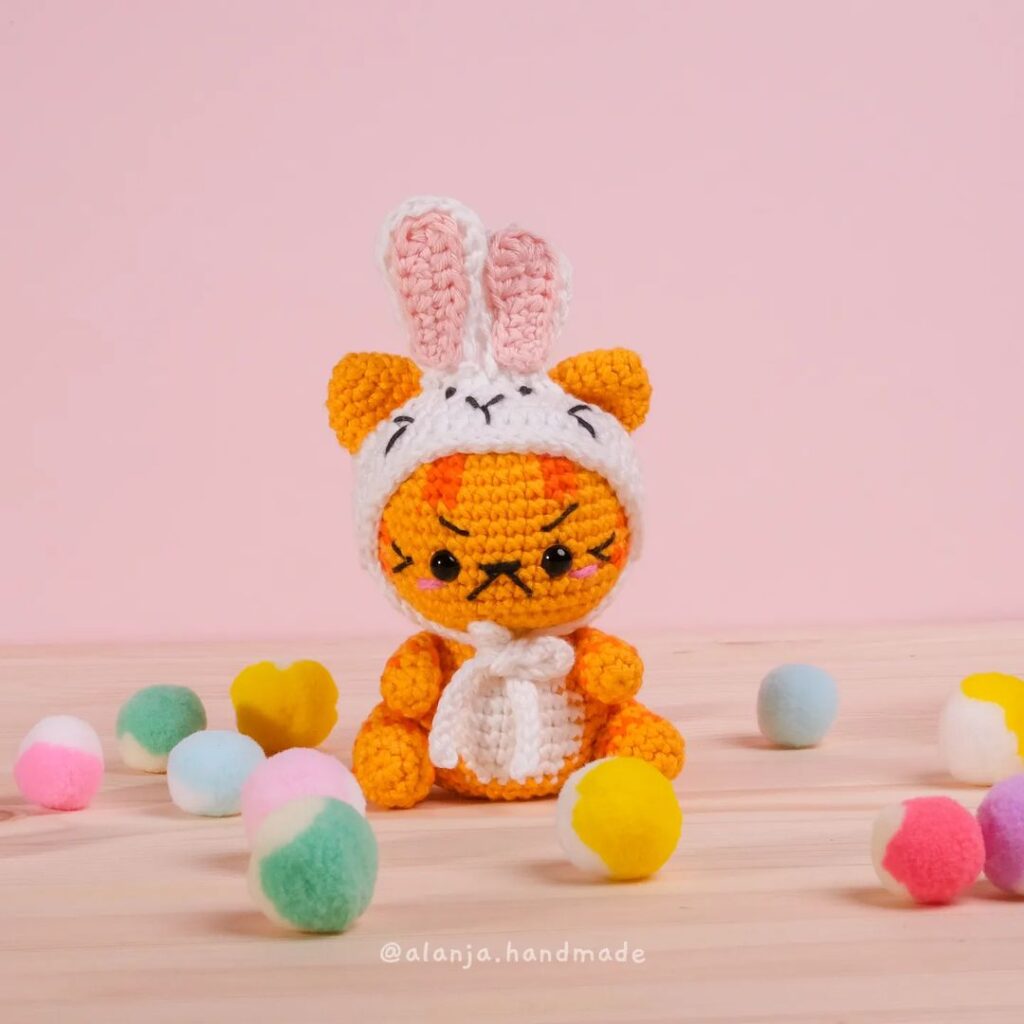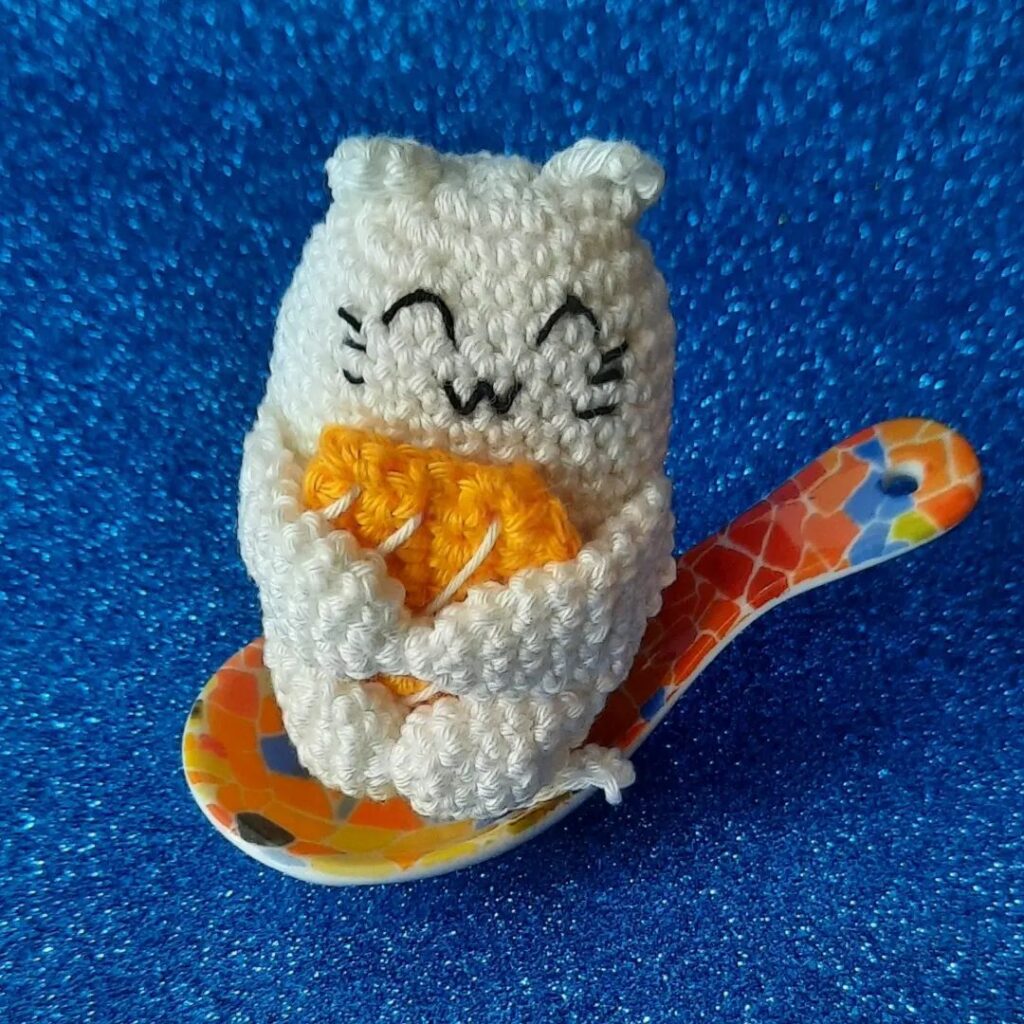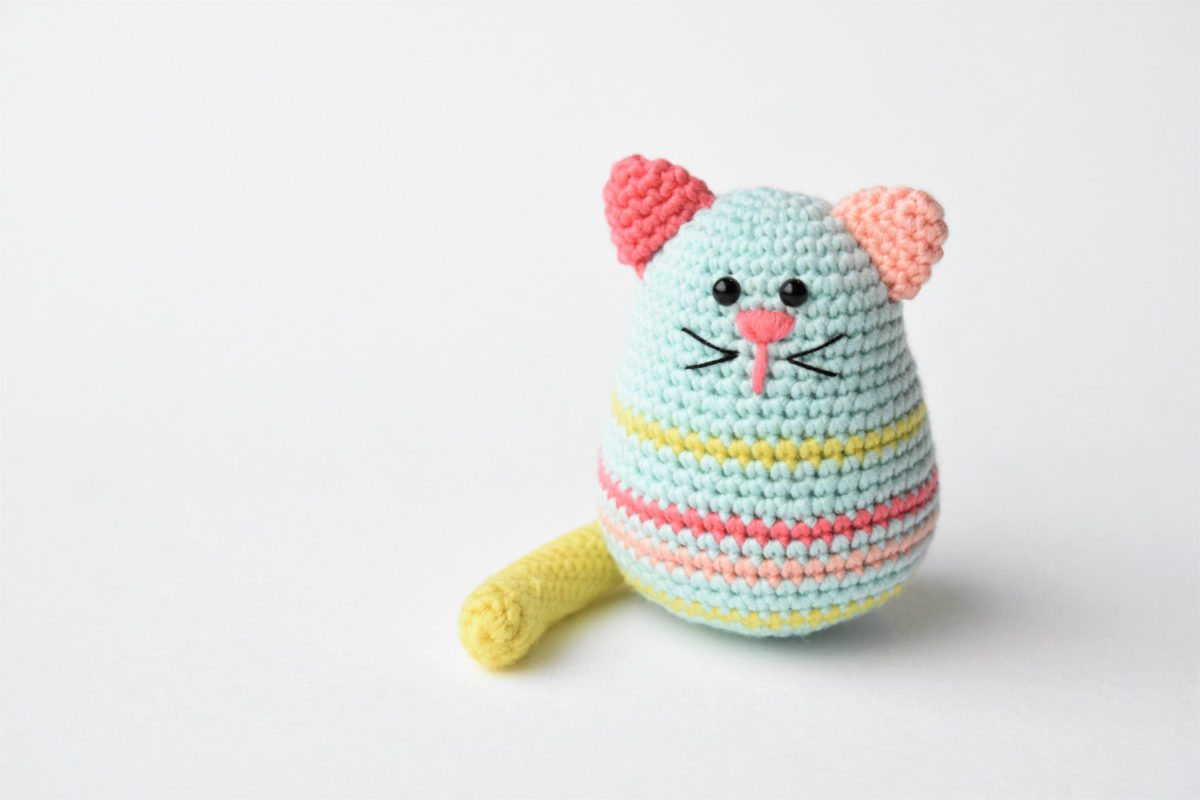
Amigurumi Egg-Shaped Cute Cat Free Pattern
Hello my visitors who love to knit amigurumi. In this article, I share new amigurumi patterns for you free of charge. To knit free amigurumi patterns, it will be enough to follow the terms I shared for you. You can delight your children with amigurumi toys.
Supplies
Yarn: 4 colors of aran / 10 ply weight merino wool (BBB Filati Full: 50 g / 90 m; 100% pure new wool) – blue, yellow, dark pink, light pink
Crochet hook 3 mm
Stitch marker
Polyester fiberfill
Safety eyes (Ø 6 mm)
Embroidery thread for the whiskers
Tapestry needle
HEAD AND BODY
Work in one piece from top to bottom.
Rnd 1: Blue. Start 6 sc in a magic ring [6]
Rnd 2: Work 2 sc in each st around [12]
Rnd 3: (Sc in next st, 2 sc in next st) rep 6 times [18]
Rnd 4: (Sc in each of next 2 sts, 2 sc in next st) rep 6 times [24]
Rnd 5: (Sc in each of next 3 sts, 2 sc in next st) rep 6 times [30]
Rnd 6: Sc in each st around
Rnd 7: (Sc in each of next 4 sts, 2 sc in next st) rep 6 times [36]
Rnd 8-12: Sc in each st around
Rnd 13: (Sc in each of next 5 sts, 2 sc in next st) rep 6 times [42]
Rnd 14: Sc in each st around
Rnd 15: Yellow. Sc in each st around
Rnd 16-17: Blue. Sc in each st around
Insert the safety eyes between rounds 7 and 8, 4 stitches apart. Attach the safety eyes by closing the washers.
Rnd 18: (Sc in each of next 6 sts, 2 sc in next st) rep 6 times [48]
Rnd 19: Dark pink. Sc in each st around
Rnd 20: Blue. Sc in each st around
Rnd 21: Light pink. Sc in each st around
Rnd 22-23: Blue. Sc in each st around
Rnd 24: Yellow. Sc in each st around
Rnd 25: Blue. (Sc in each of next 6 sts, sc2tog) rep 6 times [42]
Rnd 26: (Sc in each of next 5 sts, sc2tog) rep 6 times [36]
Stuff about half of the head with fiberfill, continue stuffing as you go.
Rnd 27: (Sc in each of next 4 sts, sc2tog) rep 6 times [30]
Rnd 28: (Sc in each of next 3 sts, sc2tog) rep 6 times [24]
Rnd 29: (Sc in each of next 2 sts, sc2tog) rep 6 times [18]
Rnd 30: (Sc in next st, sc2tog) rep 6 times [12]
Rnd 31: (Sc2tog) rep 6 times [6]
Fasten off, leaving only a short yarn tail. To close the piece, thread a needle with the yarn tail, weave it through the front loops of the remaining 6 stitches, and pull it tightly to close. Weave in the yarn end.
EAR (make 2)
Make one ear in light pink and one in dark pink.
Rnd 1: Start 6 sc in a magic ring [6]
Rnd 2: (Sc in next st, 2 sc in next st) rep 3 times [9]
Rnd 3: Sc in each st around
Rnd 4: (Sc in next 2 sts, 2 sc in next st) rep 3 times [12]
Rnd 5: Sc in each st around
Fasten off, leaving a long tail for sewing. Flatten the ears, they do not need to be stuffed. Sew the ears to the head, at 3 rounds from either side of the magic ring.
Stitch the nose with dark pink and whiskers with (black) embroidery thread.
TAIL
Rnd 1: Yellow. Start 9 sc in a magic ring [9]
Rnd 2-30: Sc in each st around
Start stuffing the tail with fiberfill after a few rounds, continue stuffing as you go.
Fasten off, leaving a long tail for sewing. Flatten the opening and sew it closed with a couple of stitches. Sew the tail to the center back of the body.
Congratulations
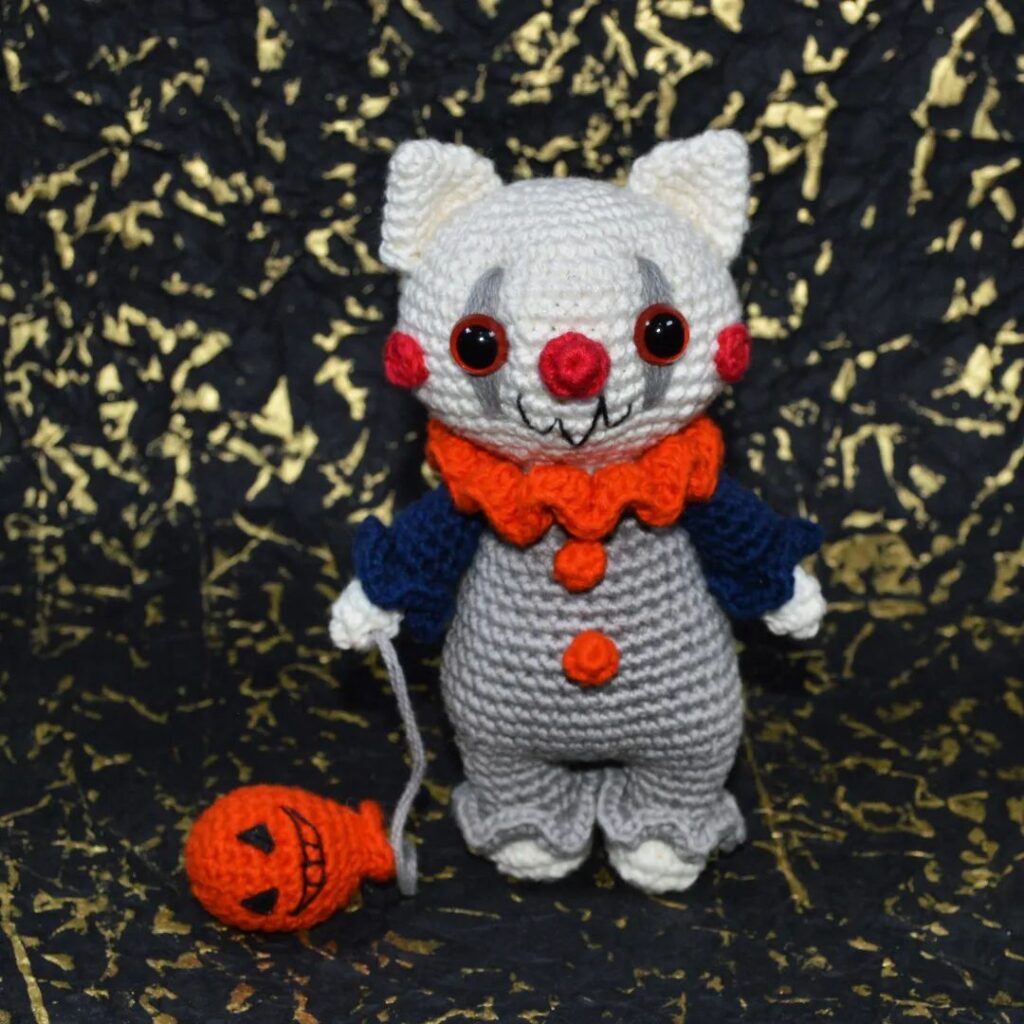
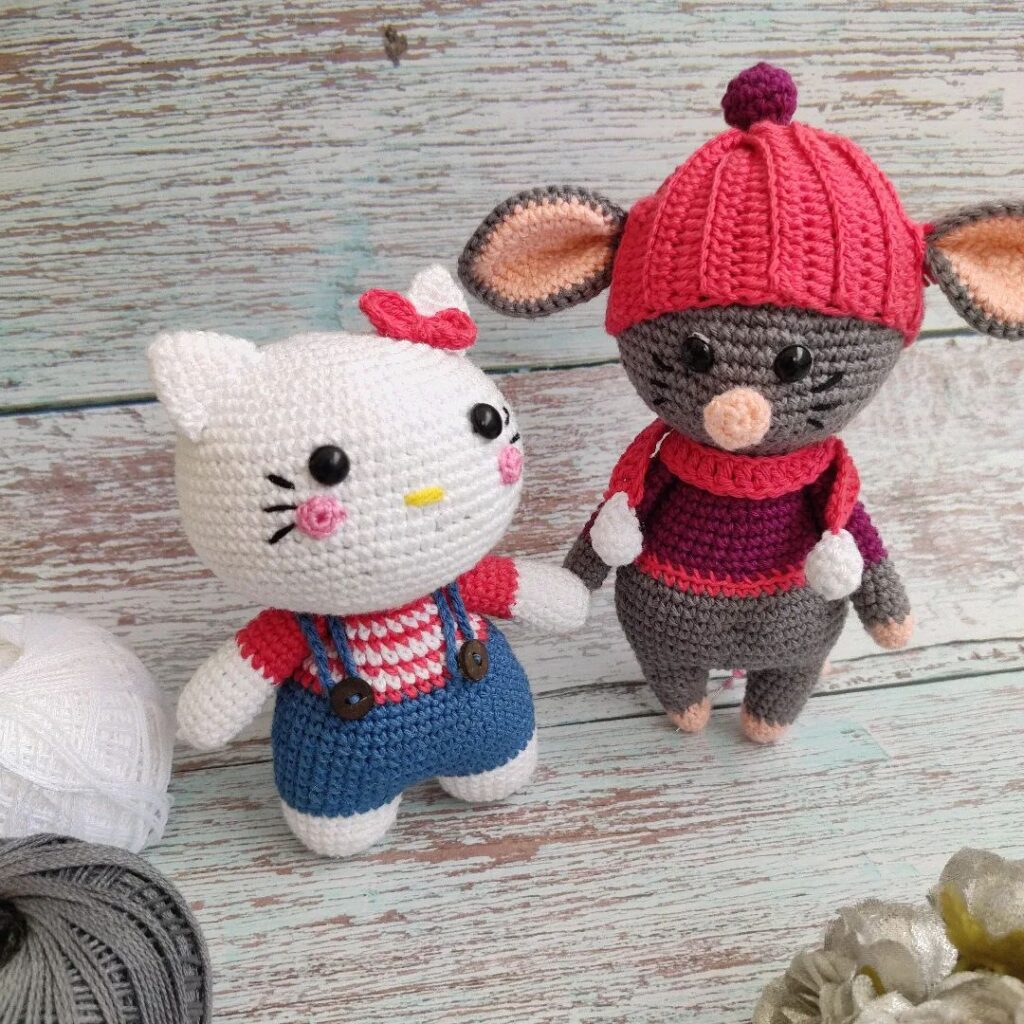
More Amigurumi Cat Ideas: