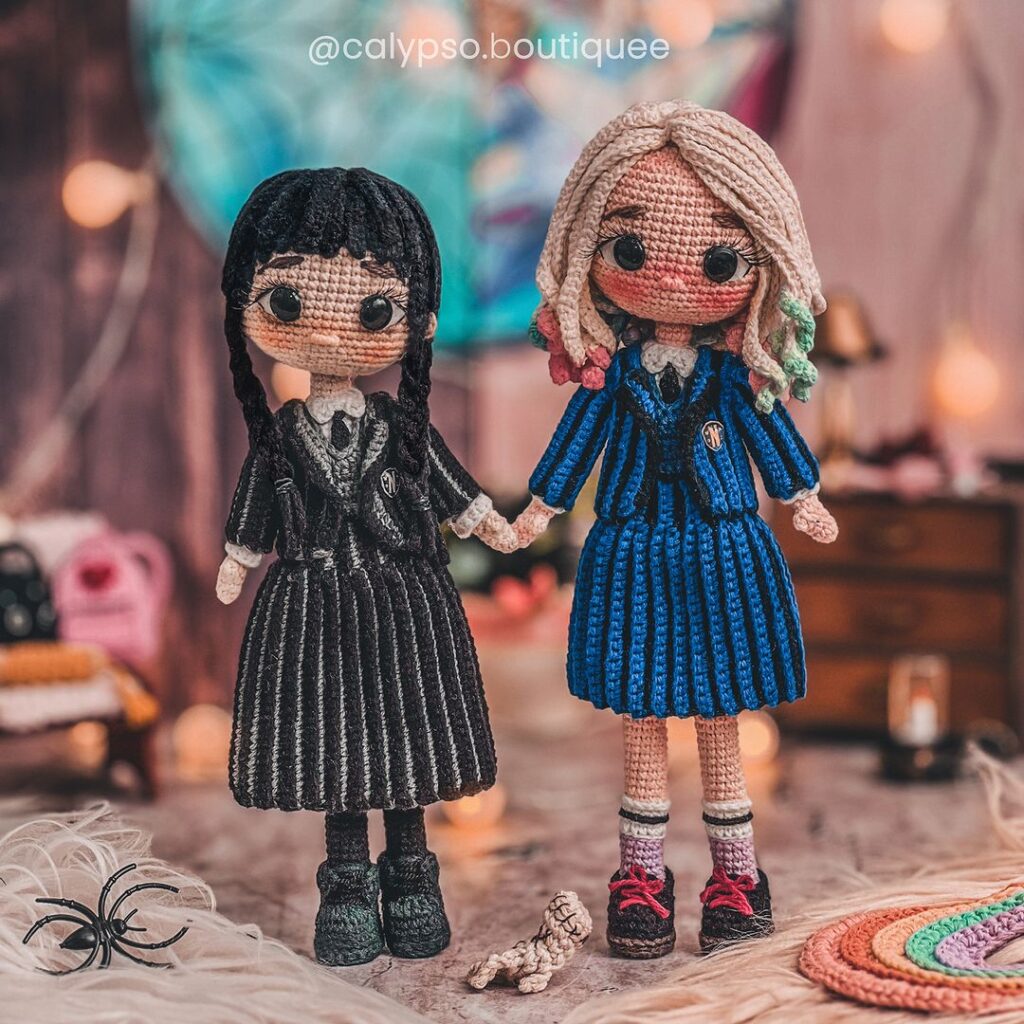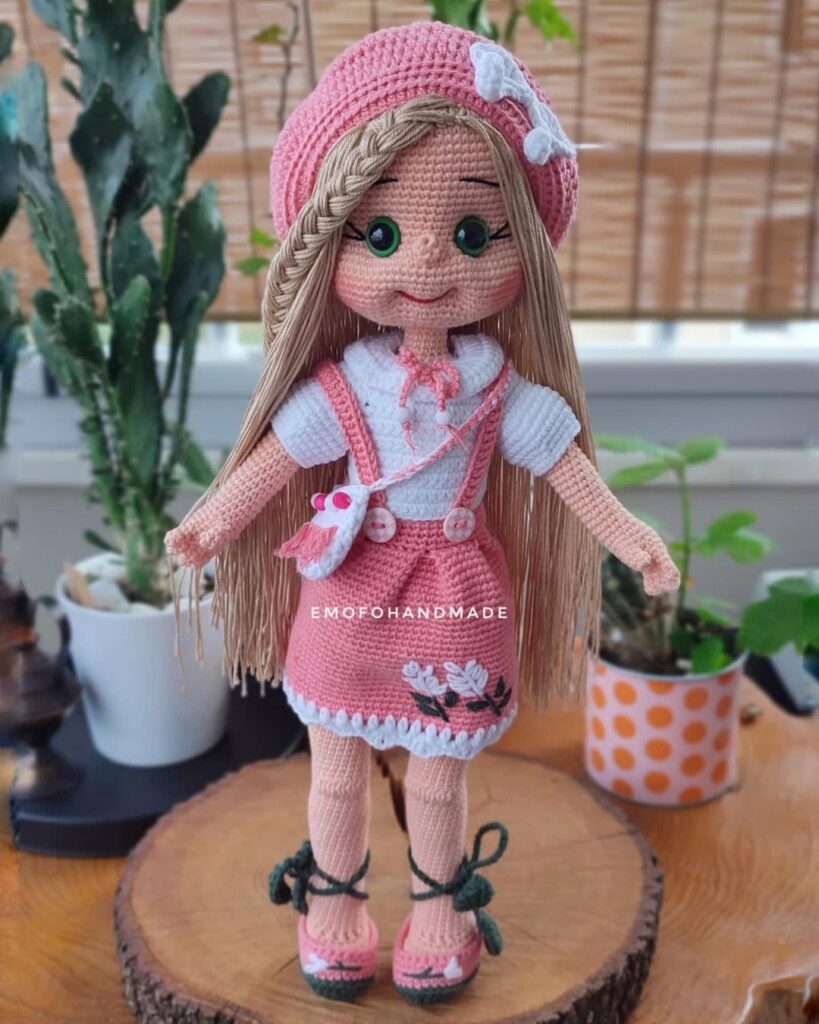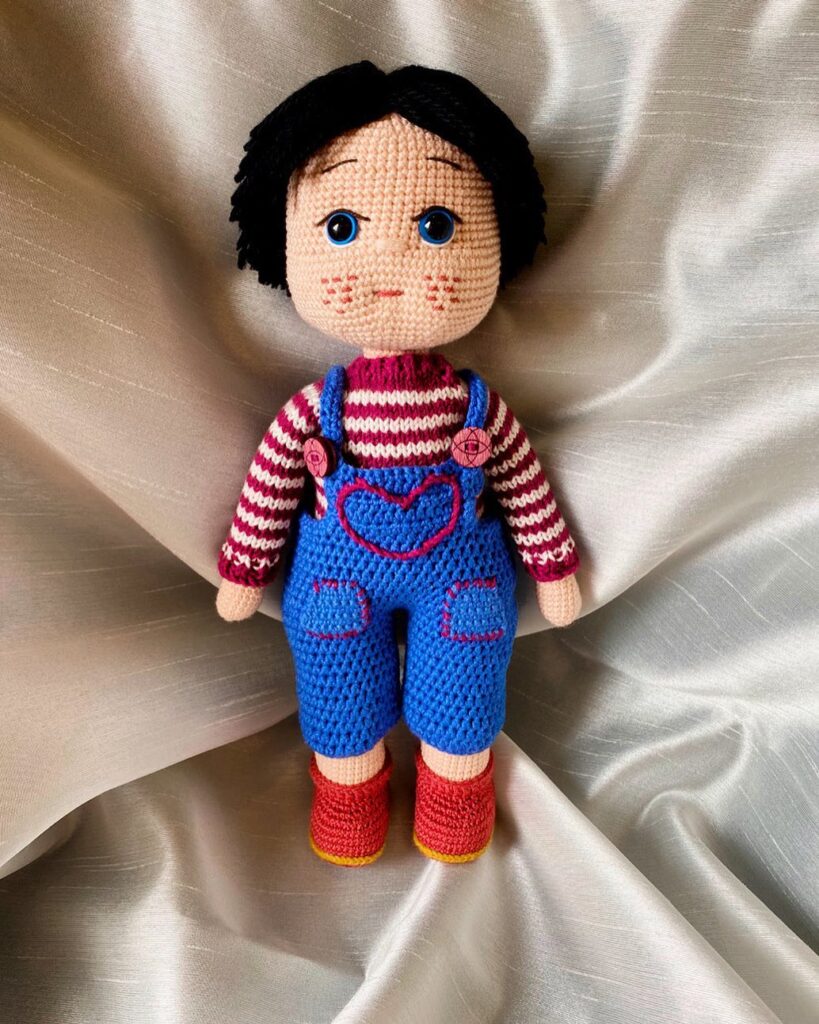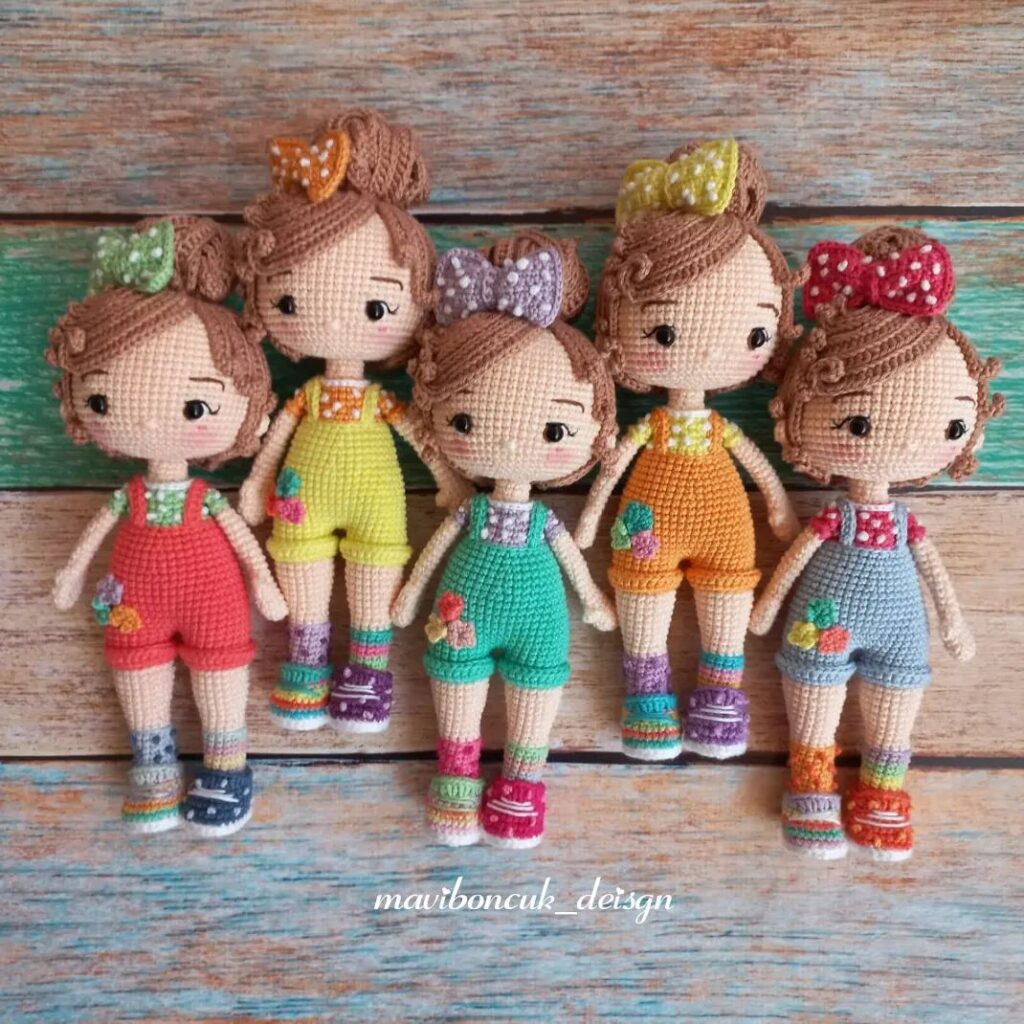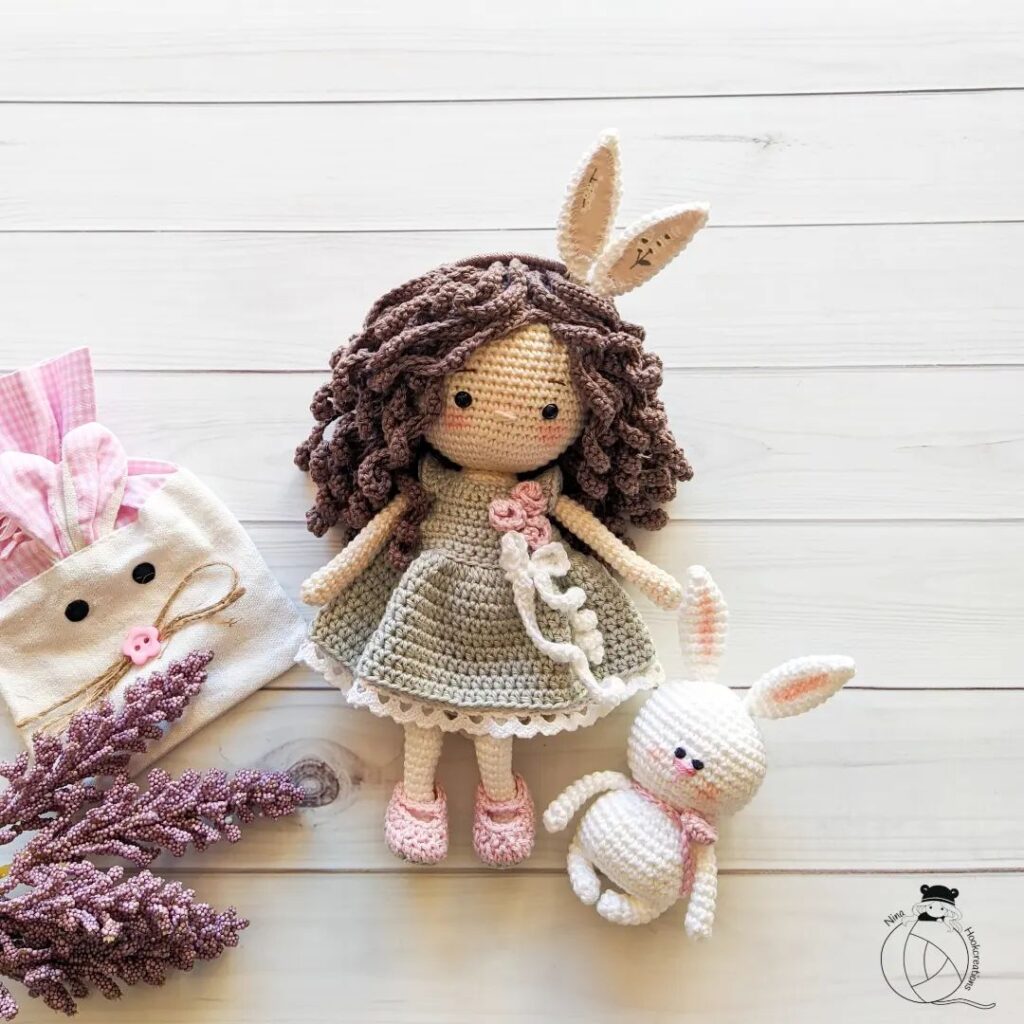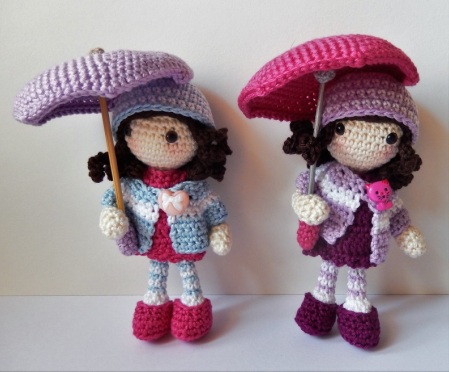
Amigurumi Autumn Cute Girls Free Pattern
Hello my visitors who love to knit amigurumi. In this article, I share new amigurumi patterns for you free of charge. To knit free amigurumi patterns, it will be enough to follow the terms I shared for you. You can delight your children with amigurumi toys.
Material:
– crochet hook size 2.5
– Catania wool from Schachenmayr in the colors white, purple, ecru, brown for the doll and different colors for the clothes
– fiberfill
– pipe cleaner
– 2 Safety Eyes 6 mm/ 0.24 inches
– sewing needle
– pins
– glue
– wooden skewers
– small button for the jacket
Size: The doll has a height of 14 cm / 5,51 inches
Abbreviations:
ch – chain
st – stitch
R – round or row
sc – single crochet
Number x sc – the number tells you how many times you make a single crochet (or a dc, hdc …) in each stitch
inc – make two single crochet in one stitch
dec – two stitches crochet together with a sc
sl st – slip stitch
hdc – half double crochet
dc – double crochet
dcinc – make two double crochet in one stitch
BLO – back loops only
FLO – front loops only
sc with color change: change the color on this sc (when you make this single crochet stitch, grab the new color of your wool and pull it through the two loops on your hook).
Note: Unless indicated otherwise, parts are worked in rounds. You can start with 2 ch or make a magic ring. It is important to mark the beginning of your round with a thread mark. The arms and legs can be stuffed or you can put pipe cleaners inside. I used pipe cleaners and I really liked the result. This way the doll is stable, but also very flexible.
Hands and arms (2 x)
2 x ch with ecru
R 01 6 x sc in second chain from hook 6
R 02 (2 x sc, inc) x 2 8
R 03 sc in each stitch 8
R 04 sc in each stitch 8
R 05 (dec, sc) x 2, stuff the hand, dec 5
R 06 – 12 sc in each stitch 5
Leave a long thread for sewing to the body and cut it. Stuff the arms or pull in a pipe cleaner.
Feet and legs (2 x)
(the color change is to purple, on the pictures: color black)
4 x ch with white
R 01 inc in second chain from hook, sc, 3 x sc in one stitch, continue working on the other side of the chain: 2 x sc 8
R 02 2 x inc, sc, 3 x inc, sc, inc 14
R 03 BLO: sc in each stitch 14
R 04 5 x sc, 4 x dec, sc 10
R 05 4 x sc, 3 x dec, stuff the foot, if you want keep on stuffing the leg or pull in pipe cleaners at the end of R 14 7
R 06 2 x sc, sc with color change to purple, sc, dec, sc 6
R 07 2 x sc, sc with color change to white, 3 x sc 6
R 08 2 x sc, sc with color change to purple, 3 x sc 6
R 09 2 x sc, sc with color change to white, 3 x sc 6
R 10 2 x sc, sc with color change to purple, 3 x sc 6
R 11 2 x sc, sc with color change to white, 3 x sc 6
R 12 2 x sc, sc with color change to purple, 3 x sc 6
R 13 2 x sc, sc with color change to white, 3 x sc 6
R 14 sc in each stitch 6
After the last row, the pipe cleaners can be pulled inside the leg. It is also possible to pull the the pipe cleaners inside after connecting the legs.
First leg: sl st, cut the thread, don’t remove the thread mark for the rows Second leg: crochet until last stitch of R 14, then hold first leg close to the second and and keep on crocheting in the 3rd stitch before the thread mark: Continue with R 15
Body and Head
R 15 sc in each stitch, put in a thread mark for marking the rows 12
R 16 (sc, inc) x 6 18
R 17 17 x sc, sc with color change to ecru 18
R 18 4 x sc, 2 x dec, 5 x sc, 2 xdec, sc 14
R 19 sc in each stitch 14
R 20 sc in each stitch 14
R 21 5 x sc, inc, 6 x sc, inc, sc 16
R 22 6 x sc, inc, 7 x sc, inc, sc 18
R 23 sc in each stitch 18
R 24 dec, 3 x sc, 3 x dec, 3 x sc, 2 x dec, stuff the body 12
R 25 dec, 2 x sc, 2 x dec, 2 x sc, dec 8
R 26 sc in each stitch, stuff again 8
R 27 (sc, inc) x 4 12
R 28 (2 x sc, inc) x 4 16
R 29 (sc, inc) x 8 24
R 30 (3 x sc, inc) x 6 30
R 31 – 32 sc in each stitch 30
R 33 21 x sc, put in a thread mark for the eye position, 6 x sc, put in a thread mark for the second eye 3 x sc 30
R 34 – 36 sc in each stitch 30
R 37 (3 x sc, dec) x 6 24
R 38 (2 x sc, dec) x 6, stuff the neck, plug in the safey eyes at R 20 where you have marked the position 18
R 39 (sc, dec) x 6, stuff the head firmly 12
R 40 dec x 6 6
sl st, cut the thread and sew it
Dress
crocheted in rows
16 x ch with color you wish
R 01 15 x sc, ch, turn 15
R 02 3 x ch (counts as first dc), 13 x dcinc, dc, turn 28
R 03 3 x ch (counts as first dc), 2 x dcinc, 2 x ch, skip 7 stitches, 8 x dc, 2 x ch, skip 7 stitches, 2 x dcinc, dc, turn 18 + 4 ch
R 04 3 x ch (counts as first dc), dcinc, 3 x dc, 2 x dc around the chain, 8 x dc, 2 x dc around the chain, 3 x dc, dcinc, dc, turn 24
R 05 3 x ch (counts as first dc), 7 x dc, dcinc, 6 x dc, dcinc, 8 x dc, turn 26
R 06 3 x ch (counts as first dc), 25 x dc, turn 26
R 07 4 x ch, skip one stitch sl st, (3 x ch, skip one stitch, sl st) x 12 cut the thread and sew it
Wig
2 x ch with brown
R 01 6 x sc in second chain from hook 6
R 02 inc in each stitch 12
R 03 (sc, inc) x 6 1
R 04 (2 x sc, inc) x 6 24
R 05 (3 x sc, inc) x 6 30
R 06 – 08 sc in each stitch 30
R 09 sc, hdc, 5 x dc, hdc, 10 x sc, hdc, 9 x dc, hdc, sc 30
R 10 22 x sc, 8 x sl st 30
R 11 3 x sl st,
*for the strand of hair: 10 x ch, turn, (sc, inc) x 4 then on the wig: skip one stitch, sl st* * *repeat the instructions between asterisks 9 x cut the thread and sew it
Shoes
(2 x) 5 x ch with color you wish
R 01 inc, 2 x sc, 3 x sc in one stitch, continue working on the other side of the chain:: 3 x sc 10
R 02 2 x inc, 2 x sc, 3 x inc, 2 x sc, inc 16
R 03 BLO: sc in each stitch 16
R 04 8 x sc, 2 x dec, 4 x sc 14
R 05 7 x sc, 2 x dec, 3 x sc 12
R 06 sc, inc, 5 x sc, dec, 3 x sc 12
sl st, cut the thread and sew it
Cap
2 x ch with colors you wish
R 01 5 x sc in second chain from hook, sc with color change 6
R 02 inc in each stitch, change color on last sc 12
R 03 (inc, sc) x 6, change color on last sc 18
R 04 (inc, 2 x sc) x 6, change color on last sc 24
R 05 (inc, 3 x sc) x 6, change color on last sc 30
R 06 (inc, 9 x sc) x 3, change color on last sc 33
R 07 – 13 sc in each stitch, change color at the end of each round 33
sl st, cut the thread and sew it
Jacket
is crocheted in rows
21 x ch with colors you wish
R 01 2 x sc, inc, (4 x sc, inc) x 3, 2 x sc, turn 24
R 02 6 x ch (this is the buttonhole ), 2 x sc, inc (5 x sc, inc) x 3, 2 x sc, sc with color change, ch, turn 28
R 03 3 x sc, inc, (6 x sc, inc) x 3, 3 x sc, ch, turn 32
R 04 3 x sc, inc, (7 x sc, inc) x 3, 3 x sc, sc with color change, ch, turn 36
R 05 4 x sc, inc, (8 x sc, inc) x 3, 4 x sc, ch, turn 40
R 06 4 x sc, inc, (9 x sc, inc) x 3, 5 x sc, ch, turn 44
R 07 5 x sc, inc, (10 x sc, inc) x 3, 5 x sc, ch, turn 48
R 08 6 x sc, skip 11 stitches, 13 x sc, skip 11 stitches, 7 x sc, ch, turn 26
R 09 26 x sc 26
cut the thread and sew a small button on the jacket
Finishing
Pin the arms to the body and sew them.
Put on the dress and sew it in the back. Put on the wig and sew it to the head.
Apply some blush on the cheeks and put on the clothes – and your doll is finished!!
Umbrella
Handle 2 x ch with color you wish
R 01 6 x sc in second chain from hook 6
R 02 – 04 sc in each stitch 6
R 05 4 x sc, dec 5 sl st, cut the thread and sew it
Stick on top
2 x ch with brown or gray
R 01 6 x sc in second chain from hook 6
R 02 sc in each stitch 6
R 03 sc in each stitch 6
R 04 BLO: 6 x sc 6
R 05 sc in each stitch 6
R 06 4 x sc, dec 5
sl st, cut the thread and sew it
Umbrella
with color you wish
R 01 start in the front stitches of R 04: 6 x sc 6
see picture, last row of the stick is pointing downwards, later, the wooden skewer will be glued inside here
R 02 inc in each stitch 12
R 03 (sc, inc) x 6 18
R 04 (2 x sc, inc) x 6 24
R 05 (3 x sc, inc) x 6 30
R 06 (4 x sc, inc) x 6 36
R 07 (5 x sc, inc) x 6 42
R 08 (6 x sc, inc) x 6 48
R 09 (7 x sc, inc) x 6 54
R 10 sc in each stitch 54
R 11 (8 x sc, inc) x 6 60
R 12 (9 x sc, inc) x 6 66
R 13 (10 x sc, inc) x 6 72
R 14 for better stability this round is crocheted with 2 threads: (11 x sl st, sc) x 6 72
cut the thread and sew it
Finishing Umbrella
Cut off the wooden skewer to the length of 10 cm / 3.9 in. Put some glue on the ends of the skewer and let it dry a little bit, so it won’t be all over the umbrella. Now put on the handle on one side, and then the part with the umbrella on the other side.
Congratulations
More Amigurumi Doll Ideas: