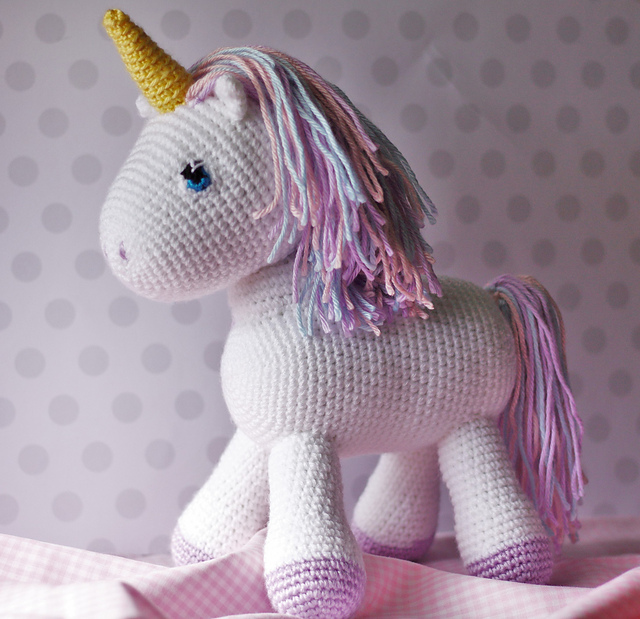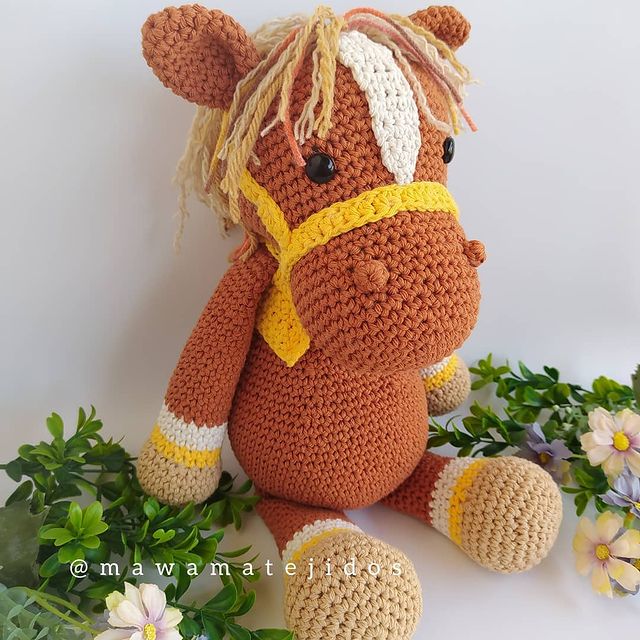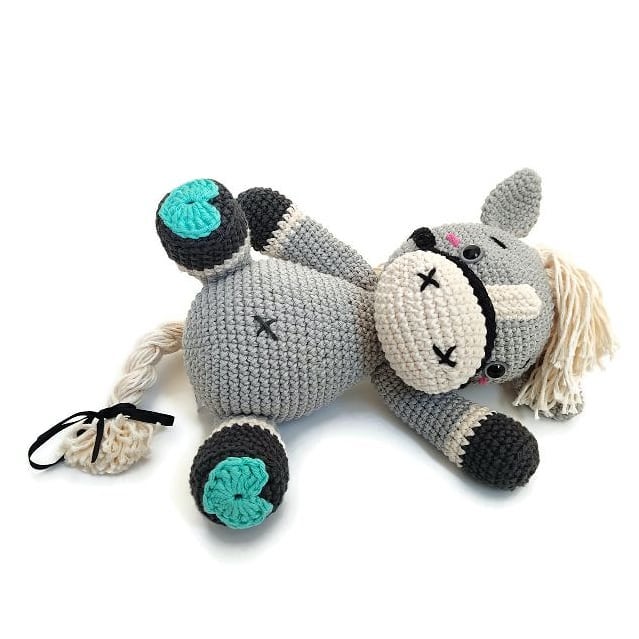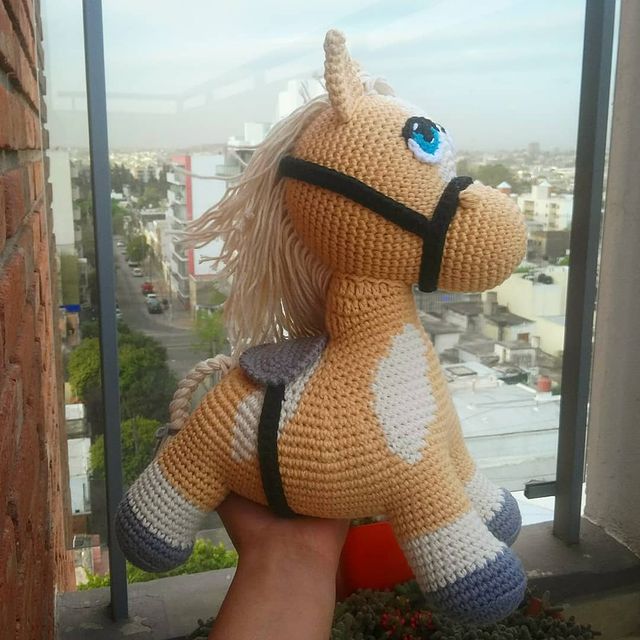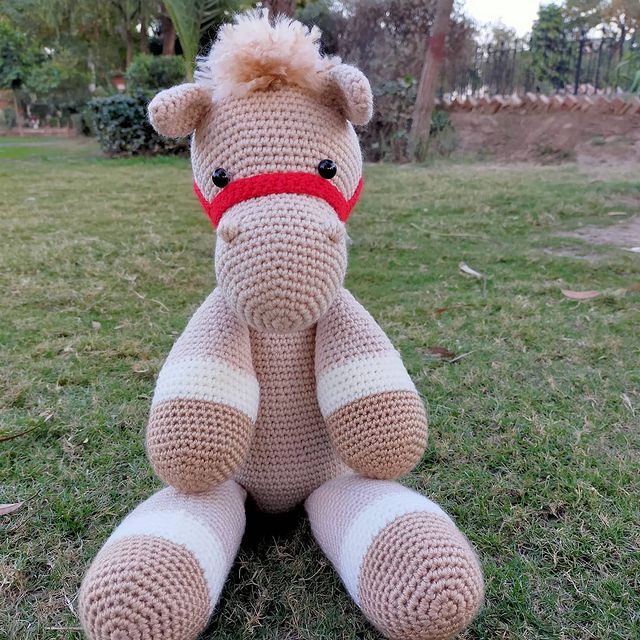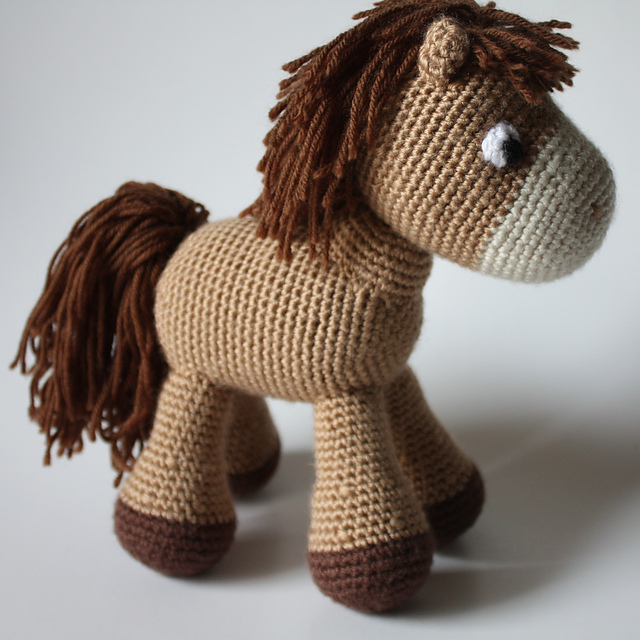
Horse Amigurumi Free Pattern
Hello my visitors who love to knit amigurumi. In this article, I share new amigurumi patterns for you free of charge. To knit free amigurumi patterns, it will be enough to follow the terms I shared for you. You can delight your children with amigurumi toys.
Materials
Brown, Light Brown, Black, White, and
Cream #4 worsted weight (Aran) yarn
(you will need aprx. 350 yds of the body color)
for unicorn version, White, Lavender, Yellow,
Blue, and Pink yarn
Scissors
Yarn needle
Stitch marker
3.5 mm crochet hook
Stuffing
US Terms
Single Crochet : sc
Double Crochet : dc
Slip Stitch : sl st
Decrease : dec
– single crochet 2 stitches together
Increase : inc
– work 2 single crochet stitches in the
same stitch
Body
-light brown yarn/white for unicorn
Rnd. 1: Make adjustable ring (6)
Rnd. 2: sc 2x in each stitch (12)
Rnd. 3: sc 1x, inc 6x (18)
Rnd. 4: sc 2x, inc 6x (24)
Rnd. 5: sc 3x, inc 6x (30)
Rnd. 6: sc 4x, inc 6x (36)
Rnd. 7: sc 5x, inc 6x (42)
Rnd. 8: sc 6x, inc 6x (48)
Rnd. 9-27: sc in each stitch (48)
Rnd. 28: sc 6x, dec 6x (42)
Rnd. 29: sc 5x, dec 6x (36)
Rnd. 30: sc 4x, dec 6x (30)
Rnd. 31: sc 3x, dec 6x (24)
Rnd. 32: sc 2x, dec 6x (18)
-stuff –
Rnd. 33: sc 1x, dec 6x (12)
Rnd. 34: dec (6)
slip stitch, pull yarn thru the stitch leaving a long tail
-using the long tail sew the opening closed
Legs (make 4)
-start with dark brown yarn/ lavender for unicornRnd. 1: Make adjustable ring (6)
Rnd. 2: sc 2x in each stitch (12)
Rnd. 3: sc 1x, inc 6x (18)
Rnd. 4: sc 2x, inc 6x (24)
Rnd. 5: sc 3x, inc 6x (30)
Rnd. 6-8: sc in each stitch (30)
-change to light brown yarn/ white for unicornRnd. 9: sc in each stitch (30)
Rnd. 10: sc 3x, dec 6x (24)
Rnd. 11-13: sc in each stitch (24)
Rnd. 14: sc 2x, dec 6x (18)
Rnd. 15-23: sc in each stitch (18)
slip stitch, pull yarn thru the stitch leaving a
long tail
-stuff-
Ears
-light brown yarn/ white for unicornRnd. 1: Make adjustable ring (6)
Rnd. 2: sc in each stitch (6)
Rnd. 3: sc 1x, inc 3x (9)
Rnd. 4: sc 2x, inc 3x, sc last stitch (12)
slip stitch, pull yarn thru the stitch leaving a long tail
Eyes
-white yarn
-blue yarn for unicorn as white will not show
up on a white body
Rnd. 1: Make adjustable ring (6) (5 white and 1 black)
-on the 6th adjustable ring stitch, change to black yarn
-sl st
Head
-start with cream yarn/white for unicorn
Rnd. 1: Make adjustable ring (6)
Rnd. 1: sc 2x in each stitch (12)
Rnd. 2: sc 1x, inc 6x (18)
Rnd. 3: sc 2x, inc 6x (24)
Rnd. 4: sc 3x, inc 6x (30)
Rnd. 5: sc 4x, inc 6x (36)
Rnd. 6-9: sc in each stitch (36)
Rnd. 10: sc 5x, inc 6x (42)
Rnd. 11: sc in each stitch (42)
-change to light brown yarn/continue with white for unicorn
Rnd. 12-13: sc in each stitch (42)
Rnd. 14: sc 6x, inc 6x (48)
-this next round creates a raised area on one side of the head (the forehead), you will be
working 6 increases in the round, however they will not be evenly spaced like they have
been in the previous rounds. I have tried to clarify the placement of the increase stitches
below
Rnd. 15: sc 17x, inc, sc 2x, inc, sc 3x, inc, sc 2x, inc, sc 17x, inc, sc 1x, inc (54)
– You have just made the forehead area where you will add the eyes later.
Rnd. 16: sc 8x, inc 6x (60)
Rnd. 17-19: sc in each stitch (60)
Rnd. 20: sc 8x, dec 6x (54)
Rnd. 21-22: sc in each stitch (54)
Rnd. 23: sc 7x, dec 6x (48)
Rnd. 24: sc in each stitch (48)
Rnd. 25: sc 6x, dec 6x (42)
Rnd. 26: sc 5x, dec 6x (36)
Rnd. 27: sc 4x, dec 6x (30)
Rnd. 28: sc 3x, dec 6x (24)
Rnd. 29: sc 2x, dec 6x (18)
Rnd. 30: sc 1x, dec 6x (12)
Rnd. 31: dec 6x (6)
slip stitch, pull yarn thru the stitch leaving a long tail
Unicorn Horn
You will work all the stitches in the back loop only (blo) to create a spiral ridge going
around the horn- use yellow yarn
Rnd. 1: make adjustable ring (6)
Rnd. 2: sc in the back loop only in each stitch (6)
Rnd. 3: sc blo 1x, inc blo 3x (9)
Rnd. 4-8: sc blo in each stitch (9)
Rnd. 9: sc blo 2x, inc blo 3x (12)
Rnd. 10-11: sc blo in each stitch (12)
Slip stitch and pull yarn thru leaving a long tail
Assembly
– fold the ears to create little pockets and stitch
ears on the sides of the head in the 12th Rnd.
up from the cream/light brown color change.
Be sure the head is positioned so the raised side
of the head is on top and the ears are 6 stitches
apart from each other.
-if making a unicorn sew the horn to the
forehead between the ears before adding hair
– You can begin to add hair now, or wait until
you have sewn the eyes and neck in place. Cut
about 100, 10 inch strands of dark brown yarn
or blue, pink, and lavender for unicorn.
An easy way to do this is to wrap the yarn
around something and then cut through all the
layers at once.
– To add the hair insert your hook into the sc
stitches on the head and pull the center of a
piece of yarn through the stitch and then loop
it through itself. Repeat all the way down the
head and neck. Cut the yarn pieces about 2-3
inches long as desired to look natural
Neck
-light brown yarn/white for unicorn
Rnd. 1: Make adjustable ring (6)
Rnd. 2: sc 2x in each stitch (12)
Rnd. 3: sc 1x, inc 6x (18)
Rnd. 4: sc 2x, inc 6x (24)
Rnd. 5: sc 3x, inc 6x (30)
Rnd. 6-7: sc in each stitch (30)
Rnd. 8: sc 4x, inc 6x (36)
– sew the neck to the head centered under the ears about 6 rounds back from the
cream/brown color line.
– sew the eyes 6 rounds in front of the ears, centered on the head making sure the black
pupils are facing forward.
– continue adding hair down the back of the head.
– sew the neck to the body 3 rows up from the body’s adjustable ring, making sure to stuff it
firmly before finishing.
Tail Base
Use dark brown/lavender for unicorn
Rnd. 1: Make adjustable ring (6)
Rnd. 1: sc 2x in each stitch (12)
Rnd. 2-3: sc in each stitch (12)
Rnd. 4: sc 1x, inc 6x (18)
Rnd. 5: sc in each stitch (18)
Rnd. 6: dec until closed
sl st, and pull yarn through leaving a long tail
-stuff and then using the long tail stitch the end shut
-sew the small end of the tail base to the back of the horse body sticking up and out.
-using the same technique as on the head add hair strands to the tail base until it looks
full. Cut the strands about 4-5 inches long as desired.
– sew the legs to the bottom “corners” of the body. Space them so they are all the way at the
front and back of the body as far as they can go.
– using light brown yarn stitch slanted nostrils on the front of the nose 6 stitches apart.
We finished our pattern. You can send the finished pattern to me on facebook, instagram and pinterest.
https://www.facebook.com/amigurumi.sdk.today/
https://www.instagram.com/amigurumifreepatternss/
https://www.pinterest.com/crochetblogkb/
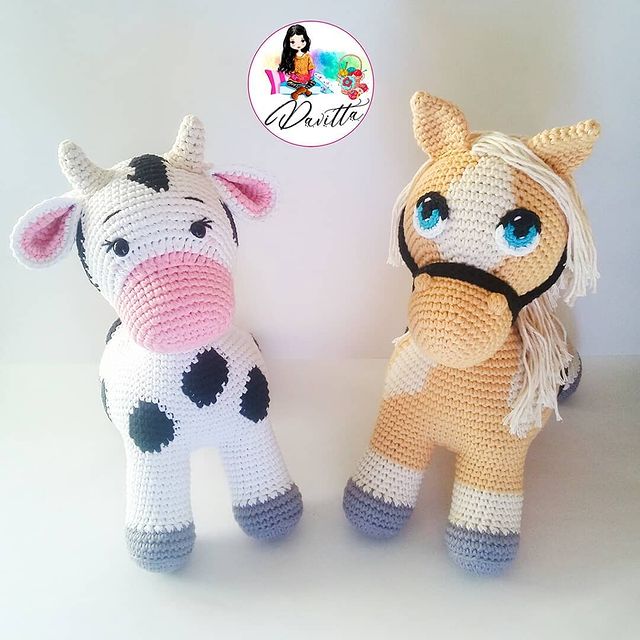
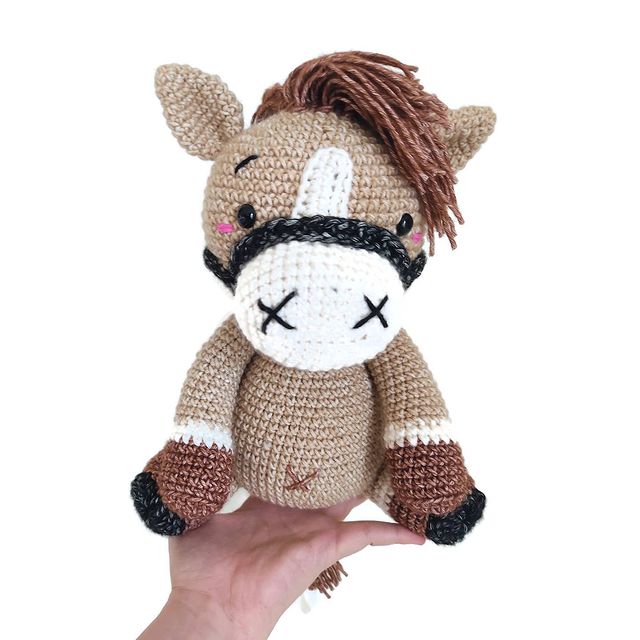
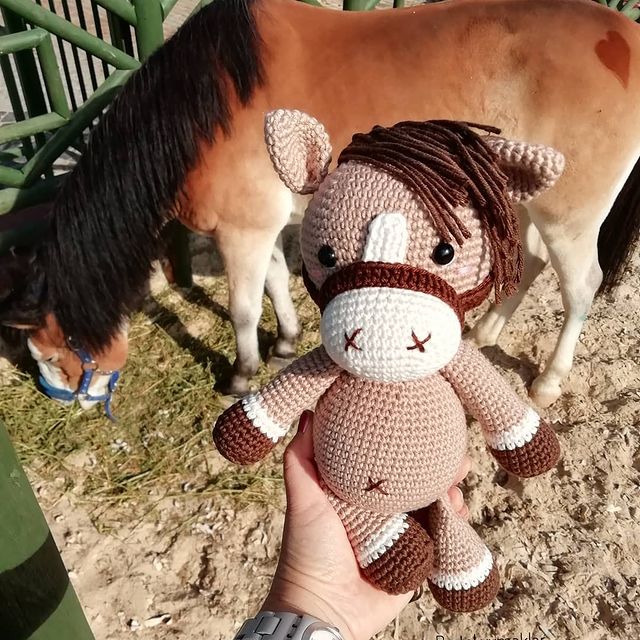
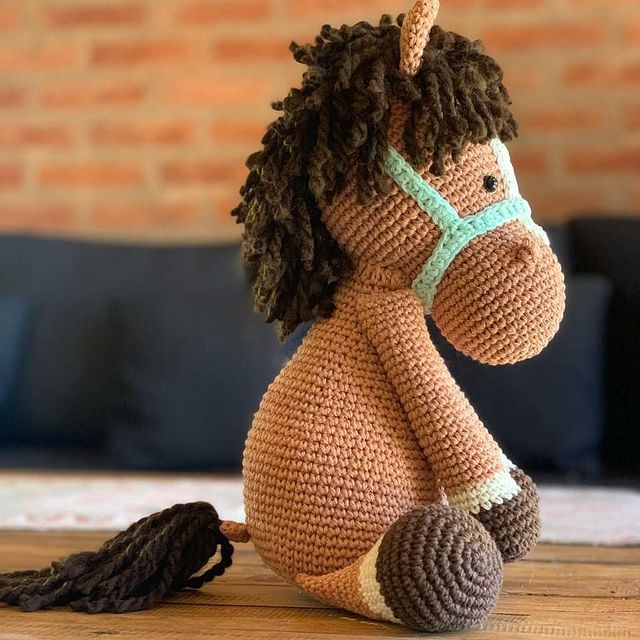
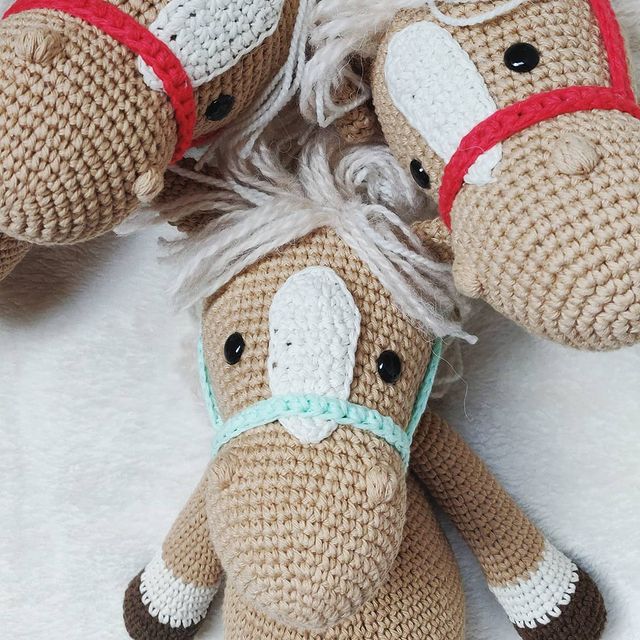
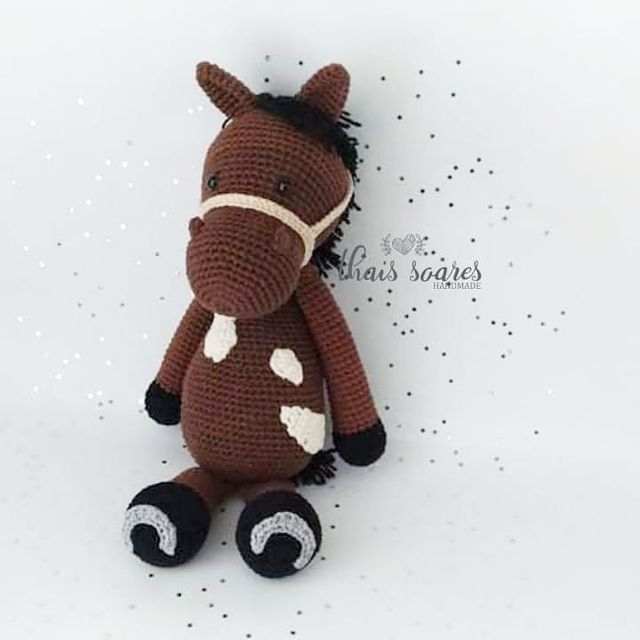
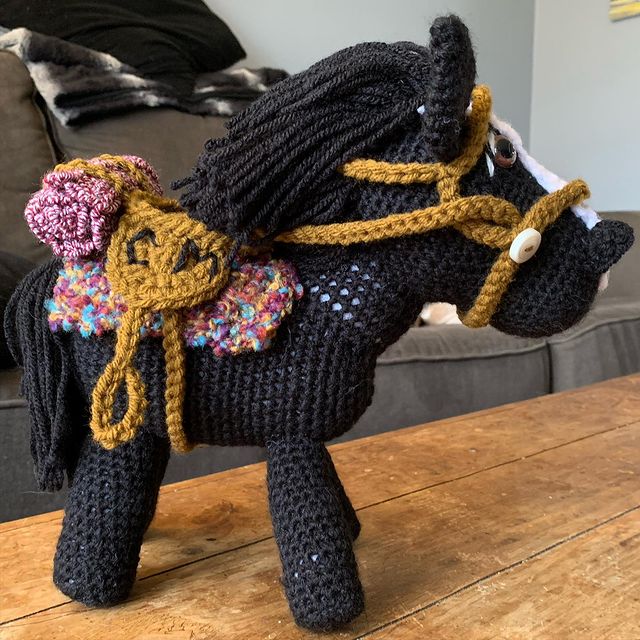
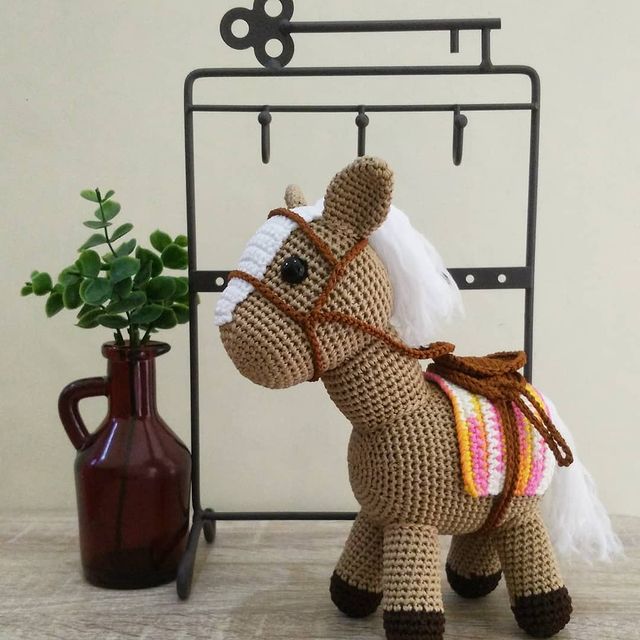
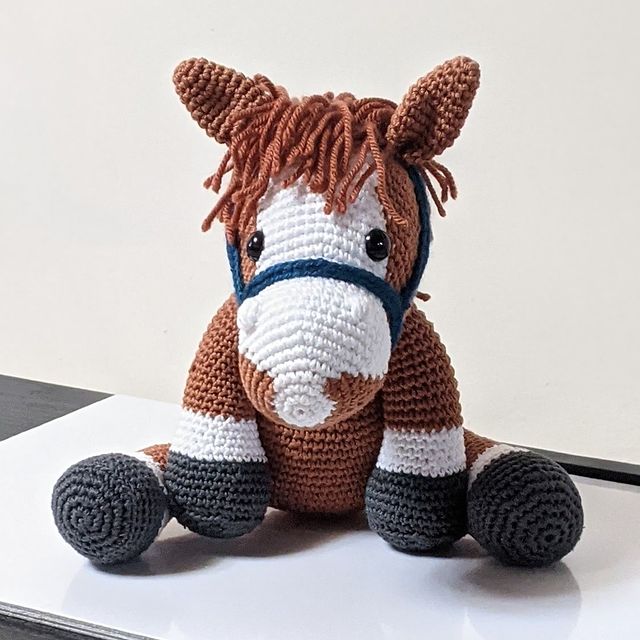
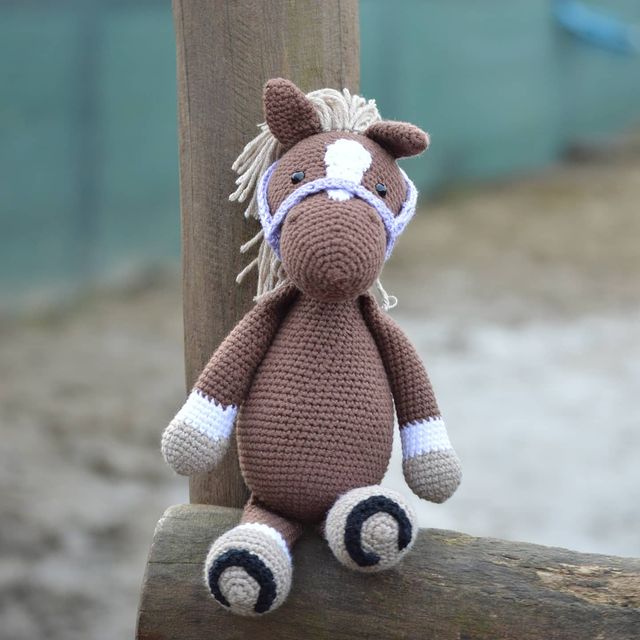
More Amigurumi Horse İdeas