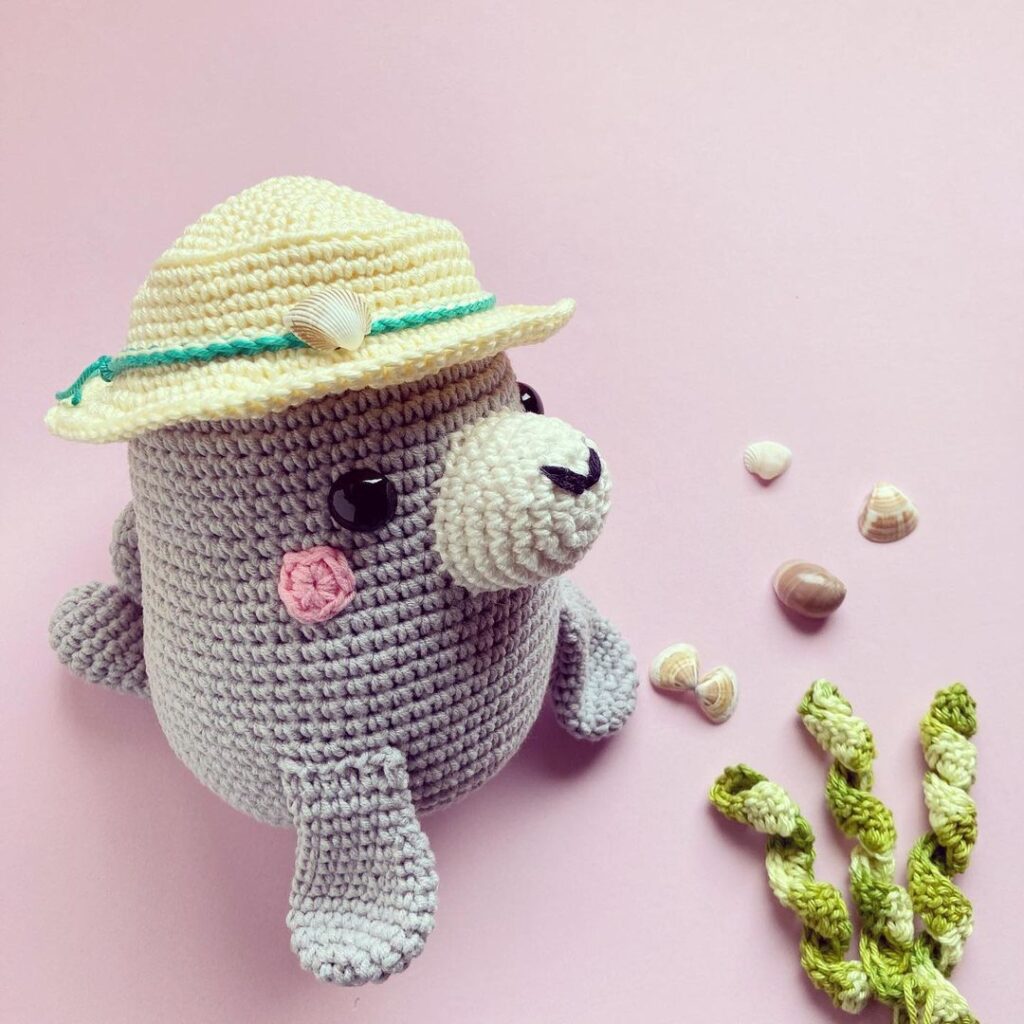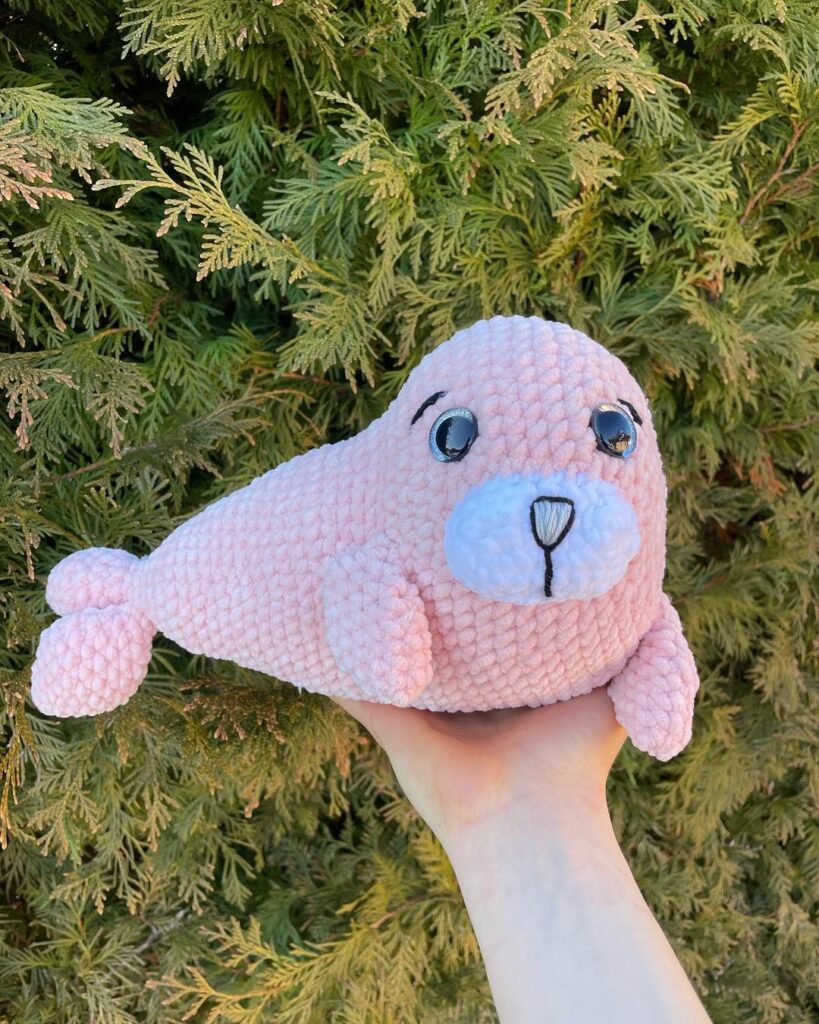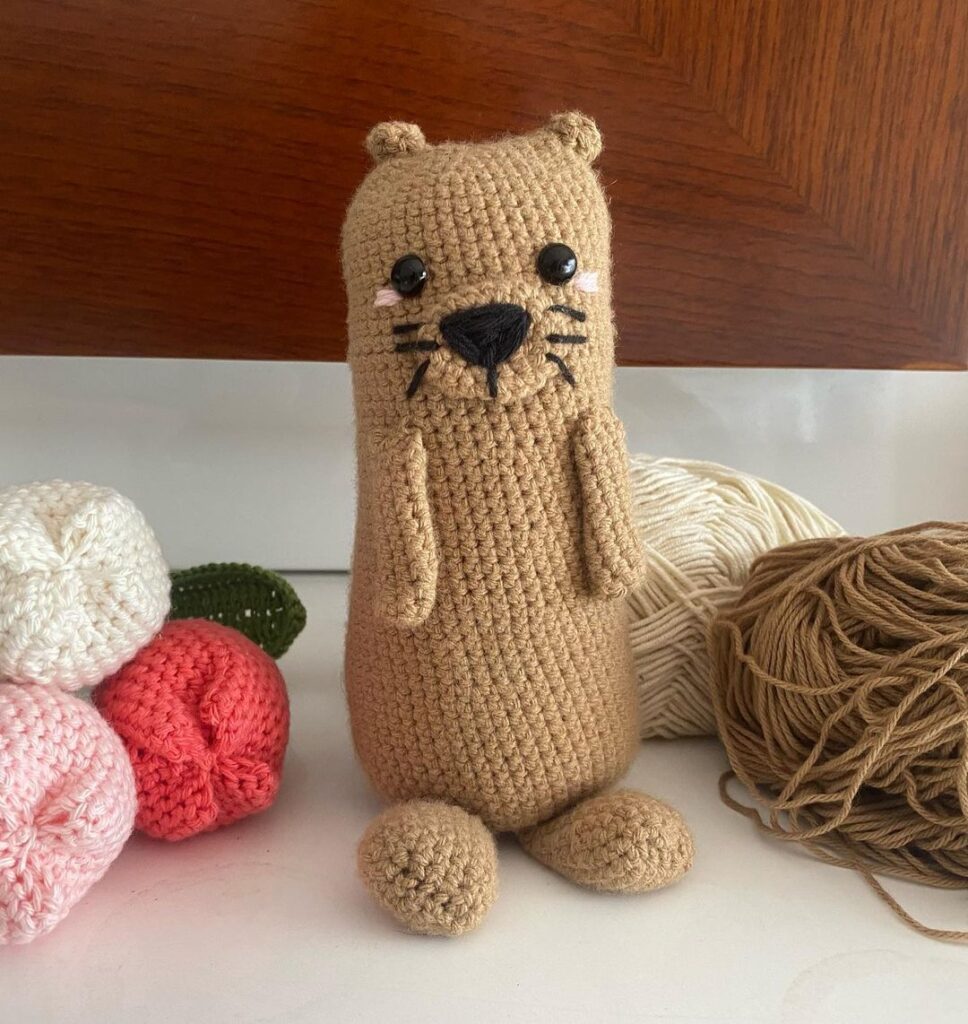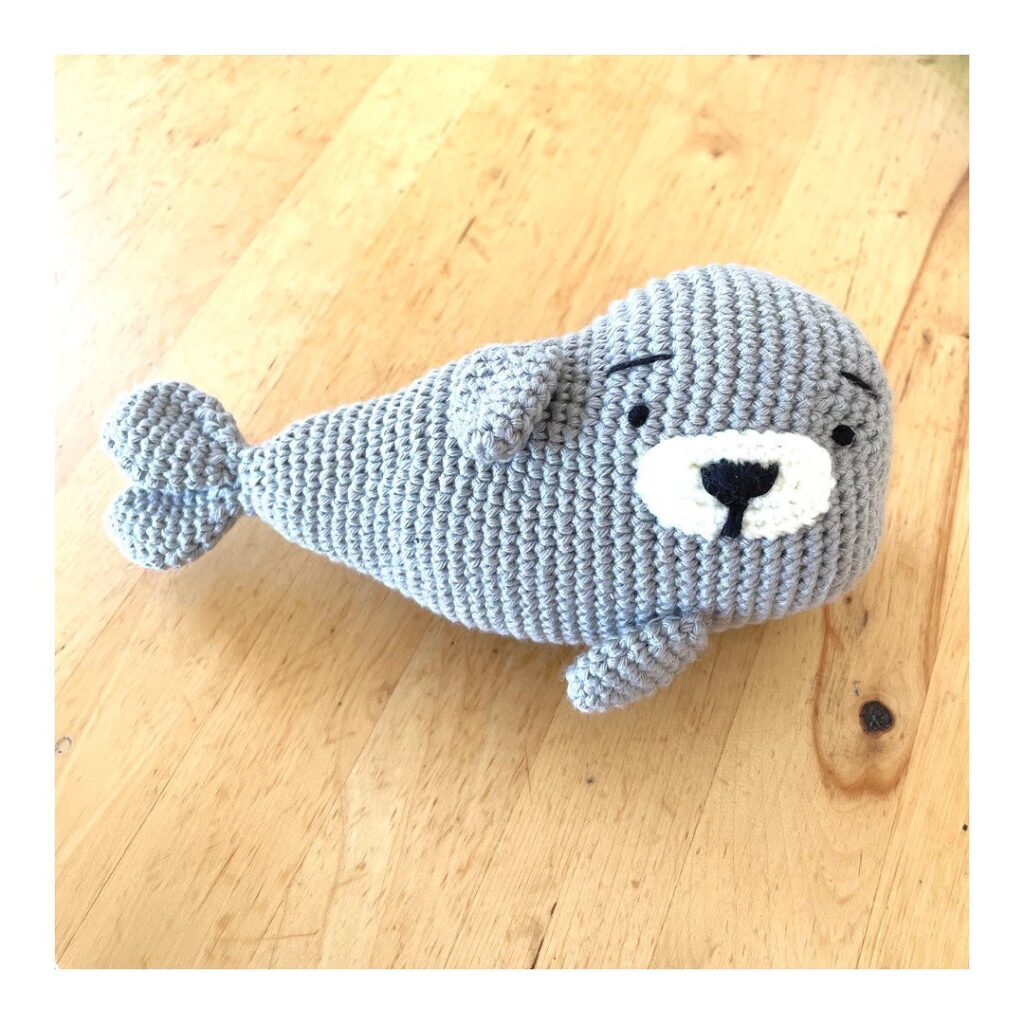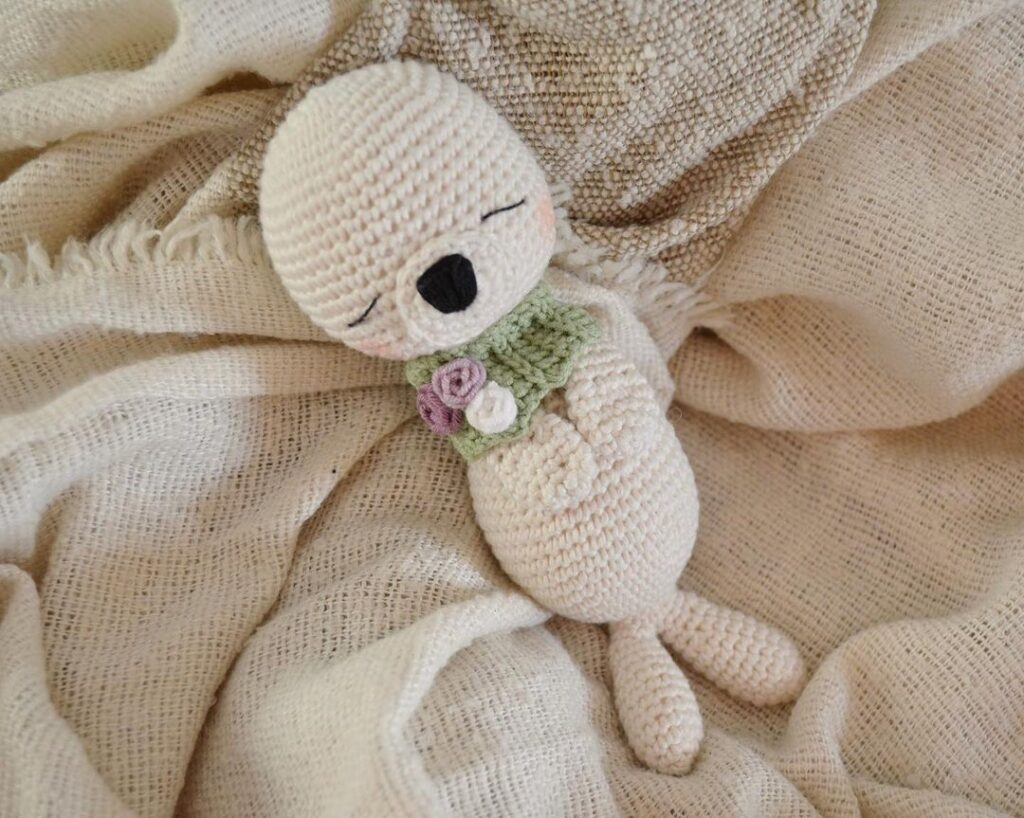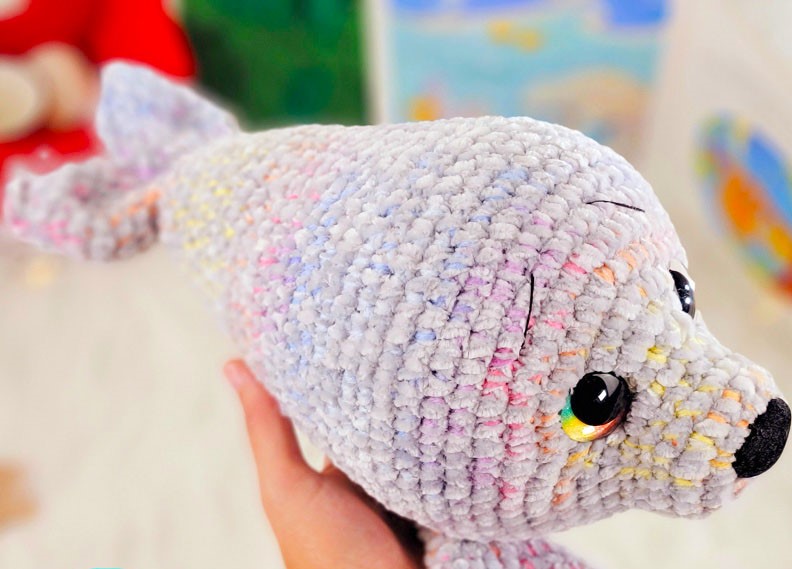
Cute Mini Seal Amigurumi Crochet Pattern
Hello my visitors who love to knit amigurumi. In this article, I share new amigurumi patterns for you free of charge. To knit free amigurumi patterns, it will be enough to follow the terms I shared for you. You can delight your children with amigurumi toys.
Materials Needed:
Yarn: Worsted Weight #4, approximately 100g of main color and less than 50g of accent colors
Color A: Gray
Hook Size: D hook or 3.25 mm
18 mm safety eyes, 18 mm safety nose
Scissors, sewing needle, stitch marker, fiberfill stuffing
Notes:
• Do not join rounds unless stated, work in a continuous spiral
• Use a stitch marker to mark the beginning of each round
• All stitches are worked in both loops unless stated otherwise in the pattern
Abbreviations:
sc : Single Crochet
inc : Increase
dec : Decrease
st: Stitch
hdc: Half Double Crochet
sl-st : Slip Stitch
ch : Chain
..in : make increase into same stitch as many as the number which is given in front of “inc” abbreviation (exp; 3inc, 4inc..).
FLO : Crochet into front loops only
BLO : Crochet into back loops only
Head and Body:
Crocheted from front of head to back
With Color A:
1. Make 6 sc into a magic ring= 6
2. Increase in each st around= 12
3. (sc, inc) x 6= 18
4-6. sc in each st around
7. 2 sc, (sc, inc) x 6, 4 sc= 24
8. 2 sc, (2 sc, inc) x 6, 4 sc= 30
9. 2 sc, (3 sc, inc) x 6, 4 sc= 36
10. 2 sc, (4 sc, inc) x 6, 4 sc= 42
11. 2 sc, (5 sc, inc) x 6, 4 sc= 48
Place eyes between rounds 9 and 10, leaving 10 holes between them. Place the 1st eye after the 2nd increase. Count 10 holes after that and place the 2nd eye. If you want the sunken eye look, do not place the backs of the eyes on until round 21. Place the nose between rounds 2 and 3, in between the eyes.
12-17. sc in each st around
18. (dec, 10 sc) x 4= 44
19-20. sc in each st around
21. (dec, 9 sc) x 4= 40
Now for the eyes. Stuff the head well. Cut a long piece of yarn and remove the eyes.
Place the needle in the hole where the first eye was and insert the needle into a hole next to the eye hole.
Go back and forth between each eye hole repeating the process from the first eye.
Pull slightly on the yarn after going through each hole. Do this about 3 times on each side until you reach the look you want. Follow the pictures for help.
To place the backs of the eyes you will need to remove most of the stuffing to place the washers on the eyes then re stuff it.
Head and Body Continued:
22-23. sc in each st around
24. (dec, 8 sc) x 4= 36
Stuff the body as you work
25-26. sc in each st around
27. (dec, 7 sc) x 4= 32
28-29. sc in each st around
30. (dec, 6 sc) x 4= 28
31. sc in each st around
32. (dec, 5 sc) x 4= 24
33. sc in each st around
34. (dec, 6 sc) x 3= 21
35. (dec, 5 sc) x 3= 18
36. (dec, 4 sc) x 3= 15
37. (dec, 3 sc) x 3= 12
Work 5 sc, you are going to sc the round in half. Work a sc to the opposite side of the circle. You will now have two rounds that are 6 sc each. Refer to the pictures.
Head and Body Continued:
Now you are going to start making the tail fins:
Continue around one of the circles
1. Increase in each st around= 12
2. (3 sc, inc) x 3= 15
3. (4 sc, inc) x 3= 18
4-5. sc in each st around
Stuff the fins as you work
6. (sc, dec) x 6= 12
7. sc in each st around
8. dec x 6= 6
F/O and sew the hole closed.
Attach the yarn to a stitch on the 2nd circle
Repeat rounds 1-8
F/O and sew the hole closed.
Fins(Make 2):
With Color A:
Ch 7
1. inc in 2nd ch from hook, 4 sc, inc3, working on the opposite side of the chain: 4 sc, inc= 15
*refer to pg. 11 for help with working on the opposite side of the chain*
2. inc x 2, 4 sc, inc x 3, 5 sc, inc= 21
3-4. sc in each st around
Do not stuff the fins
5. dec, 9 sc, dec, 8 sc= 19
6. dec, 8 sc, dec, 7 sc= 17
7. sc in each st around
8. dec, 7 sc, dec, 6 sc= 15
9. (dec, 3 sc) x 3= 12
10-11. sc in each st around
12. (dec, 2 sc) x 3= 9
13-14. sc in each st around
Work 2 sc, fold the fins in half and sc the opening closed.
F/O and leave a long tail for sewing
Assembly:
Head and Body:
1. Take a long strand of black thread and thread your needle. Insert the needle into a hole above the eyes. Bring the needle to a hole a few rounds above the eye. Embroider an eyebrow. Repeat for the 2nd side. Weave in any tail ends.
2. If you want to add sleepy eyes. Thread your needle with a long strand of gray yarn.
Insert the needle into a hole in between the eyes. Bring the needle up to a corner on the inside of the eye. Wrap the needle around the front of the eye and insert the needle into a hole on the outside of the eye. Pull tightly.
Repeat one more time. Repeat for the 2nd eye. Weave in any yarn tails.
Fins:
1. Thread your needle with a long strand of black embroidery thread. Insert the needle into a hole on the back of the fin. Bring the needle to a hole in between rounds 5 and 6.
Bring the needle around the front of the fin to the back. Insert the needle into a hole and embroider a line. Repeat 3 more times. You will want the lines one hole apart from each other. Weave in any tail ends.
2. Turn the body upside down and pin the fins onto the body approximately between rounds 16 and 20.
3. Sew the fins onto the body.
Cheeks:
1. If you want add some cheeks with blush or red crayon.
Helpful Tips:
Exact Colors Used:
1. Gray: I love this yarn Light gray
You can use different eye sizes. You might have to adjust the placements if you change the sizes.
You can use different hook sizes and weights of yarn. It will just change the size of your seal and you might need to adjust eye and nose placement.
How you stuff matters! The type of stuffing you use, how you stuff, all this matters on how your seal turns out. I prefer Polyfil stuffing but you can use other types.
You can also use different yarn weights. You will just need to adjust your hook sizes and eye/nose sizes.
Congratulations
More Amigurumi Seal Ideas
