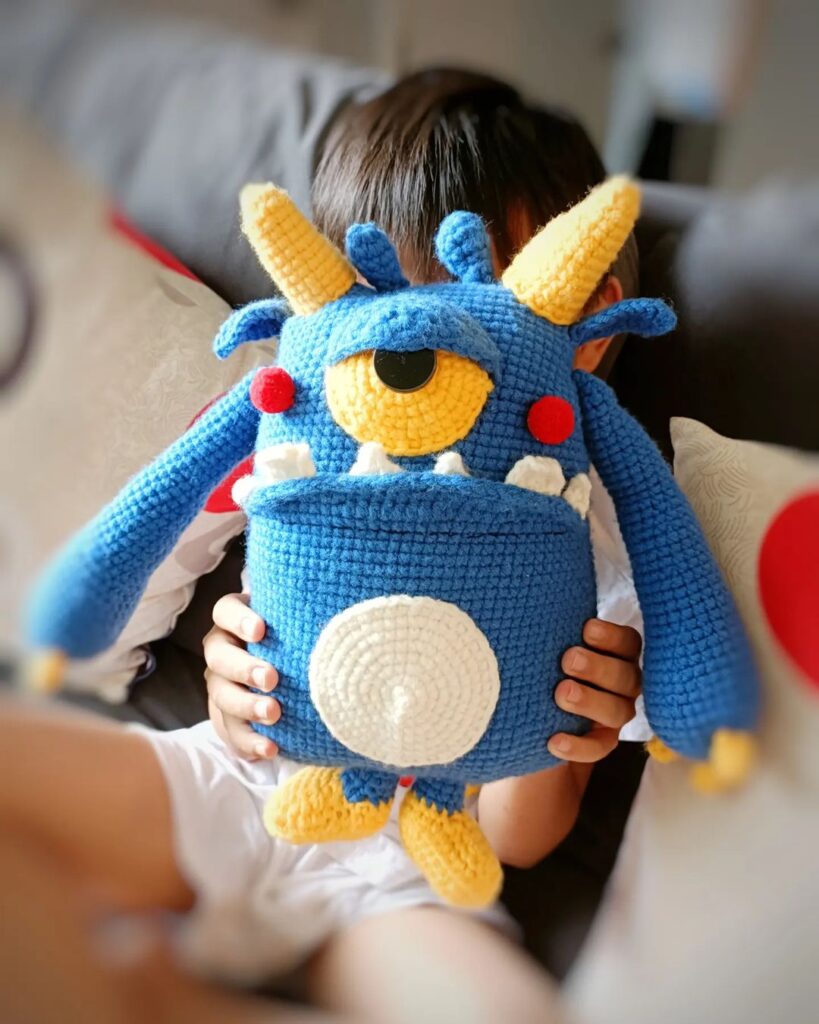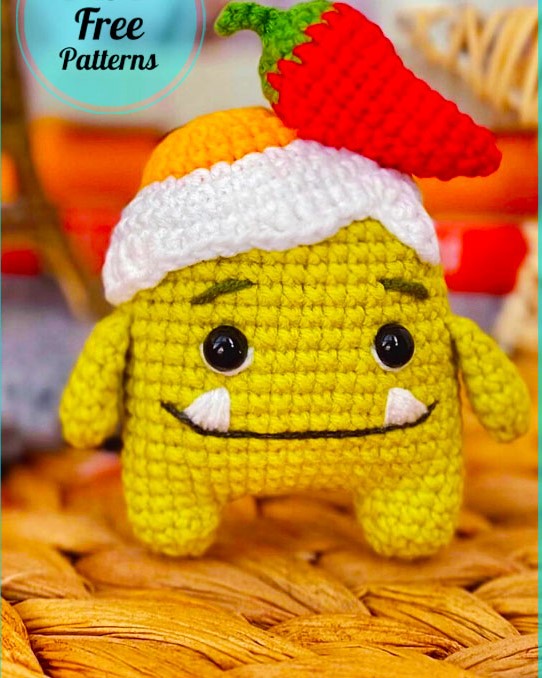
Cute Little Monster Amigurumi Free Crochet Pattern
Hello my visitors who love to knit amigurumi. In this article, I share new amigurumi patterns for you free of charge. To knit free amigurumi patterns, it will be enough to follow the terms I shared for you. You can delight your children with amigurumi toys.
Tools and Materials:
1. Yarn YarnArt Jeans: green 58 –
main color, white 01, yellow 35, red
90, green (chili pepper) 69, dark gray
28, dark green (spikes) 82
2. Hook size 2 mm
3. Stuffing material
4. Safety eyes size 6 mm
5. Scissors
6. Pins
7. Large eye needle
8. Stitch markers (optional)
Abbreviations (US terms):
CH – chain
SC – single crochet
MR – magic/amigurumi ring
INC – increase (2 sc in 1 stitch)
DEC – decrease (2 stitches worked together)
()*n – repeat the instructions in brackets n times
SL ST – slip stitch
DC – double crochet
HDC – half double crochet
TR – treble crochet
Arms (2 parts):
1. 5 sc into MR
2. inc*5 (10)
3-6. 10 sc (4 rounds)
Fold the piece in half and work 4 sc through both halves.
Cut yarn leaving a tail. Hide it inside the piece using a needle.
LEGS (2 pieces):
1. 6 sc into MR
2. inc*6 (12)
3. 12 sc
Cut yarn and hide it inside the piece. Make the second leg and continue crocheting from it making its body.
BODY:
Start from the second leg making 6 ch. Join the 2 legs together working round 4.
4. 12 sc (1st leg), (1 sc, inc)*3 (chain), 12 sc (2d leg), (1 sc, inc)*3 (chain) (42)
5-13. 42 sc (9 rounds)
14. 5 sc, 4 sc – attaching the 1st arm, 16 sc, 4 sc – attaching the 2d arm, 13 sc (42)
15-19. 42 sc (5 rounds)
20. 2 sc, dec, 1 sc, dec, 1 sc, dec, 14 sc, dec, 1 sc, dec, 1 sc, dec, 10 sc (36)
Insert and fix eyes (6 mm) between rounds 13-14 with the gap of 6 or 8 stitches between them.
Stuff the piece.
21. (4 sc, dec)*6 (30)
22. (3 sc, dec)*6 (24)
23. (2 sc, dec)*6 (18) Stuff the piece.
24. (1 sc, dec)*6 (12)
25. dec*6 (6)
Add some stuffing material. Work the decreases to the end, then tighten the hole with a needle and hide the thread inside of the piece.
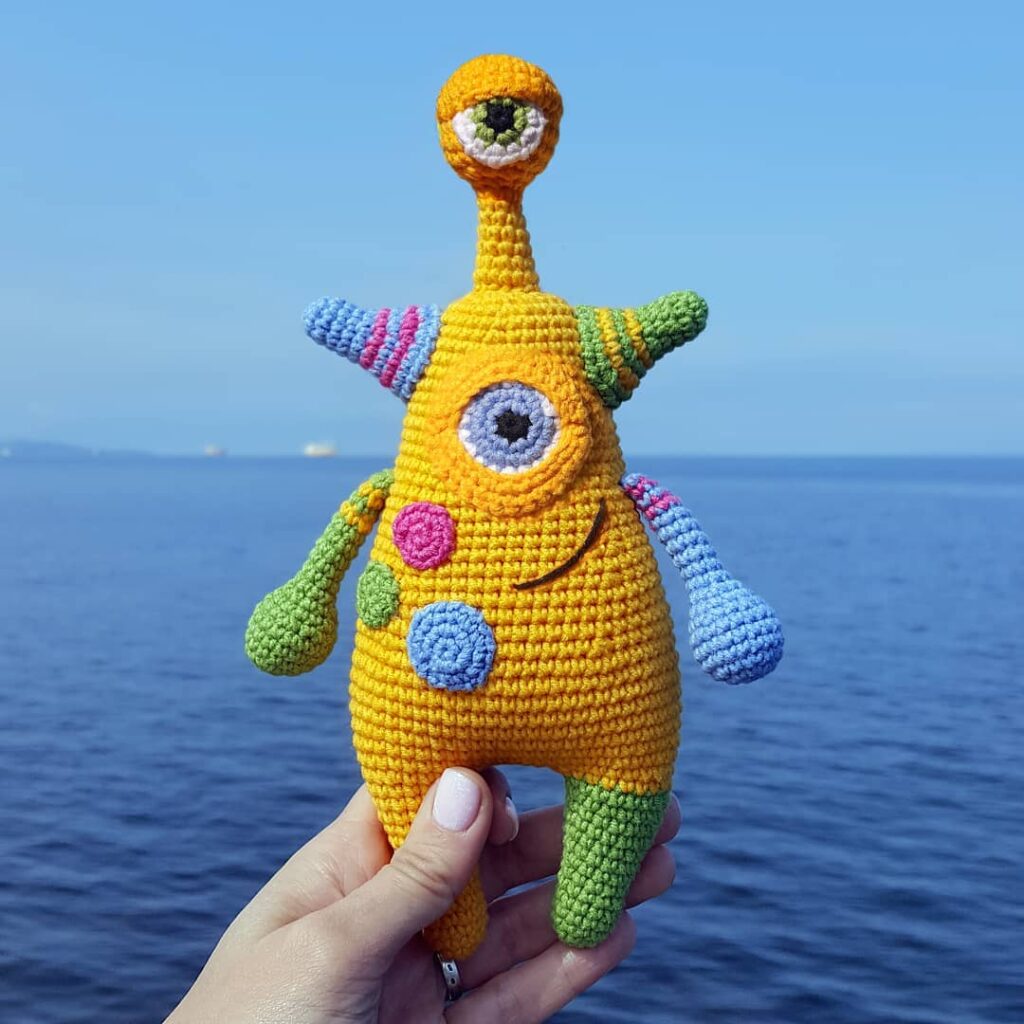
Embroider smile in dark gray (using 1 thin thread of 4 components of the main thread); teeth in the form of triangles in white (using 2 thin threads of the main one); whites of the eyes in white; eyebrows in dark green (the color of spikes).
EGG:
In yellow:
1. 6 sc into MR
2. inc*6 (12)
3. (1 sc, inc)*6 (18)
4. (2 sc, inc)*6 (24)
5-6. 24 sc (2 rounds) In white:
7. Through front loops only: (1 sc, inc)*12 (36)
8. (2 sc, inc)*12 (48)
9. 48 sc
10. Make the edging: 1 sc, 1 hdc, 2 dc, 1 hdc, 2 sc, 1 hdc, 1 dc, 2 tr, 1 dc, 1 hdc, 5 sc, 1 hdc, 5 dc, 1 hdc, 5 sc, 1 hdc, 2 dc, 1 hdc, 2 sc, 5 ch, work 3 dc from the 3d loop, then skip 3 sc, work from the 4th stitch: 1 sc, 1 hdc, 2 dc, 1 tr, 1 dc, 1 hdc, 1 Sc, 2 sl st
Cut yarn leaving a long tail for sewing.
SPIKES (2 pieces):
1. 6 sc into MR
2. (1 sc, inc)*3 (9)
3. (2 sc, inc)*3 (12)
Work 1 sl st and cut yarn leaving a long tail for sewing.
In green:
1. 6 sc into MR
2. inc*6 (12)
3. (1 sc, inc)*6 (18) In red:
4-6. 18 sc (3 rounds)
7. (4 sc, dec)*3 (15)
8-9. 15 sc (2 rounds)
10. (3 sc, dec)*3 (12)
11-12. 12 sc (2 rounds)
13. (2 sc, dec)*3 (9)
14. 1 sc, dec)*4 (5)
Cut yarn leaving a long tail. Tighten the hole with a needle. Make sculpting by working several stitches in the center to make it more curved. Do not cut the thread.
Tail:
In green:
Attach the thread in the center of the green part. Insert the hook under one of the stitches of the magic ring, pull the thread, and work 1 ch.
(You can also make it separately and then sew it on the center of the chili pepper.)
1. Chain 4
2. 3 sl st
Insert the hook under one of the opposite stitches of the magic ring. Then pull the thread and work 1 sl st to fix it.
Fix the threads tying a knot and hide yarn tails inside the piece.
Sew the egg and spikes to the monster fixing them with pins. Add a little stuffing material to each detail. Fix the threads and hide yarn tails inside the piece.
Sew the chili pepper fixing it with pins. Fix the threads and hide yarn tails inside the piece.
You did a great job, use it on happy days, stay tuned for the next recipe!!!
Congratulations
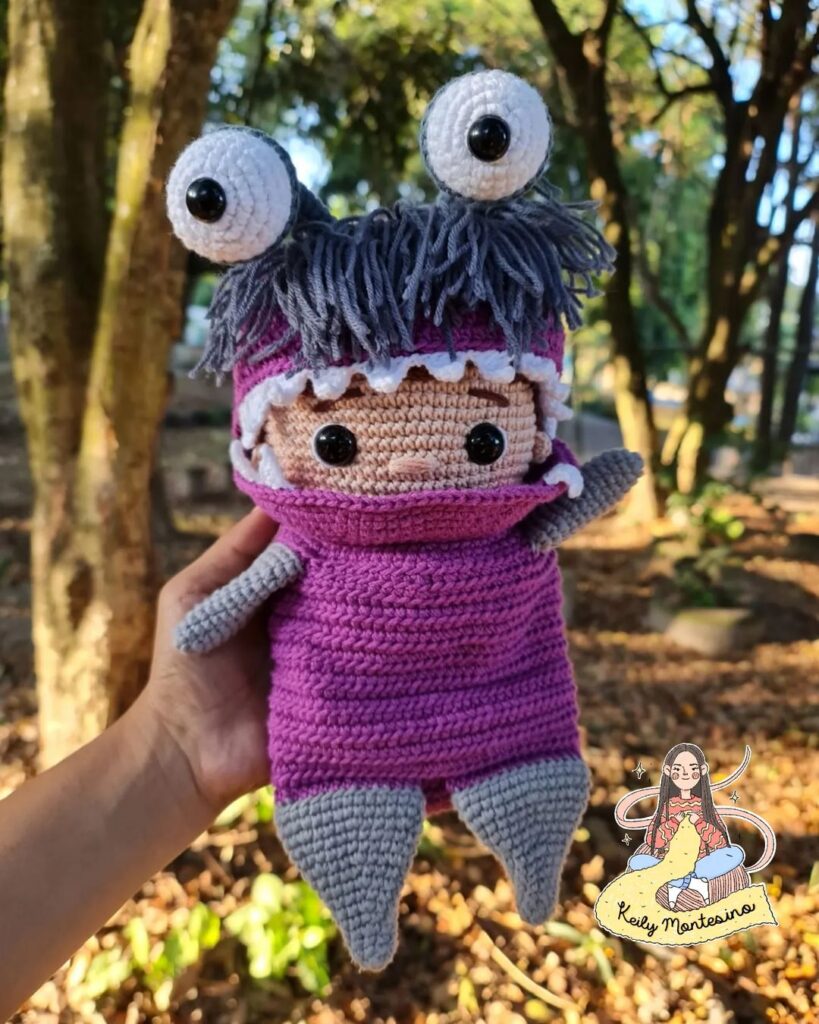
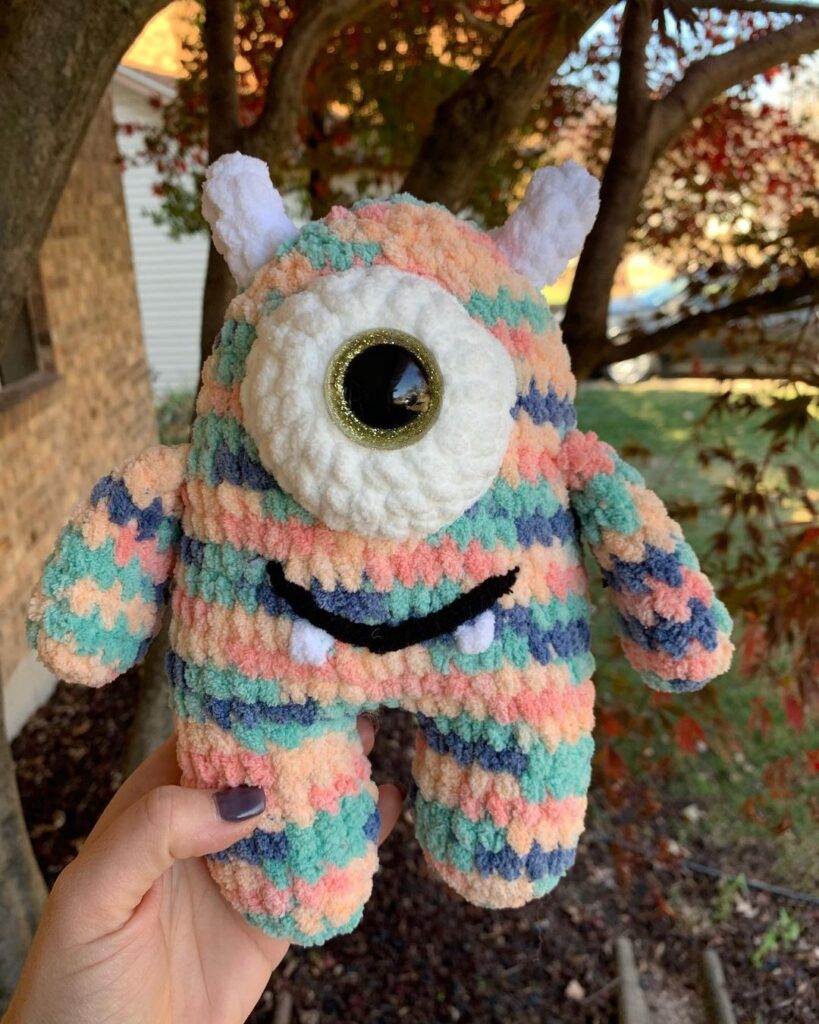
More Amigurumi Monster Ideas