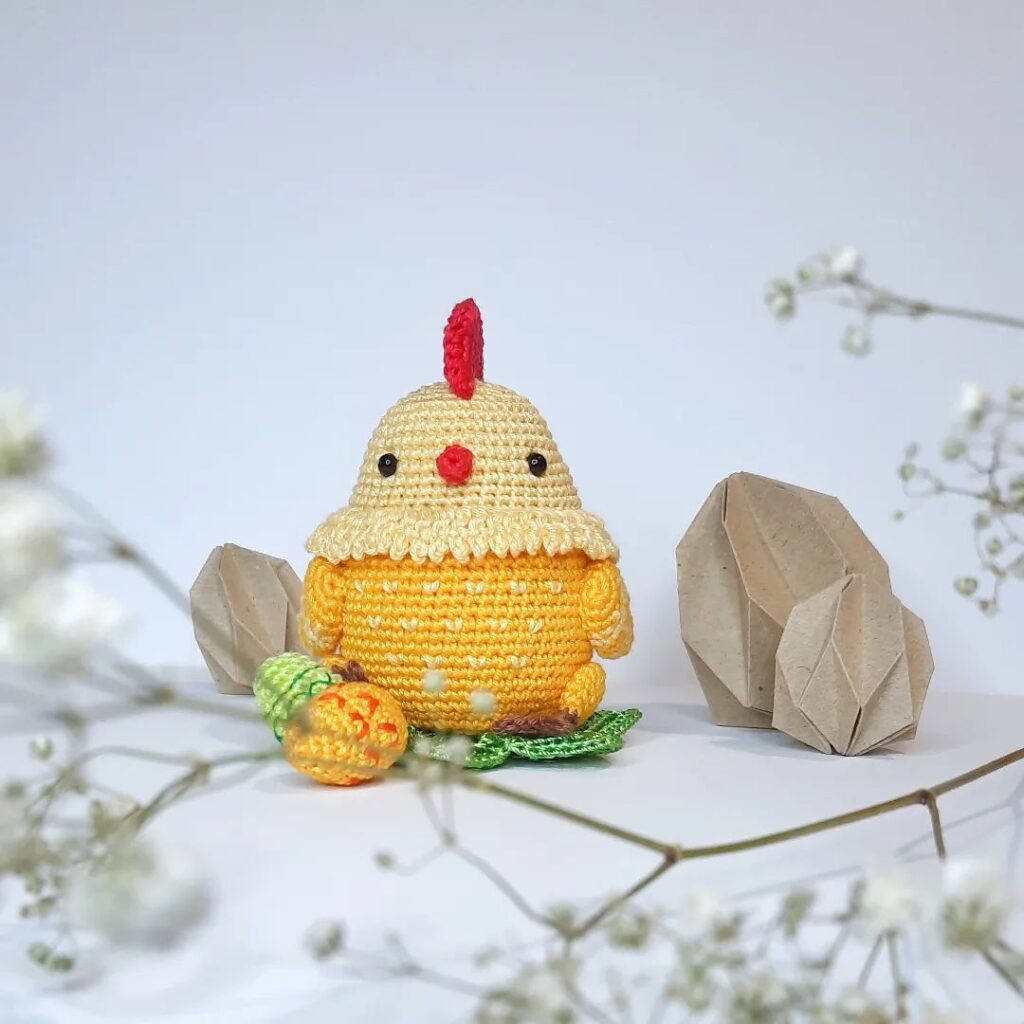
Chicken Cute Amigurumi Free Crochet Pattern
Hello my visitors who love to knit amigurumi. In this article, I share new amigurumi patterns for you free of charge. To knit free amigurumi patterns, it will be enough to follow the terms I shared for you. You can delight your children with amigurumi toys.
Material :
• Ricorumi, cotton color 061 (off-white), 25g
• Ricorumi, cotton color 056 (brown), 25g
• Ricorumi, cotton color 071 (camel), 25g
• Ricorumi, cotton color 068 (orange), 25g
• Pearl cotton size 8, black (to embroider the eyes)
• 1 2.5 mm crochet hook
• 1 embroidery needle
• Fiberfill
Abbreviations :
Rd = round
st = stitch
ch = chain
slat = slip stitch
sc = single crochet
dec = invisible decrease
inc = increase
“…* = repeat until the end of the round
Body .
color 061
Rd 1 : 6 sc in a magic ring- 6
Rd 2 : 1 inc in each st- 12
Rd 3 : *1 sc, 1 inc* (x6)- 18
Rd 4 : 1 sc in each st- 18
Rd 5 : “2 sc, 1 inc*(x6) – 24
Rd 6 to 9 (4 rounds) : 1 sc in each st- 24
Rd 10 : 1 inc, 23 sc – 25
Rd 11 : 1 sc, 1 inc, 23 sc – 26
Rd 12 : 2 sc, 1 inc, 23 sc – 27
Rd 13 : 3 sc, 1 inc, 23 sc – 28
Rd 14 : 3 sc, 1 inc, 24 sc – 29
Rd 15 : 3 sc, 1 inc, 25 sc – 30
Rd 16 : 4 sc, ch 7, insert your hook in the 2nd st from the hook and make 26 sc – 36
Rd 17 : *5 sc, 1 inc*(x6) – 42
Rd 18 : 3 sc, 1 inc, *6 sc, 1 inc” (x5), 3 sc – 48
Rd 19 to 21 (3 rounds) : 1 sc in each st- 48
Rd 22 : *6 sc, 1 dec*(x6) – 42
Stuff.
Rd 23 and 24 (2 rounds) : 1 sc in each st- 42
Rd 25 : *5 sc, 1 dec*(x6) – 36
Rd 26 : 1 sc in each st- 36
Rd 27 : 2 sc, 1 dec, *4 sc, 1 dec*(x5), 2 sc – 30
Rd 28 : *3 sc, 1 dec*(x6) – 24
Rd 29 : *2 sc, 1 dec*(x6) – 18
Rd 30 : *1 sc, 1 dec*(x6) – 12
Finish stuffing.
Finish with a slst then fasten off and close your work: using your tapestry needle, go through the BLO of each st from the last round with the tail then pull firmly. Hide the rest of the tail inside.
Legs x2 :
Color 056
Rd 1 : 6 sc in a magic ring- 6
Rd 2 to 16 (15 rounds): 1 sc in each st- 6 Do not stuff the legs.
Finish with a slst then fasten off. Make sure you keep a long enough tail for the assembly (about 30 cm).
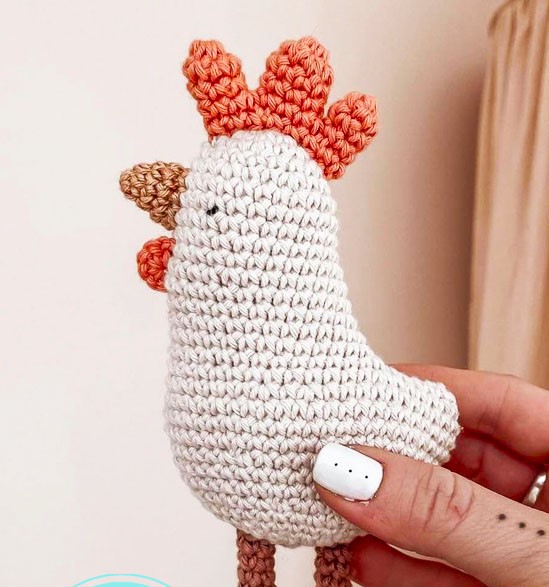
Comb :
Color 068
Big comb 1 :
Rd 1 : 6 sc in a magic ring- 6
Rd 2 : *2 sc, 1 inc* (x2) – 8
Rd 3 and 4 (2 rounds) : 1 sc in each st- 8 Fasten off and mark the last stitch.
Small combs 2 and 3 :
Rd 1 : 6 sc in a magic ring- 6
Rd 2 and 3 (2 rounds) : 1 sc in each st- 6 Fasten off and mark the last stitch.
For the third and last small comb, do not fasten off but assemble combs 1 and 2 as follows.:
4 sc on comb 1, 6 sc around comb 2, 4 sc on comb 1 again then finish with 6 sc around comb 3 so 21 sc in total.
Continue the comb with one last round with 1 sc in each st- 21
Finish with a slst then fasten off. Make sure you keep a long enough tail for the assembly (about 20 cm).
Do not stuff the comb.
Wattle :
color 068
Rd 1 : 6 sc in a magic ring- 6
Finish with a slst then fasten off. Make sure you keep a long enough tail for the assembly (about 20 cm).
Beak :
Color 071
Rd 1 : 6 sc in a magic ring- 6
Rd 2 : *2 sc, 1 inc* (x2) – 8
Rd 3 : *3 sc, 1 inc*(x2) – 10
Rd 4 1 sc in each st- 10
Finish with a slst then fasten off. Make sure you keep a long enough tail for the assembly (about 20 cm).
Assembly
Place the comb on the top of the head. Sew the legs at the bottom, 1 cm apart. Place the beak vertically on rounds 6 to 8.
Place the small wattle vertically on rounds 10 to 12.
Embroider two small eyes on each side of the beak between rounds 7 and 8.
To use your hen as a table decoration you can omit the legs and simply place her at the centre of the table or on each guest’s plate as a nice gift.
Congratulations
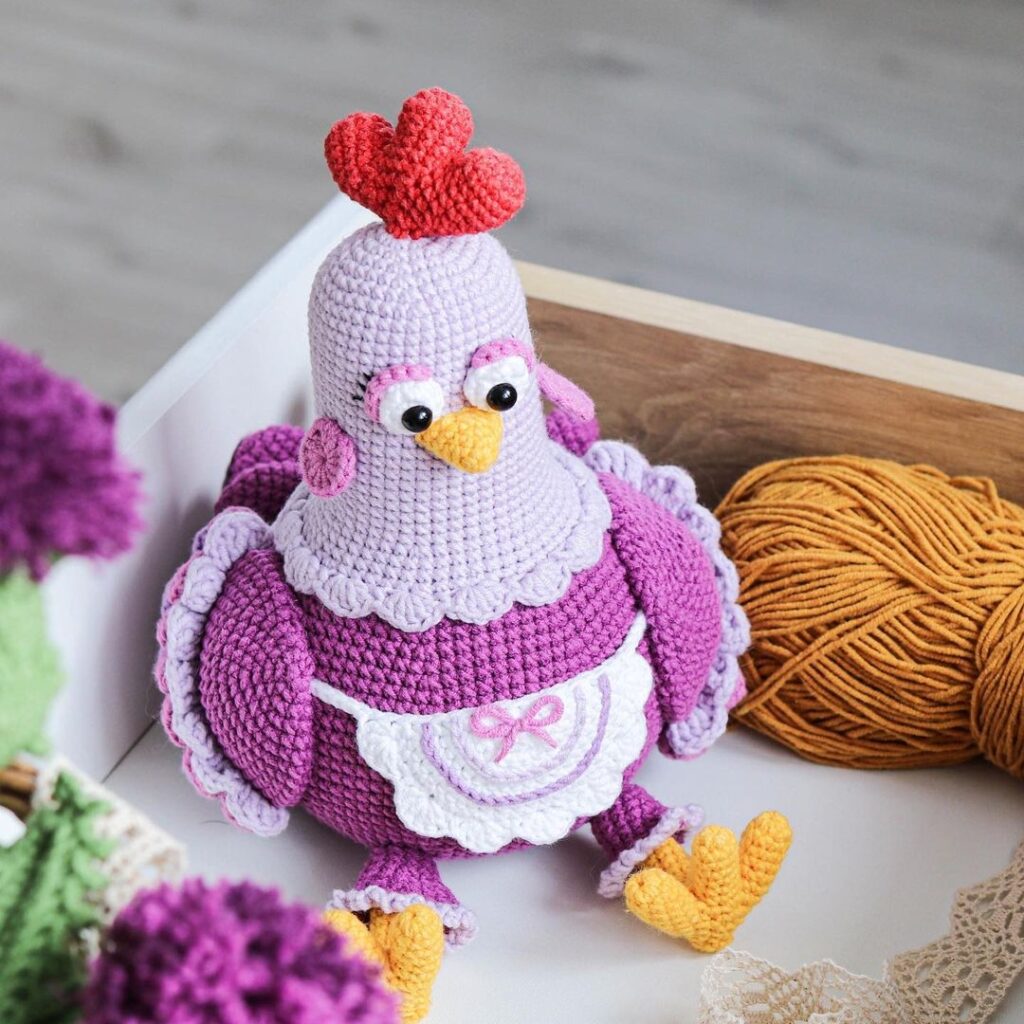
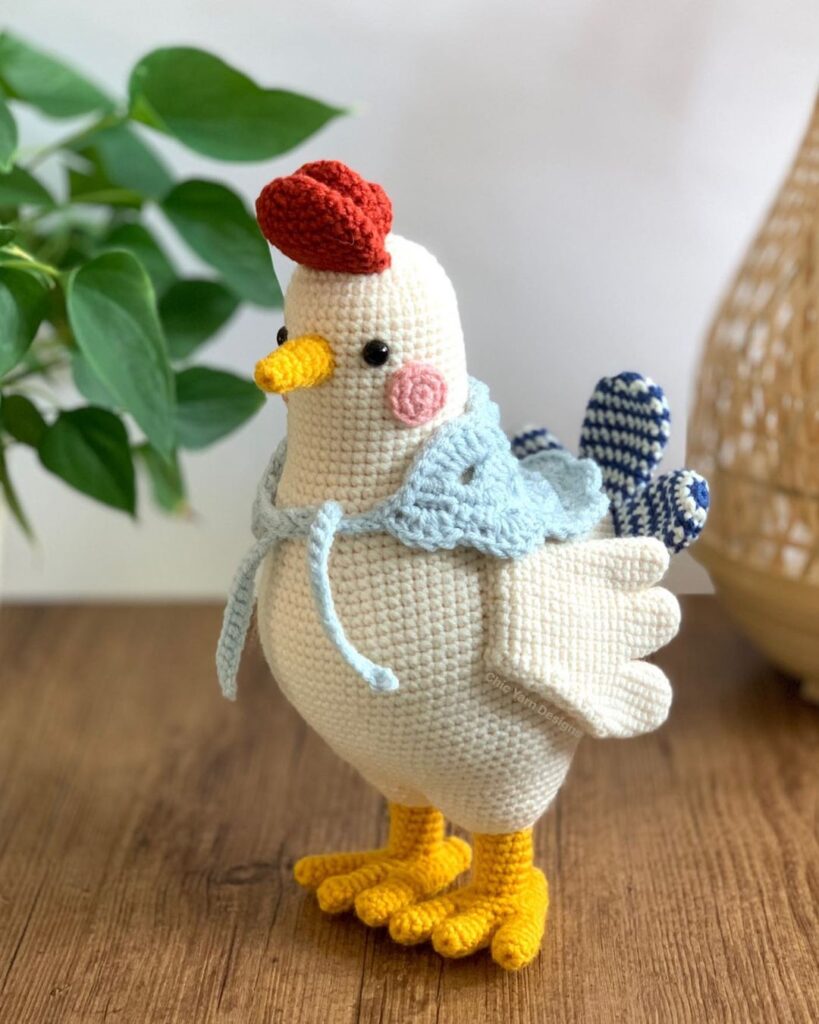
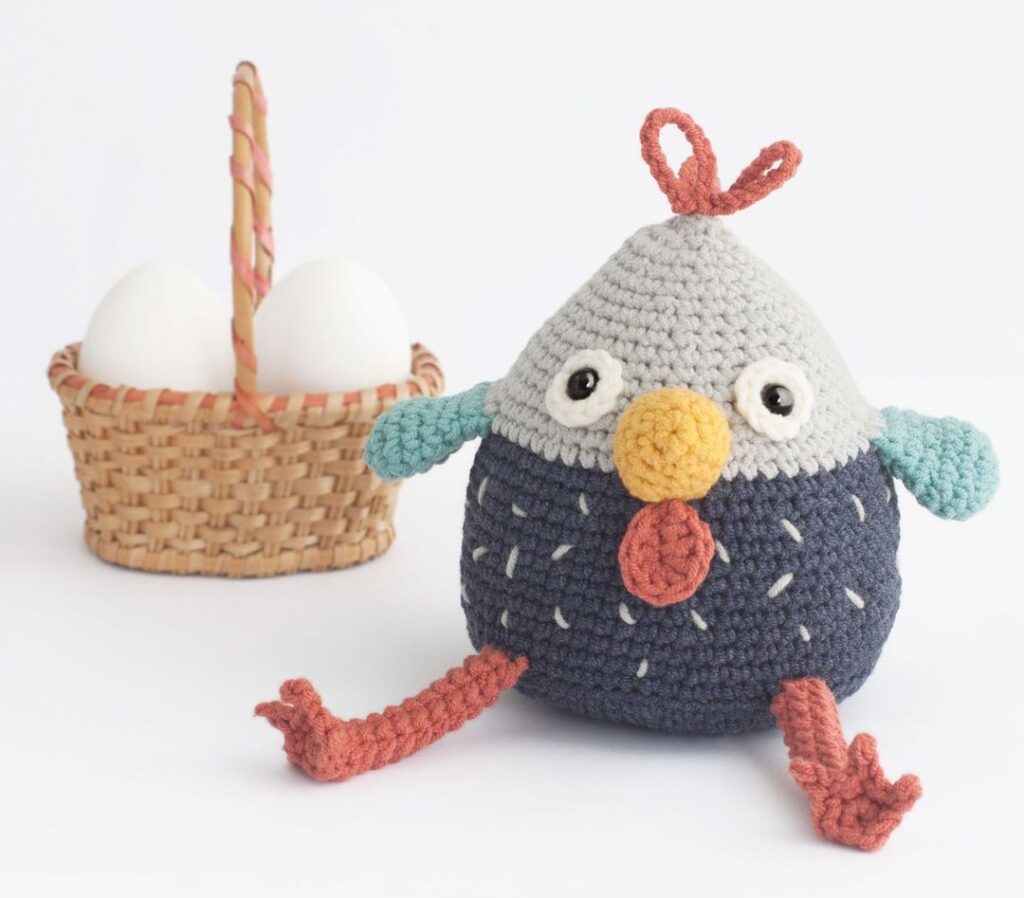
More Amigurumi Chick Ideas