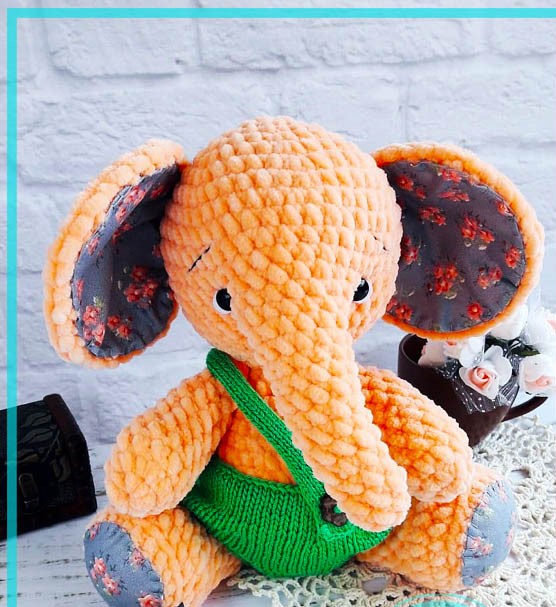
Amigurumi Plush Velvet Cute Elephant Free Pattern
Hello my visitors who love to knit amigurumi. In this article, I share new amigurumi patterns for you free of charge. To knit free amigurumi patterns, it will be enough to follow the terms I shared for you. You can delight your children with amigurumi toys.
MATERIALS:
● – plush yarn 1-2 skeins (Himalaya Dolphin baby, Kamtex Velor, Dolce YarnArt, AlizeSofty, etc. We knit from AlizeSofty in 2 threads);
● – hook No. 4.5 and 5;
● – eyes 1 cm;
● – white felt for albumens;
● – 4 buttons with a diameter of 1.5 or 2 cm for sewing limbs;
● – fabric for finishing paws and ears (can be replaced with AlizeSofty yarn);
● – thread for embroidery of eyebrows;
● – thread for sewing details;
● – filler for toys;
● – scissors, needle.22
Abbreviations :
AR – Amigurumi Magic ring
MR – Amigurumi Magic ring
3in1 – crochet 3 columns in one loop
sc : Single Crochet
inc : Increase
dec : Decrease
tr : Triple Crochet/ Treble Crochet
st: Stitch
dc : Double Crochet
hdc: Half Double Crochet
sl-st or Slst: Slip Stitch
ch : Chain
..in : make increase into same stitch as many as the number which is given in front of “inc” abbreviation (exp; 3inc, 4inc..).
FLO : Crochet into front loops only
BLO : Crochet into back loops only
HEAD AND BODY:
The head and body are knitted in one piece. We knit from the head.
1. 6 sc in MR
2. 6 inc = 12
3. (sc, inc)*6 = 18
4. (2sc, inc)*6 = 24
5. (3sc, inc)*6 = 30
6. (4sc, inc)*6 = 36
7. (5sc, inc)*6 = 42
8.-13. = 42 (6 rows)
Between the 12th and 13th rows we put markers for attaching the peephole.
The distance between the eyes is approximately 12 sc.
We cut out circles from felt for albumens, insert eyes into them and fasten the eyes.
14. 16 sc, skip 10 sc, make 4 ch, 16 sc =36
15. 2sc, (dec, 4sc)*5, dec, 2sc = 30
16. (3sc, dec)*6 = 24
17. (2sc, dec)*6 = 18
18. = 18 slst (if you do sc, then the neck will “dangle”, slst, as it were, strengthens the neck and you knit the next row not in them, but in the previous one with the capture of slst)
We fill the head and begin to knit the body.
19. – 20. = 18 (2 rows)
21. (2sc, inc)*6= 24
22. =24
23. 14 sc, 6 inc, 4 sc = 30
Increases should be under the bottom of the future trunk. If a shift occurs, then we knit the 23rd row, taking into account the shift.
24. = 30
25. 14sc, (inc, sc)*6, 4sc = 36
look ***
26. – 29. = 36 (4 rows)
30. (4sc, dec)*6 = 30
31. (3sc, dec)*6 = 24
32. = 24
33. (2sc, dec)*6 = 18
34. (sc, dec)*6 = 12
35. 6 dec = 6
We stuff the body, pull the hole.
Arms (2 parts)
1. 6 sc in MR
2. 6 inc = 12
3 – 6 = 12 (4 rows)
7. 3 dec, 6 sc = 9
8 – 9. = 9 (2 rows)
10. dec, 7sc = 8
11 – 13 = 8 (3 rows)
Fasten the thread, cut it, leaving about 15 cm. Stuff the arms, tighten the hole.LEGS (2 parts)
1. 6 sc in MR
2. 6 inc = 12
3. (sc, inc)*6 = 18
4. (2 sc, inc)*6 = 24
5. BLO 24 sc
6. = 24
7. 2sc, (dec, sc)*6, 2sc, dec = 17
8. 5 sc, 3 dec, 6 sc = 14
9 – 12 = 14 (4 rows)
13. dec, 5 sc, dec, 5 sc = 12
14. = 12
Fasten the thread, cut it, leaving about 15 cm. Stuff the legs, tighten the hole.
Trunk
1. We make 14 sc through the hole on the head (10 sc from above and 4 from below along the ch)
2. = 14 sc
3. = 13 sc
We make decrease from the underside of the trunk, in all rows where there are decrease.
4. = 12
5. = 11
6. = 11
7.-8. = 10
9.-10. = 9
11.-13. = 8
Stuff the trunk, cut the thread. Pull the hole over the back side.
EARS (2 parts)
Hook number 5.
1. 6 sc in MR
2. 6 inc = 12
3. (sc, inc)*6 = 18
4. (2sc, inc)*6 = 24
5. (3sc, inc)*6 = 30
6. 3sc, (inc, 3sc)*4, inc, slst
Fasten the thread and cut.
ASSEMBLY AND DESIGN
If the eyes are sewn on or glued, then sew them on now.
First, we cut out the whites from the felt, attach them to the eyes.
Where there will be eyes we make tightenings (in the place of the eye at the 1st stage of knitting, we put markers). (If the eyes are on a secure mount, we also make tightening points at the points as shown in the photo.) After the tightening is done, we fasten the eyes.
Cut out circles from the fabric for the ears and legs. We sew them on. You can knit circles of yarn. The yarn should be thinner than the main yarn, for example AlizeSofty.
We sew connected circles.
Sew on the ears.
We sew the ears between points 2 and 3 for the loops on the ears between points 1 and 2 (See photo. Point 1 center. From point 1 to point 2 approximately 4 rows, between points 2 – 2 and 3 – 3 approximately 7 rows.
Sew on arms and legs.
We fasten the arms to the pins where we like, we look so that everything is even.
If you like everything, then we insert the needle from the inside of the handle, bring it out into the button, insert it into the arm and then into the body. Further according to the scheme. I do it several times. After we tighten the thread and bring it to the arm where it was injected.
We tie in knots. We draw the ends of the thread at point 5 (see photo. Point 5 between 5 and 6 rows from point 6 is the center). We will make a tail out of them.
Sew the legs in the same way.
TAIL
From the ends of the thread weave a pigtail, fix it and make a brush. We embroider eyebrows.
That’s all.
Congratulations
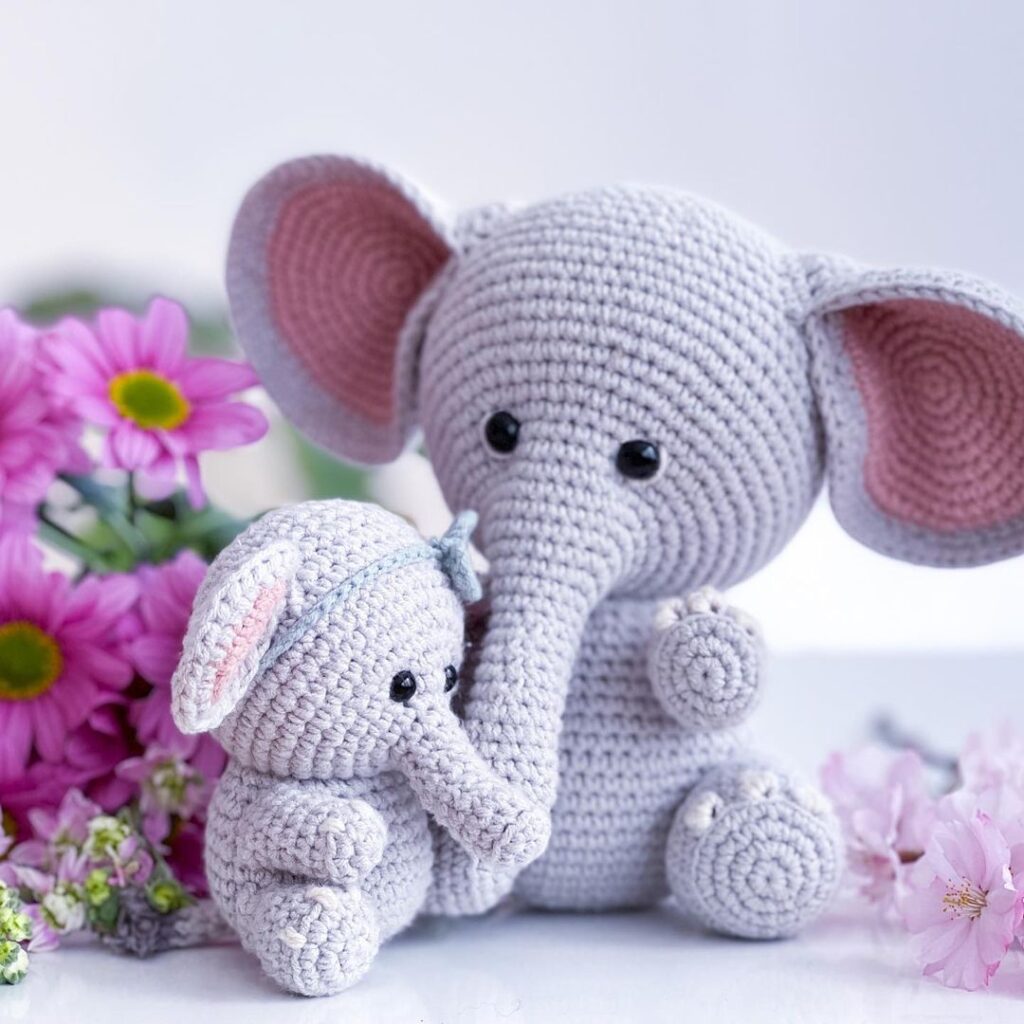
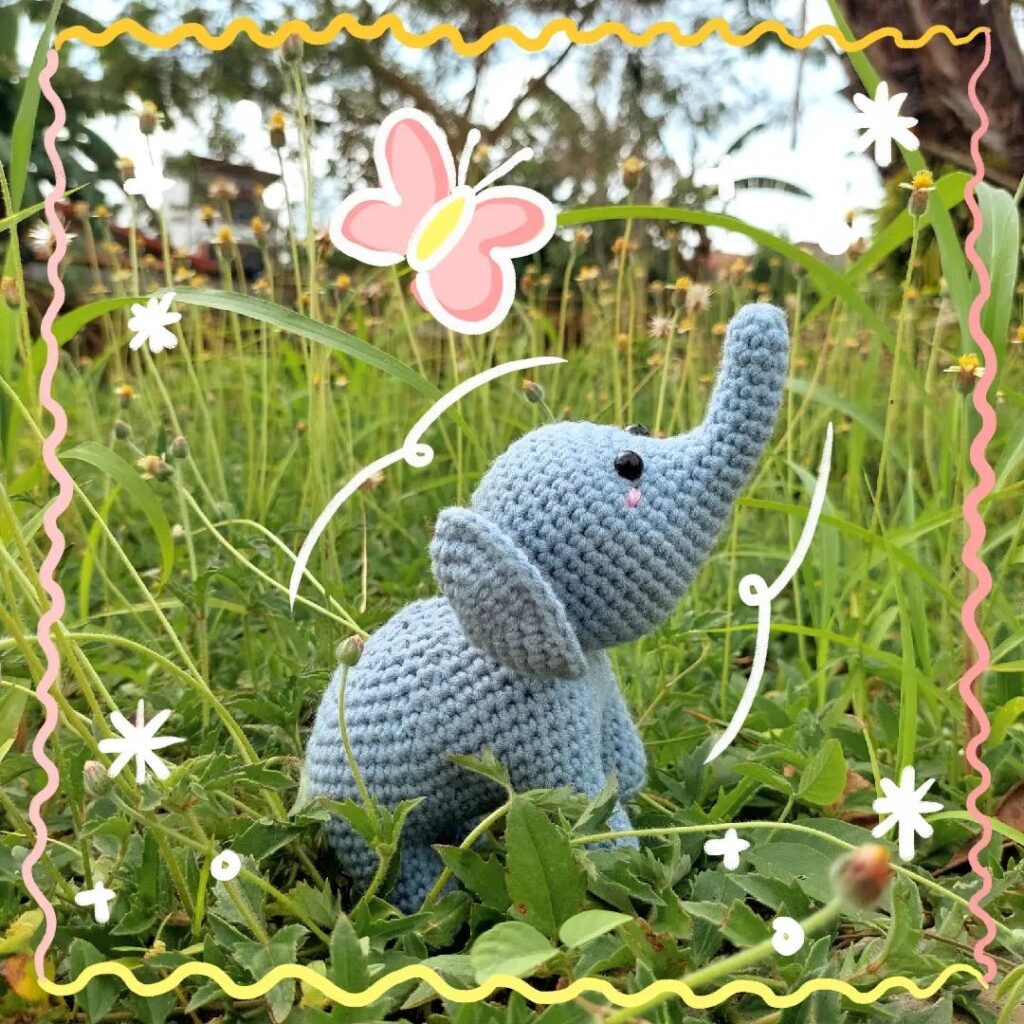
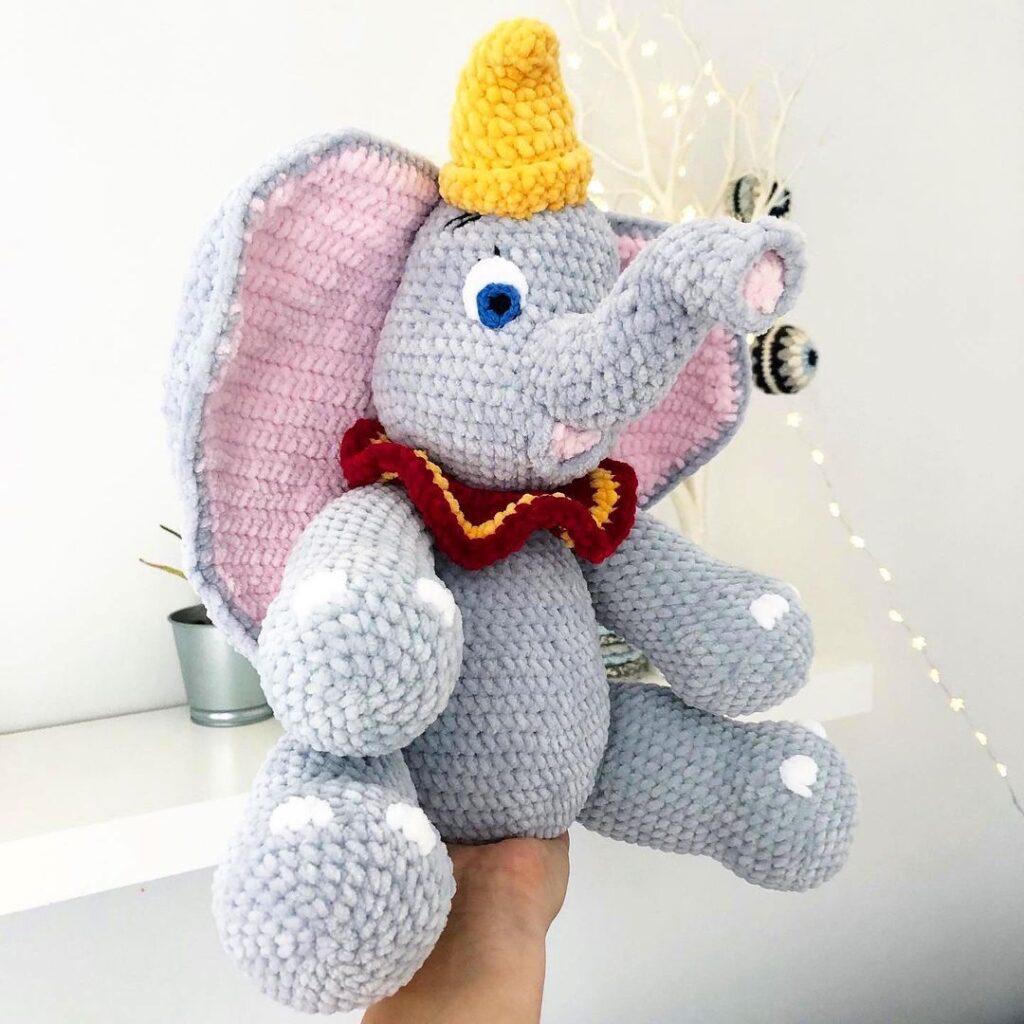
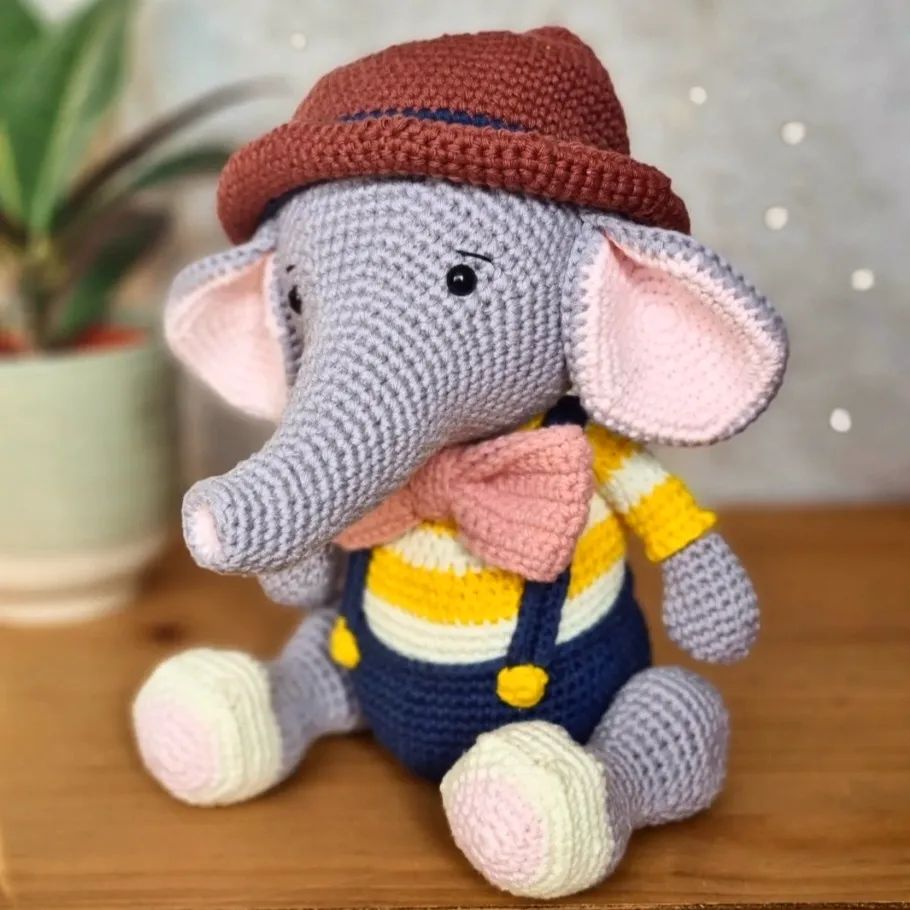
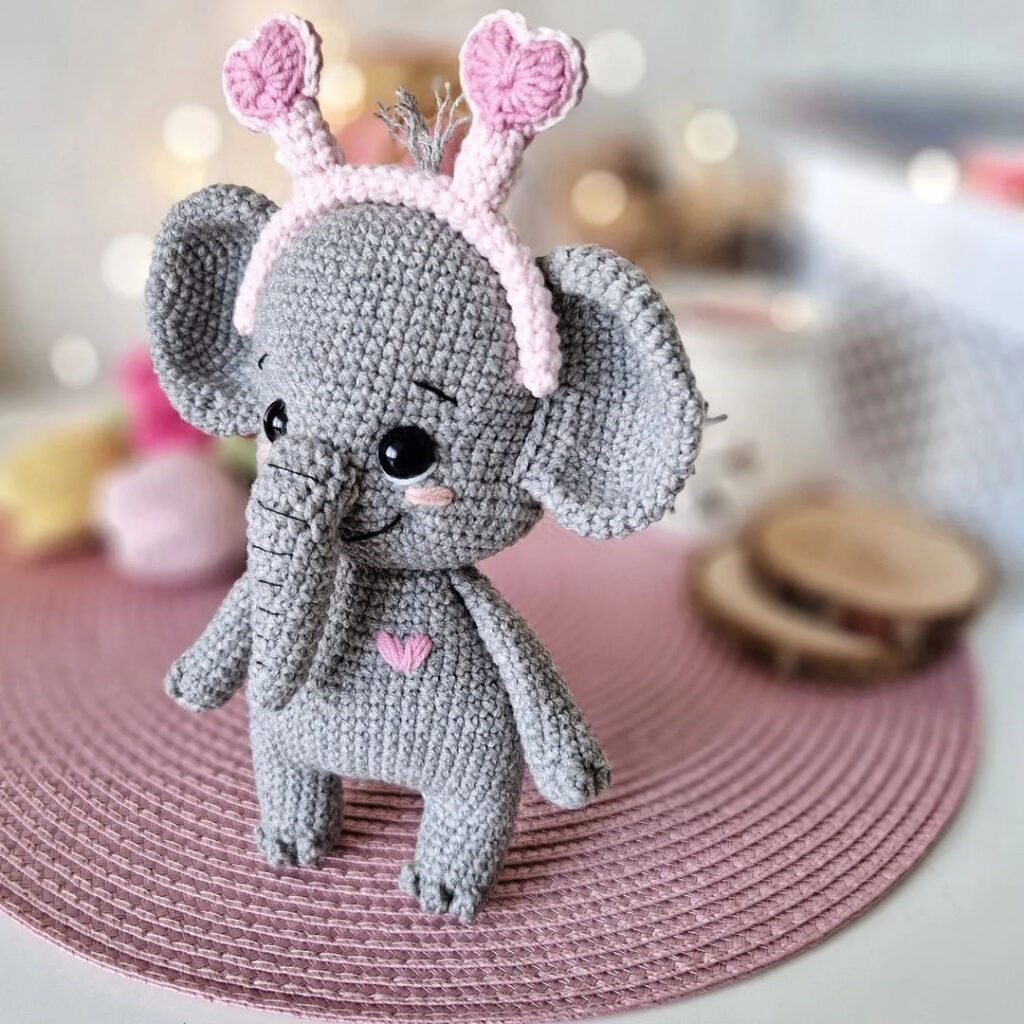
More Amigurumi Elephant Ideas