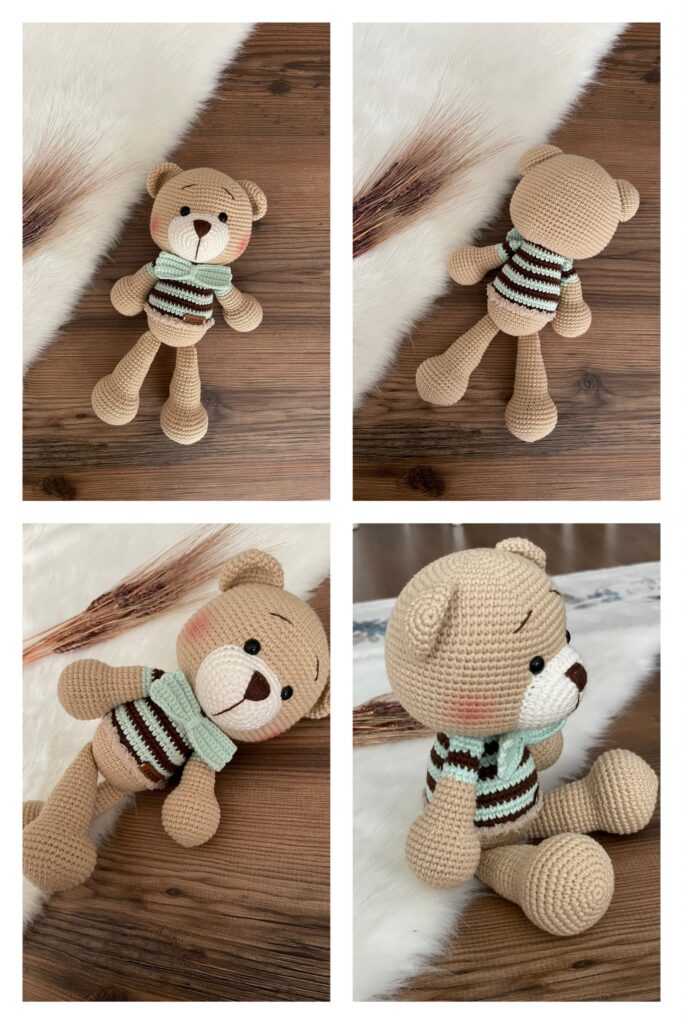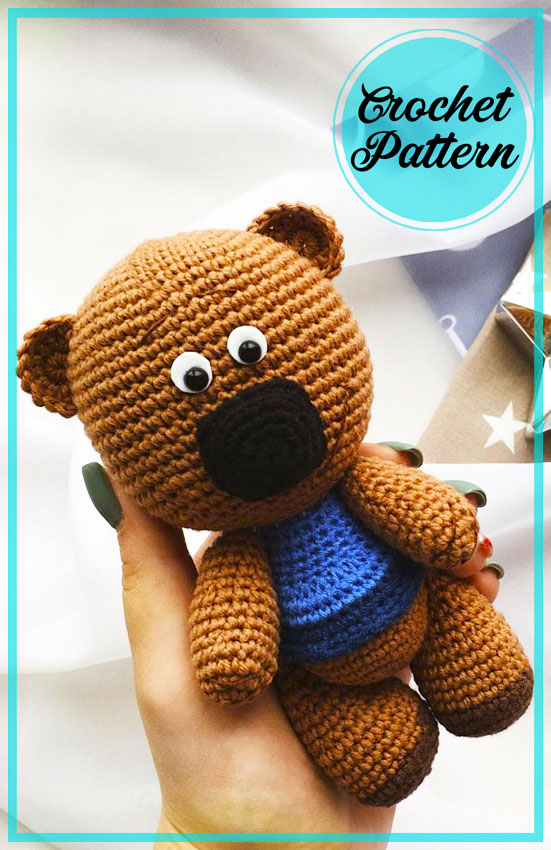
Amigurumi Little Brown Teddy Bear Crochet Pattern
Hello my visitors who love to knit amigurumi. In this article, I share new amigurumi patterns for you free of charge. To knit free amigurumi patterns, it will be enough to follow the terms I shared for you. You can delight your children with amigurumi toys.
Abbreviations and materials :
AR – Amigurumi Magic ring
MR – Amigurumi Magic ring
App – application
ll – lift loop
sc : Single Crochet
inc : Increase
dec : Decrease
tr : Triple Crochet/ Treble Crochet
st: Stitch
dc : Double Crochet
hdc: Half Double Crochet
sl-st : Slip Stitch
ch : Chain
..in : make increase into same stitch as many as the number which is given in front of “inc” abbreviation (exp; 3inc, 4inc..).
FLO : Crochet into front loops only
BLO : Crochet into back loops only
BL : Bobble Stitch – do 5dc all in the same stitch and then yarn over and pull through all the loops on your hook (the original loop + 1 loop for each partially completed dc).
Head:
1. In the amigurumi ring we knit 6 sc (6)
2. inc х 6 (12)
3. (1 sc, inc) х 6 (18)
4. (2 sc, inc) х 6 (24)
5. (3 sc, inc) х 6 (30)
6. (4 sc, inc) х 6 (36)
7. (5 sc, inc) х6 (42)
8. (6 sc, inc) х6 (48)
9. (7 sc, inc) х6 (54)
10.– 20. Knit 11 rows unchanged (54)
21. (7 sc, dec) х6 (48)
22. Knit one row without changes (48)
23. (6 sc, dec) х6 (42)
24. Knit one row without changes (42)
25. (5 sc, dec) х6 (36)
26. (4 sc, dec) х6 (30) Start stuffing your head.
27. (3 sc, dec) х6 (24)
28. (2 sc, dec) х6 (18)
Cut the yarn, leave the tip for sewing
Body:
1. With a light brown yarn, knit 6 sc in amigurumi ring (6)
2. inc х 6 (12)
3. (1 sc, inc) х 6 (18)
4. (2 sc, inc) х 6 (24)
5. (3 sc, inc) х 6 (30)
6. (4 sc, inc) х 6 (36)
7. -9. Knit 3 rows unchanged. In the last loop, make a color change to dark blue. The brown yarn can be cut. (36)
10. Knit one more row without changing (36)
11. One row unchanged, but behind the back loop. In the last loop, change the color to blue, while we do not cut the previous yarn, but bring it to the front side. (36)
12.-13. We knit 2 more rows without changes. (36)
Pull out the loop longer and leave it blue for now. Let’s go back to the dark blue yarn to knit the remaining stitches of the 11th row. After we do this, cut the yarn, leave the tip in order to grab the bottom of the sweater, otherwise it will puff up. Next, knit in blue.
14. 12 sc, dec х 6, 12 sc (30)
15. (3 sc, dec) х6 (24)
16.-18. We knit 3 rows without change. (24)
19. (2 sc, dec) х6 (18)
We fill our little body, cut the yarn and fix it.
Hands (2 times):
1. Knit 6 sc into the amigurumi ring (6)
2. inc х 6 (12)
3. (1 sc, inc) х 6 (18)
4. Knit one row without changes (18)
5. (4 sc, dec) х3 (15)
6. -8. Knit 3 rows unchanged. (15)
9. (3 sc, dec) х3 (12)
10. -12. Work 3 rows unchanged. (12)
13. Fill in, decrease the loops to the end. Tie the second hand in the same way.
Legs (2 times):
1. With a dark brown yarn, knit 6 sc amigurumi into a ring (6)
2. inc х 6 (12)
3. (1 sc, inc) х 6 (18)
4. (2 sc, inc) х 6 (24)
5. Knit one row without changes, but behind the back loop. (24)
6. We knit one more row without changes. In the last loop we make a color change to light brown (24)
7. -11. Work 5 rows unchanged. (24)
12. (2 sc, dec) х6 (18)
13.- 14. Two rows unchanged. (18)
We begin to fill in the detail.
15. (1 sc, dec) х6 (12)
16. One row unchanged. (12)
17. dec х 6.
Pull off the loops, leave the tip for sewing.
We knit the second leg in the same way.
Nose:
1. Knit 8 sc into the amigurumi ring (8)
2. (1 sc, inc) х4 (12)
3. (2 sc, inc) х4 (16)
4. (3 sc, inc) х4 (20)
5. Knit one row unchanged, but behind the back loop.
Cut the yarn, leave the tip for sewing.
Ears (2 times):
1. Knit 8 sc into the amigurumi ring. Do not close the circle, turn knit and do one ch, turn. (8)
2. inc, 6 sc, inc, ch, turn.(10)
3. 10 sc (10)
Cut the yarn, leave the tip for sewing. Tie the second ear in the same way.
Assembly and design:
1. First, sew the head to the body from the loop to the loop. We fix, hide the strings.
2. Next, let’s go back to the bottom of the sweater. We grab the sweater with small stitches, in no case do we tighten it.
3. Then we sew the handles. We place them symmetrically along the body. If everything suits you, we sew. We fix the yarn, hide the ends. We embroider claws with dark brown yarn. The height of one claw is 3 rows, the distance between them is 1-2 loops. There should be three things in total.
4. Now we sew on the legs. We place them also symmetrically along the body. They should be in line with the arms.
5. Sew the nose so that we get a square. To do this, distribute in advance 5 loops per side, fix in the corners with pins and sew. When the last side remains, add filler and finish sewing. We fix the yarn and hide it.
6. Sew ears in an arc somewhere in the 6th row from the crown.
After sewing on all the details, Innocent should look like this:
– front view
– view from the back
7. We begin to make eyes. To do this, take a small piece of wool for felting, roll a ball out of it, and then flatten it into a pancake. We put this pancake in place of our eye, stepping back two rows from the nose and start to roll. The size of the white of the eye will depend on which pupil you choose.
The bee-bears have small eyes, so we will try to make them like that.
To get an even edge of proteins, you need to twist the wool into a thin bundle and weld it around the entire circumference.
After our edges have leveled off, it remains only to glue the pupil or weld it out of black wool.
8. Embroider eyebrows and mouth in dark brown.
That’s all! Keshka is ready!
Congratulations
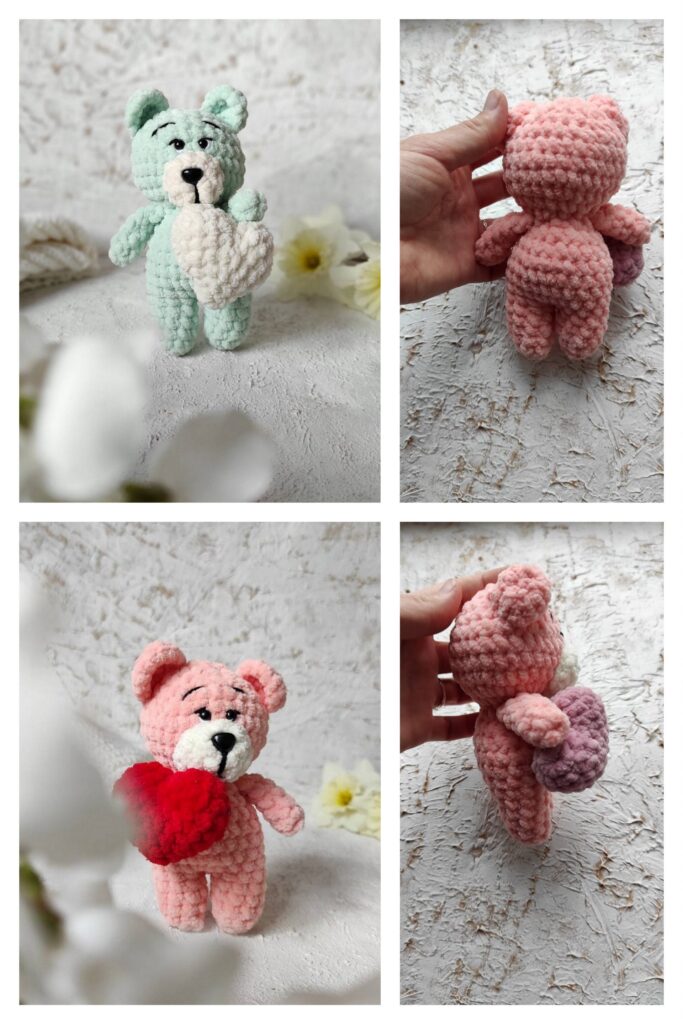
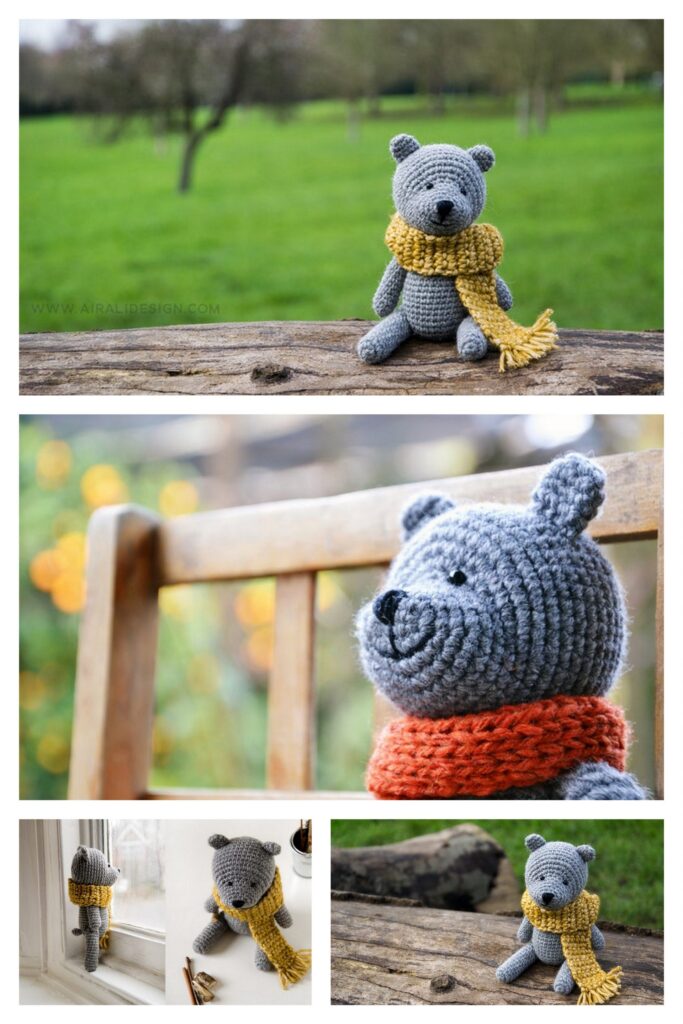
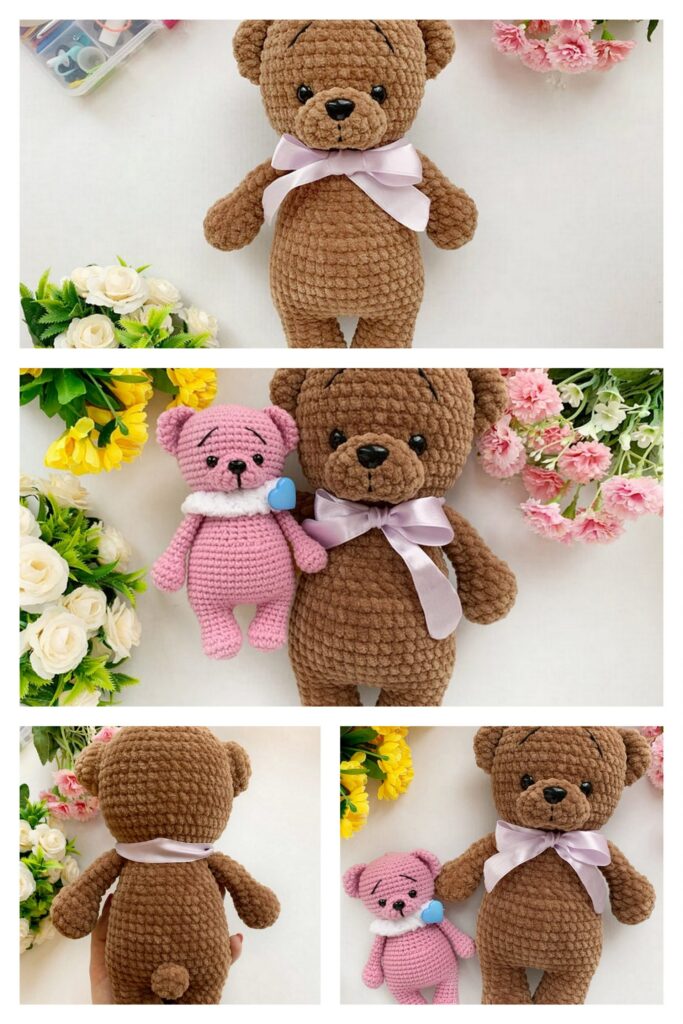
More Amigurumi Bear Ideas