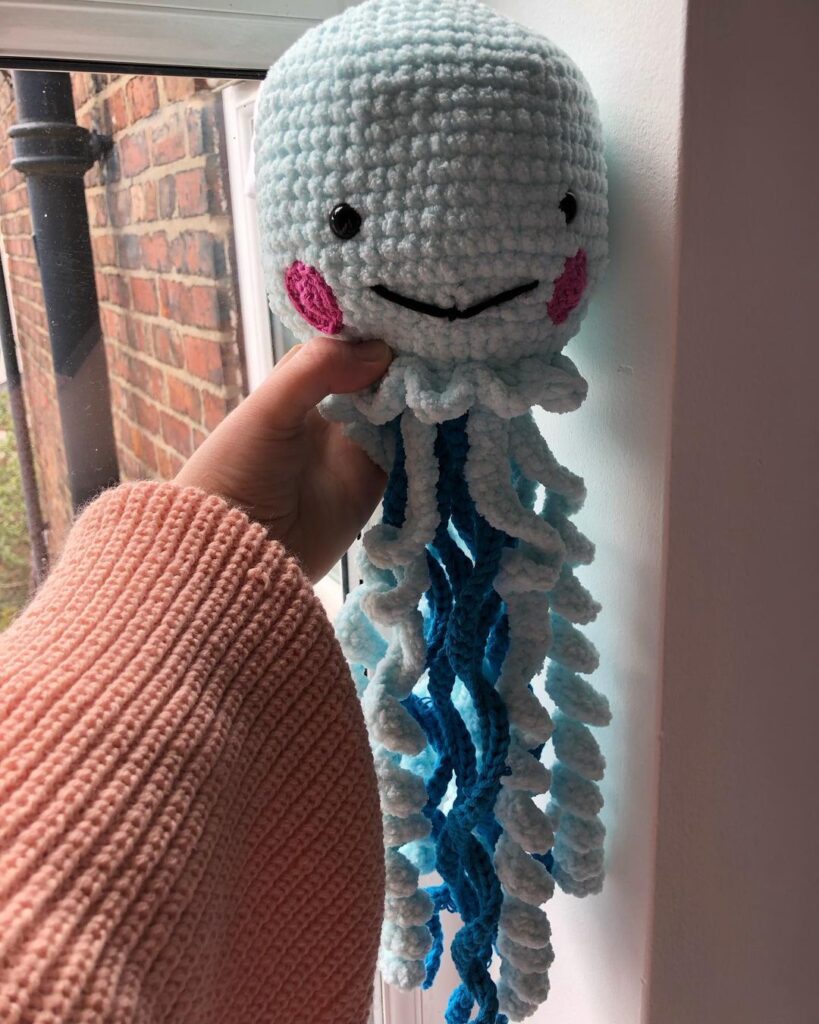
Amigurumi Cute Jellyfish Free Crochet Pattern
Hello my visitors who love to knit amigurumi. In this article, I share new amigurumi patterns for you free of charge. To knit free amigurumi patterns, it will be enough to follow the terms I shared for you. You can delight your children with amigurumi toys.
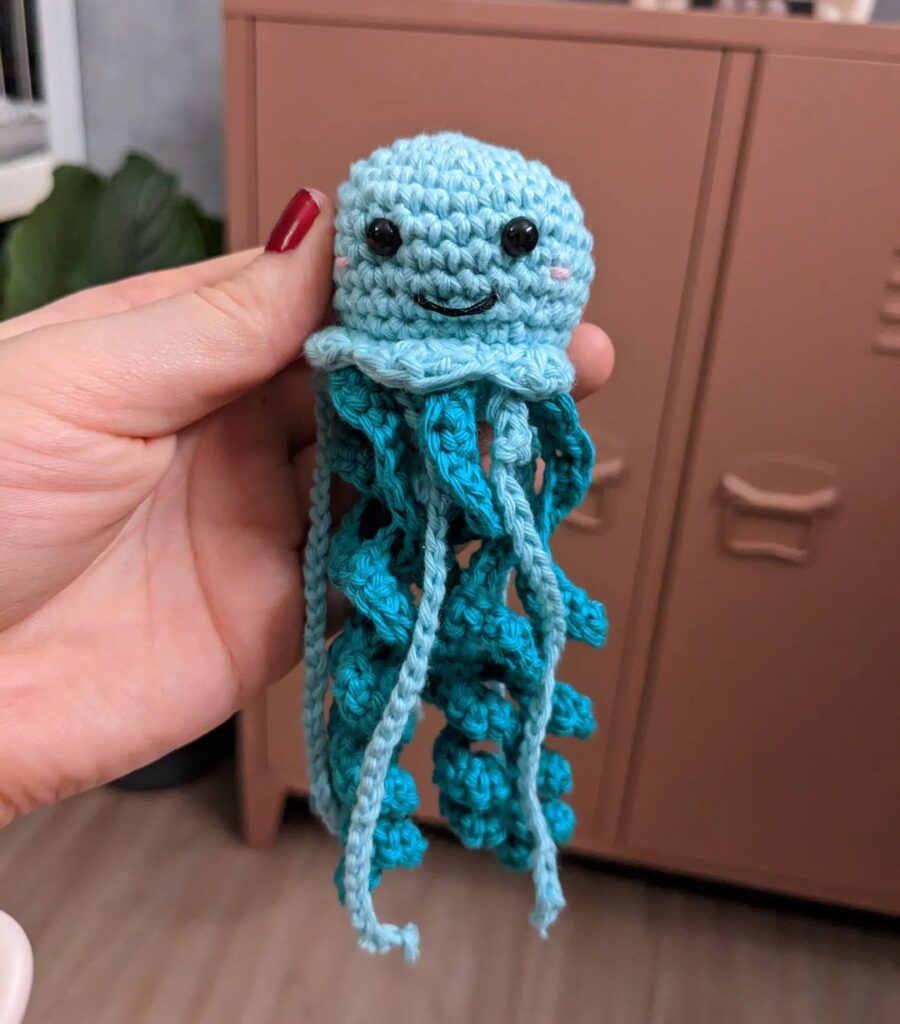
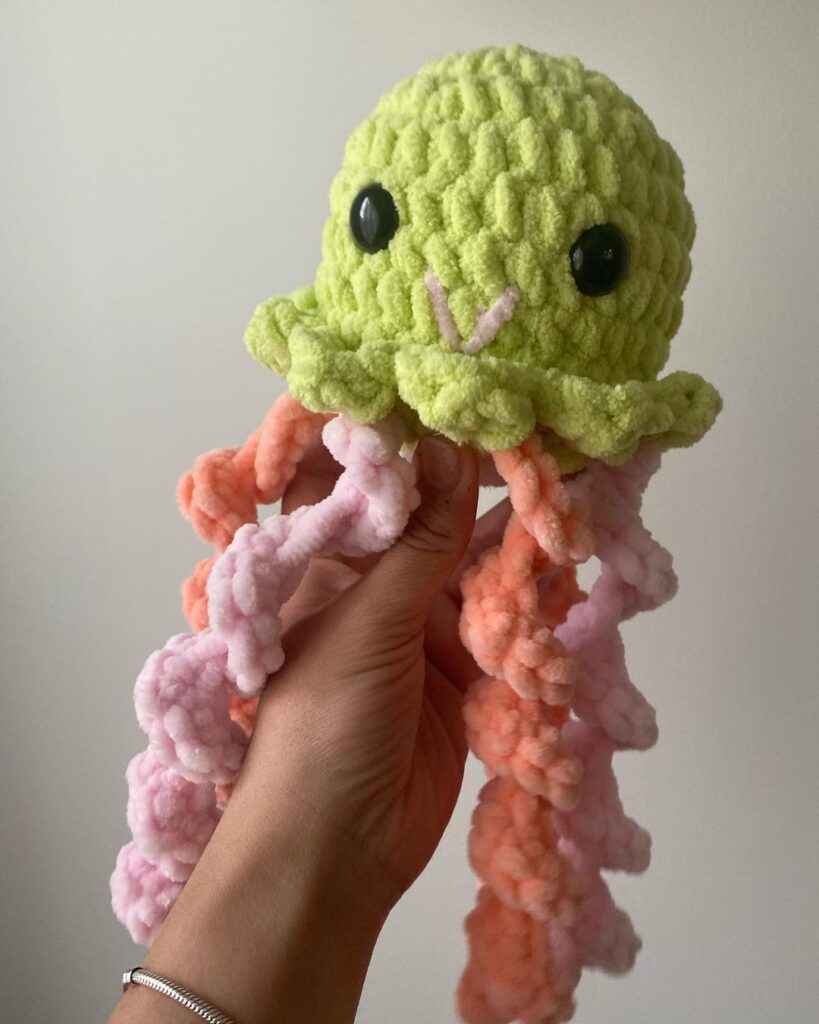
Dimensions: 2.5 in. (6.5 cm.) for the short one and 3.5 (9 cm.) for the long one
Materials:
– Size F (3.75mm) & C (2.75mm) crochet hook (the C hook is for the heart bow)
– Worsted weight (4 ply) yarn in any color and also a small amount of sport weight yarn for the heart bow
(I used “I Love This Yarn” brand from Hobby Lobby)
– 7.5mm safety eyes
– Polyfil (or your stuffing or choice)
– Tapestry/yarn needle
– Small amount of black embroidery floss (for mouth and eyelashes)
– Stitch marker
Top of Jellyfish
R1: Ch 2, 6 sc in 2nd ch from hook
R2: *Inc 1* rep 6 times (12 sts)
R3: *Sc 1, inc 1* rep 6 times (18 sts)
R4: *Sc 2, inc 1* rep 6 times (24 sts)
R5: *Sc 3, inc 1* rep 6 times (30 sts)
R6-9: Sc in all 30 sts (4 rounds total – 30 sts)
R10: On this round, we will be working in the FLO (front loops only) for the slip stitches. *Ch 3, sl st 2* rep 15 times (there should be 15 little waves created by the 3 chains.)
Finish off. Insert your safety eyes between R7 & 8, exactly 6 sts apart. (Hint: Insert 1st eye, count 6 whole sts from the hole you inserted the first eye into, insert 2nd eye.) Do NOT attach the backings just yet if you plan to embroider eyelashes on your jelly.
For eyelashes take your black embroidery floss and embroider two little lines on the side of the eye, each about a stitch wide.
Now you can attach the safety eye backings. Embroider a small little smile directly between her eyes. Set aside the jellyfish top until the rest of the parts are completed.
Bottom of Jellyfish
R1: Ch 2, 6 sc in 2nd ch from hook
R2: *Inc 1* rep 6 times (12 sts)
R3: *Sc 1, inc 1* rep 6 times (18 sts)
R4: *Sc 2, inc 1* rep 6 times (24 sts)
R5: *Sc 3, inc 1* rep 6 times (30 sts)
Finish off leaving long tail for sewing. Do NOT sew to the top until the tentacles are completed.
Straight outer tentacles (make 6)
Start with a long tail
Loosely ch 14, starting in 2nd ch from hook, sl st 13
(For short and stubby tentacles: Ch 8, starting in 2nd ch from hook, sl st 7).
Finish off leaving a tail.
Curly inner tentacles (make 3)
Start with a long tail
Loosely ch 10, starting in 2nd ch from hook, sc 2 in each st down (increasing in each st will create the curly effect.)
(For short and stubby tentacles: Ch 6, starting in 2nd ch from hook, sc 2 in each st down)
Finish off leaving a tail.
Now we will attach the tentacles to the bottom before sewing the bottom to the top. Instead of sewing the tentacles on, we will be knotting them on. This is a quick and easy method that will eliminate the need for sewing (and weaving) all those ends in!
In the picture below, you will see where I attached my straight outer tentacles between the fourth and fifth rounds. I spaced them evenly every 6 sts, right beside the increase st. For the curly inner ones, I spaced them evenly between the first and second rounds.
We will attach the curly tentacles first and then the straight ones.
Take your tapestry needle and thread both loose ends of the tentacle through. Now pull your needle through the jelly bottom and tie the two ends together with a knot. Once you have all the tentacles attached, you can trim the ends.
With all the tentacles attached.
Now that the tentacles are all attached, we will sew the bottom to the top of the jelly. Using your tapestry needle and long tail we left, whip stitch the bottom to the top. I used the front loops of the bottom piece and the back loops left from the top piece. Just before you finish sewing it up, stuff the body.
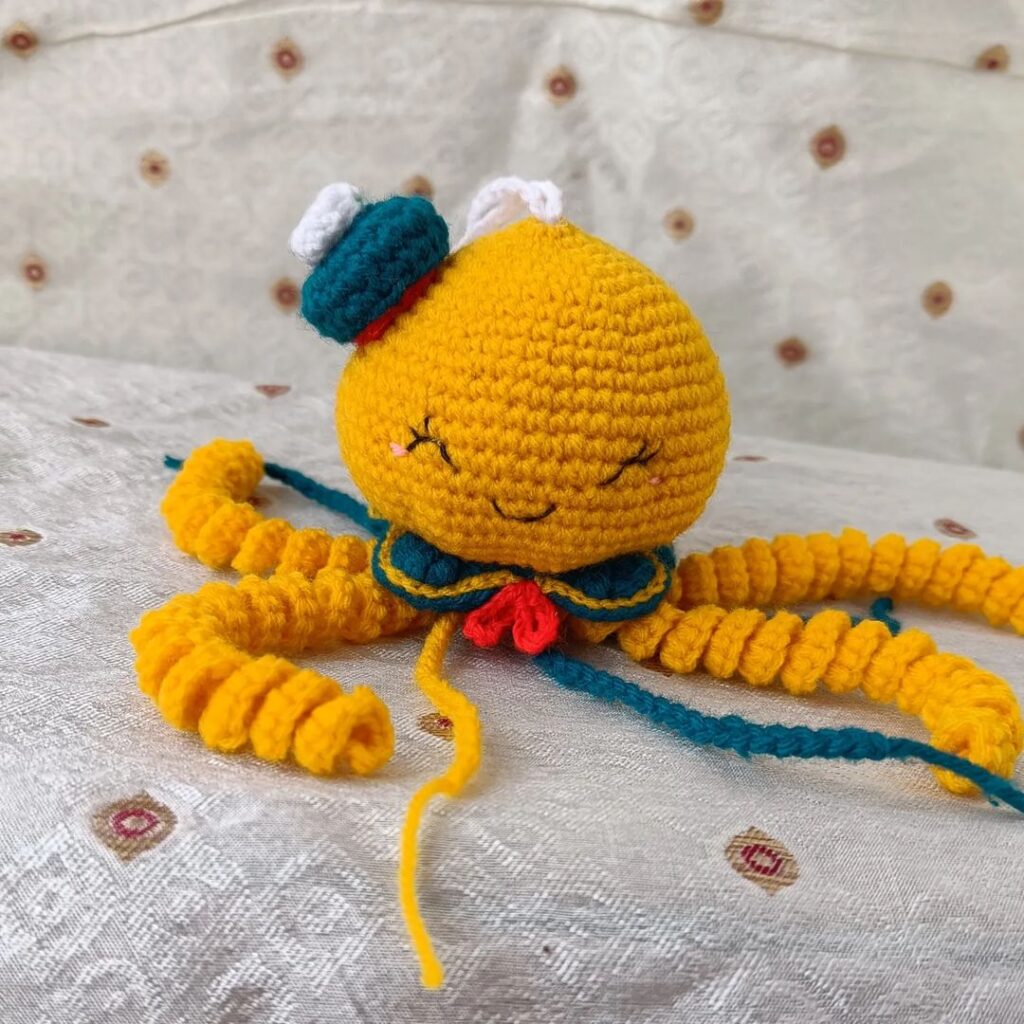
Heart bow (using your C hook and sport weight yarn)
Ch 2, in 2nd ch from the hook, sc 2, hdc 1, dc 3, sl st 1, (now work on the bottom side of the chain), sl st 1, dc 3, hdc 1, sc 2
To finish off, sl st in first sc made. Sew the heart bow to your jelly’s head.
Congratulations
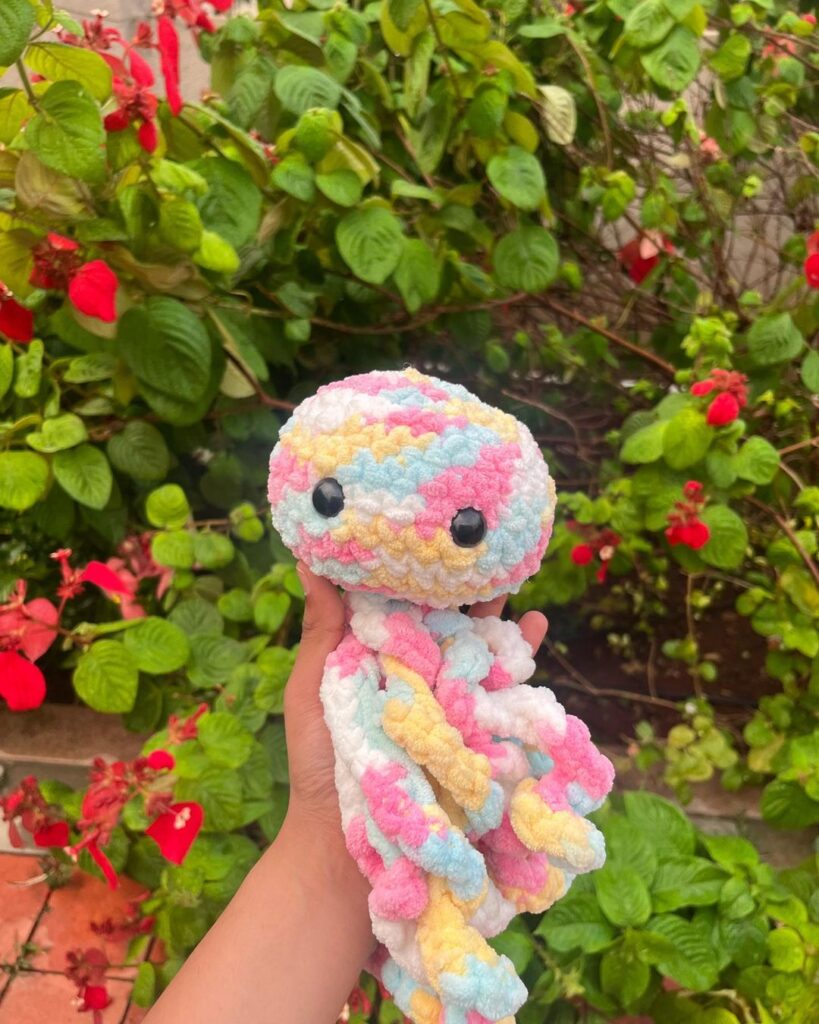
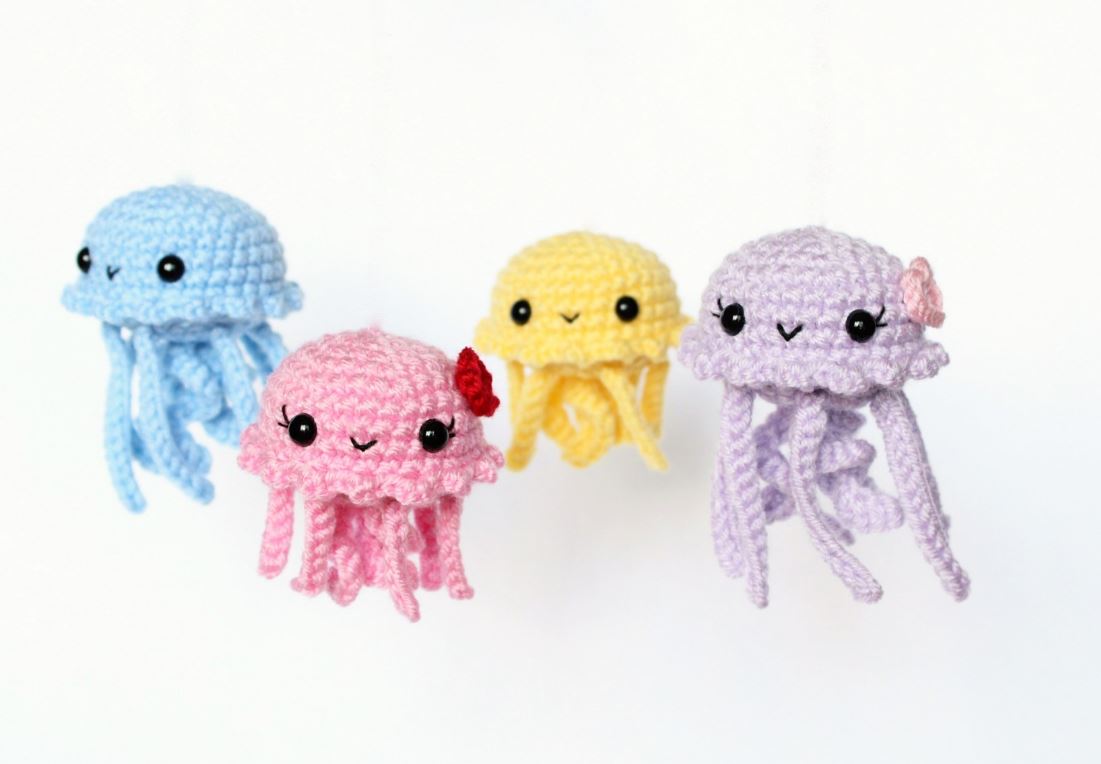
More Amigurumi Jelly Fish Ideas: