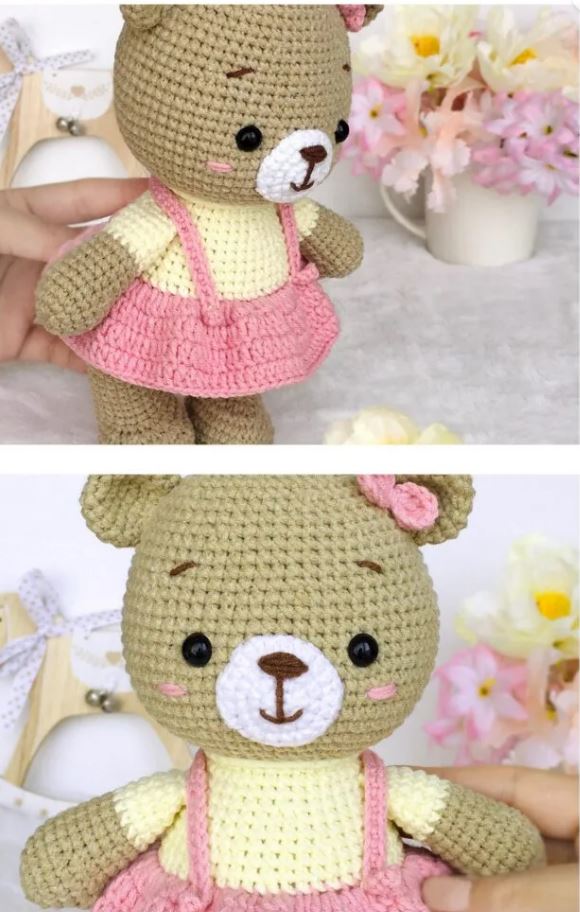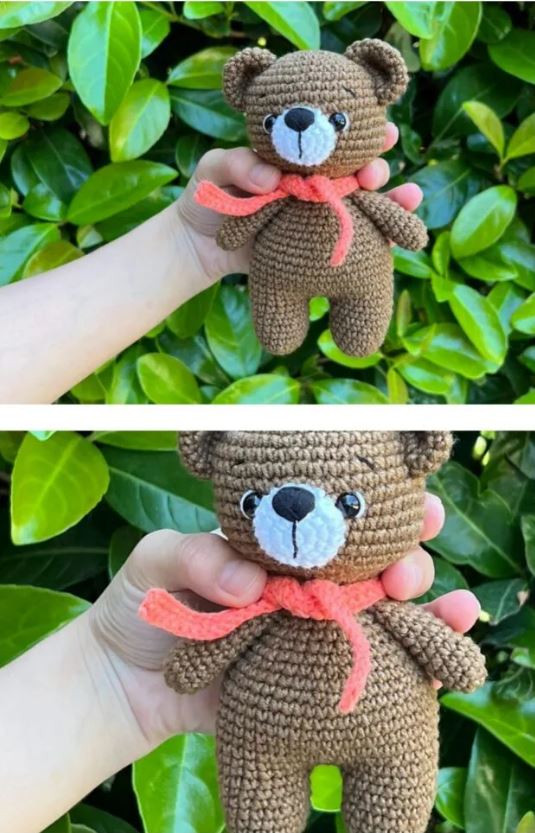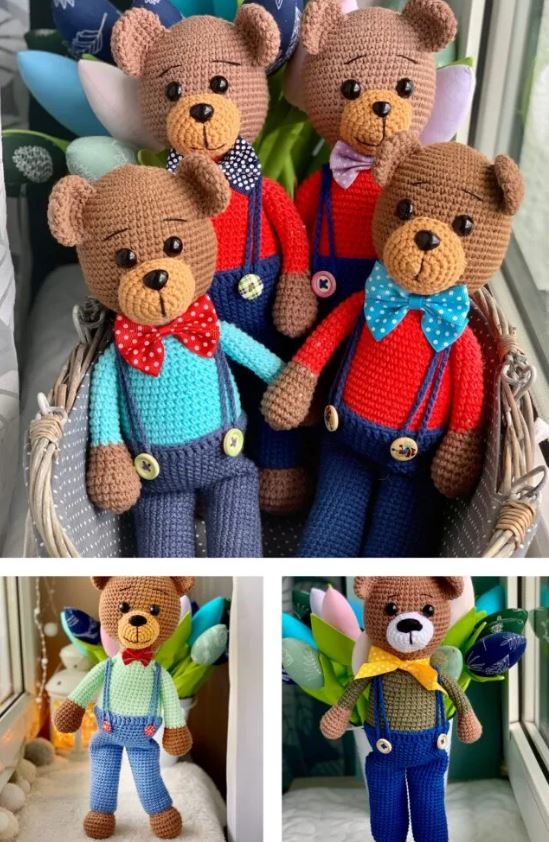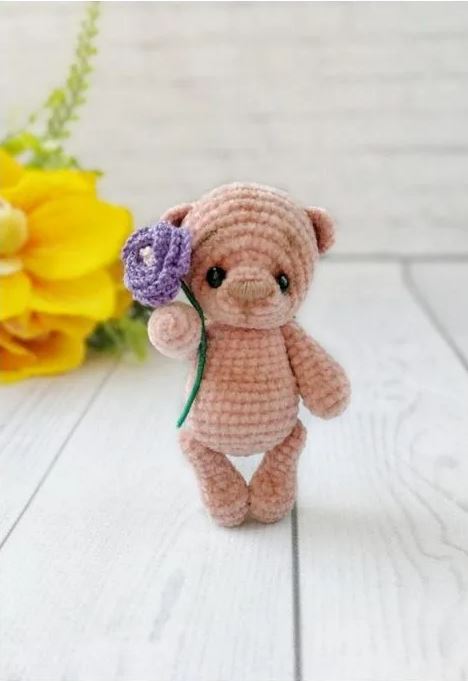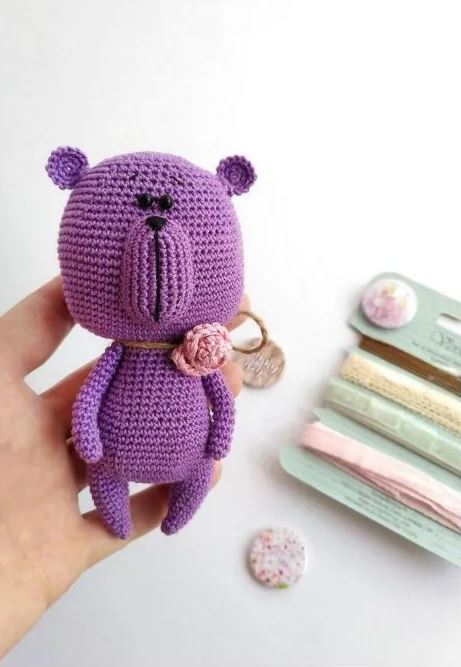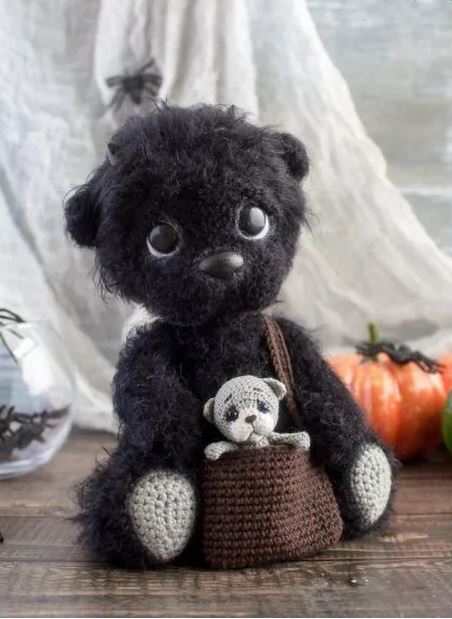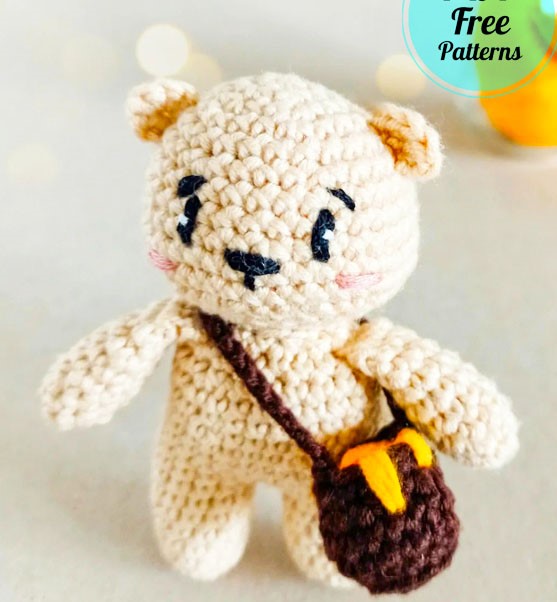
Amigurumi Crochet Bear Henio Free Pattern
Hello my visitors who love to knit amigurumi. In this article, I share new amigurumi patterns for you free of charge. To knit free amigurumi patterns, it will be enough to follow the terms I shared for you. You can delight your children with amigurumi toys.
Materials:
• yarn of choice for the body
• embroidery thread or scrap yarn for the face features (black and white)
• optional: safety eyes
• crochet hook in a right size for your yarn
• toy stuffing
• sewing pins, yarn needle, scissors, stitch marker
I used: Ricorumi DK in color 056 and hook 2,5 mm
Bobble Stitch:
In this pattern you will make a bobble for a bear’s tail, it will be made with 3 triple crochet. To make this, make three tr in the same stitch, but do not finish first two (stop before the last yarn over). When finishing the last tr, pull the loop through all four loops that you will have on your hook.
Pattern notes:
The whole thing is worked in continous rounds. If you will use the same yarn and hook as me, your toy will measure approx. 10 cm in height.
Arms x2:
• arms have to be made first, because we will attach these while crocheting the body
R1. 6 sc in MR [6]
R2. (1 sc, inc) x3 [9]
R3-7. sc around (5 rounds) [9]
• stuff lightly only the very beginning of the arm
R8. (1 sc, dec) x2, 3 sc [7]
• fold in half, next round is worked through stitches of the both layers, skip the last stitch of the last round
R9. 3 sc, ch 1
• fasten off, pull the last ch very tight, weave in end
Head:
R1. 6 sc in MR [6]
R2. 6 inc [12]
R3. (1 sc, inc) x6 [18]
R4. (1 sc, inc,1 sc) x6 [24]
R5. sc around [24]
R6. (3 sc, inc) x6 [30]
R7-8. sc around (2 rounds) [30]
R9. (2 sc, inc, 2 sc) x6 [36]
R10. 9 sc, 2 inc, 14 sc, 2 inc, 9 sc [40
R11. sc around [40]
R12. (2 sc, dec) x10 [30]
R13. (1 sc, dec) x10 [20]
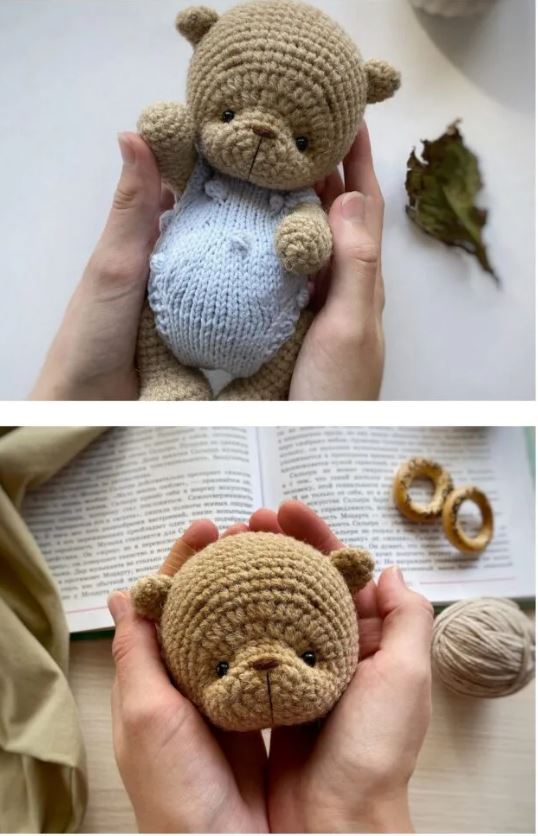
• embroider the face; increases from rnd 10 should be at the sides and face should be centered between these, at the opposite side of the stitch marker; I emroidered the eyes over rnds 8-9, 6 sts apart, with tiny horizontal white sts as a light sparks, brows 1 st above the eyes, nose between rnds 9-10, 2 sts wide, snout one rnd down (see the picture for the reference)
R14. (2 sc, dec) x5 [15]
• start stuffing and continue to the end
R15. (1 sc, dec) x5 [10]
R16. 5 dec [5]
• fasten off, close the hole – with the tapestry needle, thread the yarn through the front loops of the last rnd and pull tight, weave in end
Ears (make 2):
R1. 6 sc in MR [6]
• do not close the ring, fasten off and leave a long tail for sewing
Legs (make 2):
R1. 6 sc in MR [6]
R2. 6 inc [12]
R3-7. sc around (5 rounds) [12]
• make additional 4 sc (for both legs)
• fasten off and weave in end for the first leg, crochet the second leg the same way but do not fasten off, mark the last st as a new end of the round and continue crocheting
• now you will connect two legs and start crocheting the body
Body:
R8. 5 sc, 1 sl st, ch 1, make the next st in the st right after last made sc of the first leg, 1 sl st, 11 sc, inc in one side of the chain, 6 sc [27]
R9. 5 sc, 1 sc in sl st, inc in the other side of the chain, 1 sc in sl st,19 sc [28]
R10. 21 sc, bobble stitch with 3 tr, 6 sc [28]
• the bobble st should be in the middle of the back, adjust
stitches if needed
R11. 26 sc, finish this round here [28]
• mark the last sc as a new round end
• stuff the legs and stuff the body as you go
R12. 8 sc, dec, (7 sc, dec) x2 [25]
R13. sc around [25]
R14. 3 sc, dec, (7 sc, dec) x2, 2 sc [22]
R15. sc around [22]
R16. 4 sc, dec, (5 sc, dec) x2, 2 sc [19]
• in the next round we will attach the arms, sc through the arm and the body at the same time, position the arms with the wrong side of the last row facing upwards.
• find 3 sts on each side of the body as a place for the arms, there should be 6 sts distance on the front between these.
R17. make 1 sc in every st or the pair of sts where you are attaching arms to the body, in my case it was: 1 sc, 3 sc through the arm and the body, 6 sc, 3 sc through the arm and the body, 6 sc [19]
R18. (1 sc, dec) x6, sl st [13]
• fasten off, leave a long tail for sewing, finish stuffing
Assembly:
• sew the ears to the head between rounds 4-7, on the opposite sides of the head lined with the arms, right side of the ears has to be facing forward
• sew the head to the body, stuff the neck firmly
Congratulations
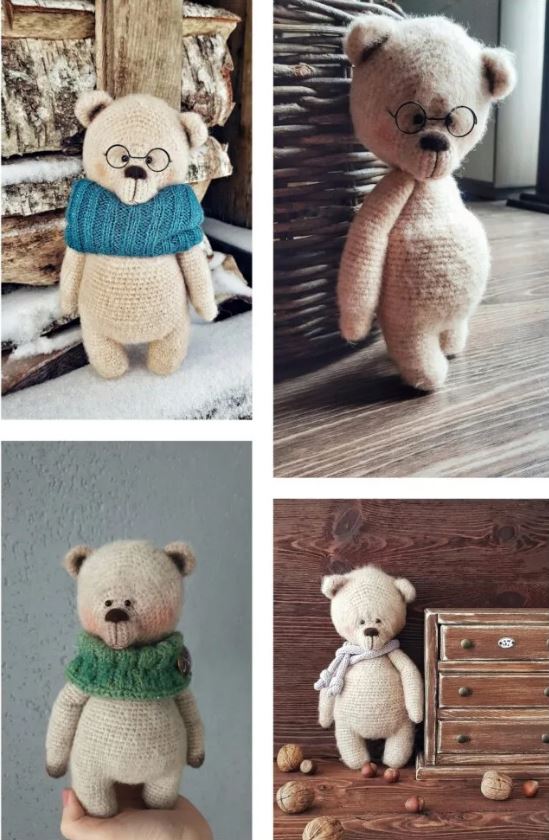
More Amigurumi Bear İdeas:
