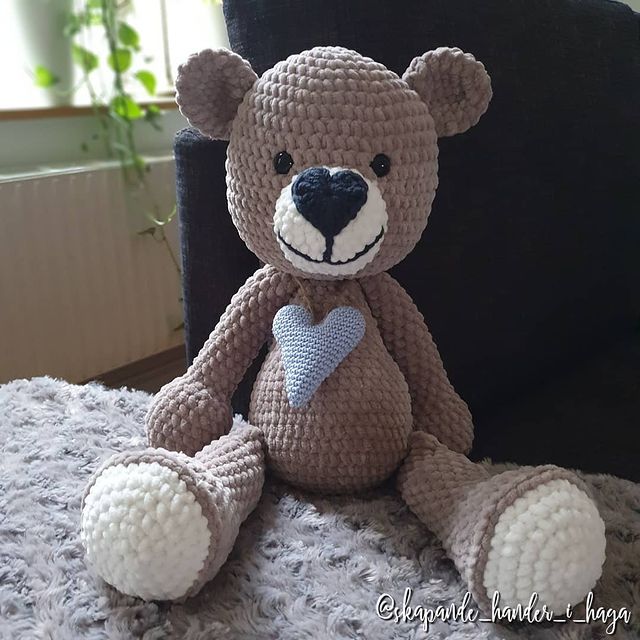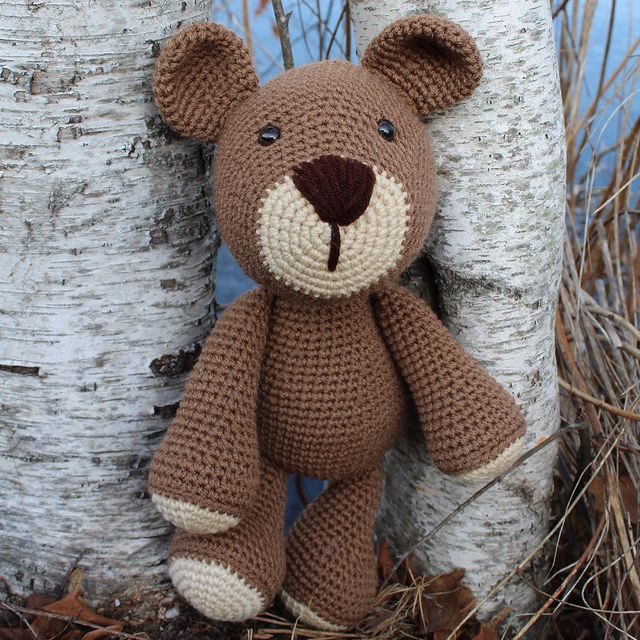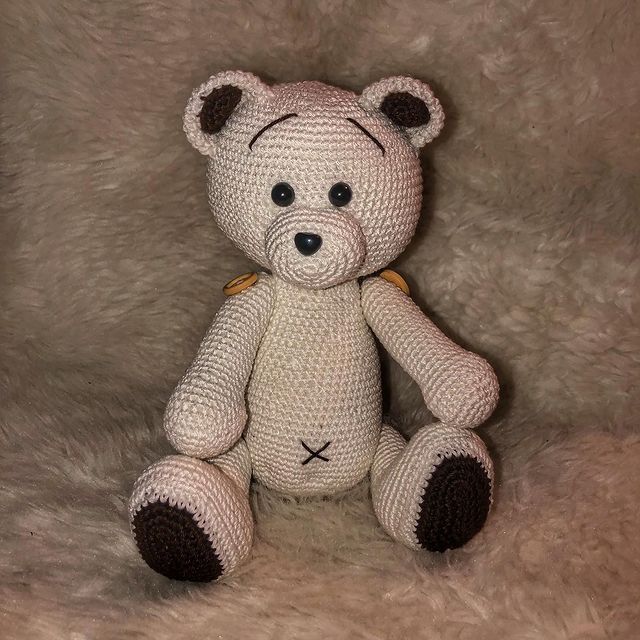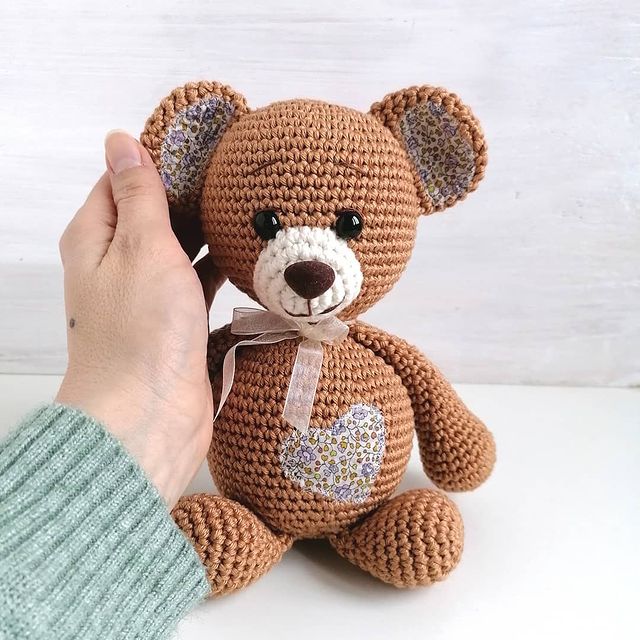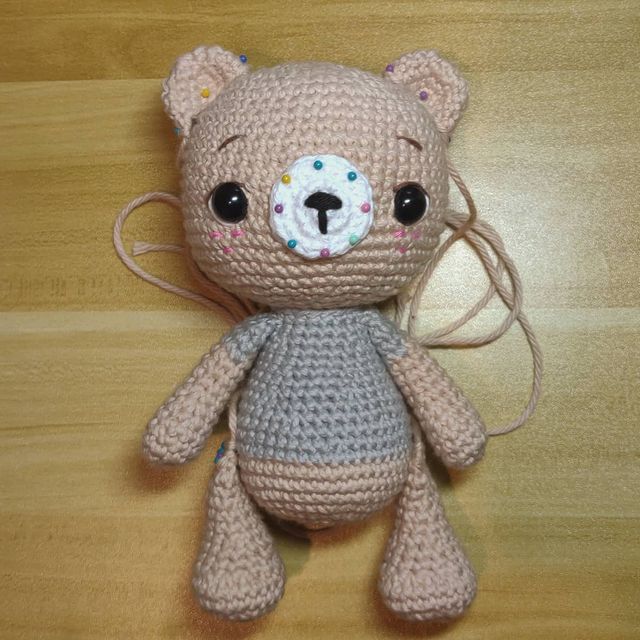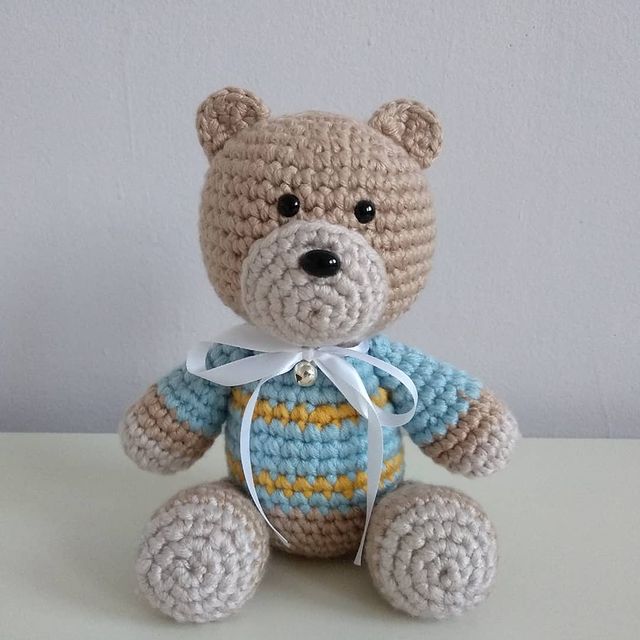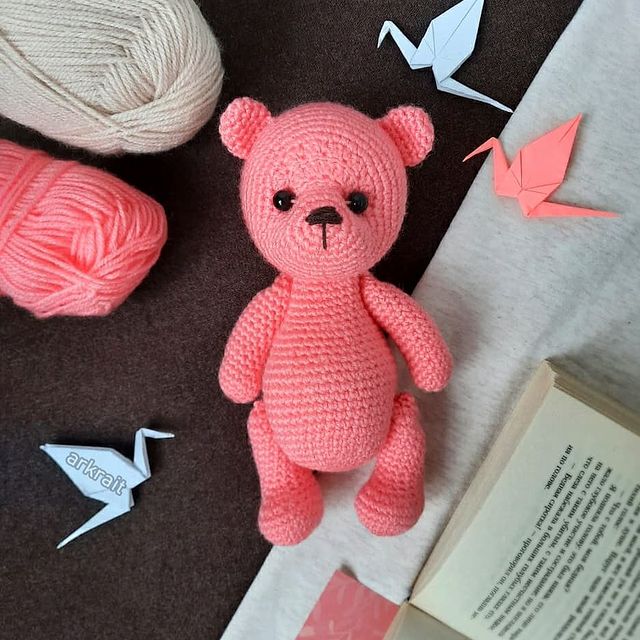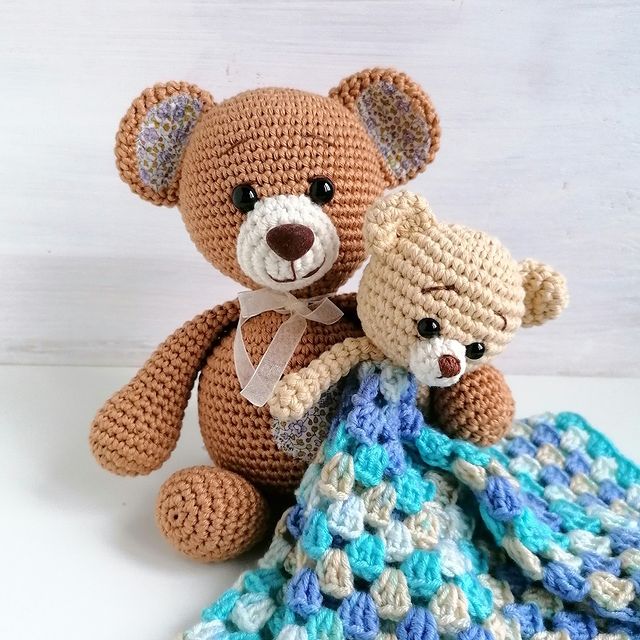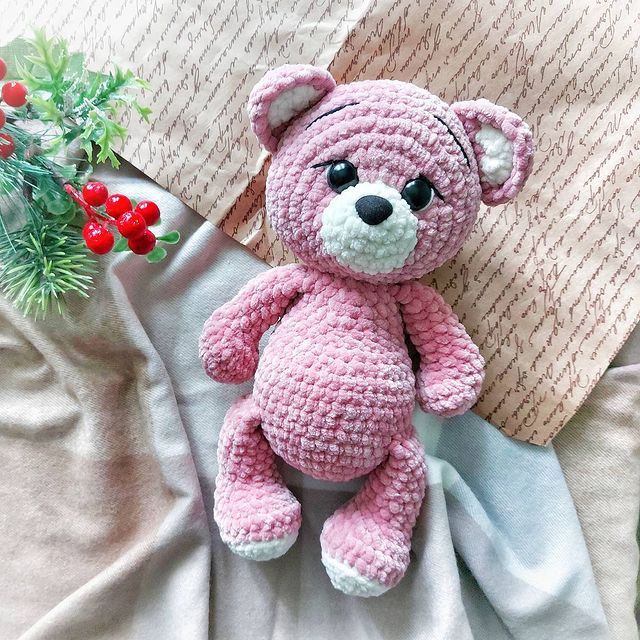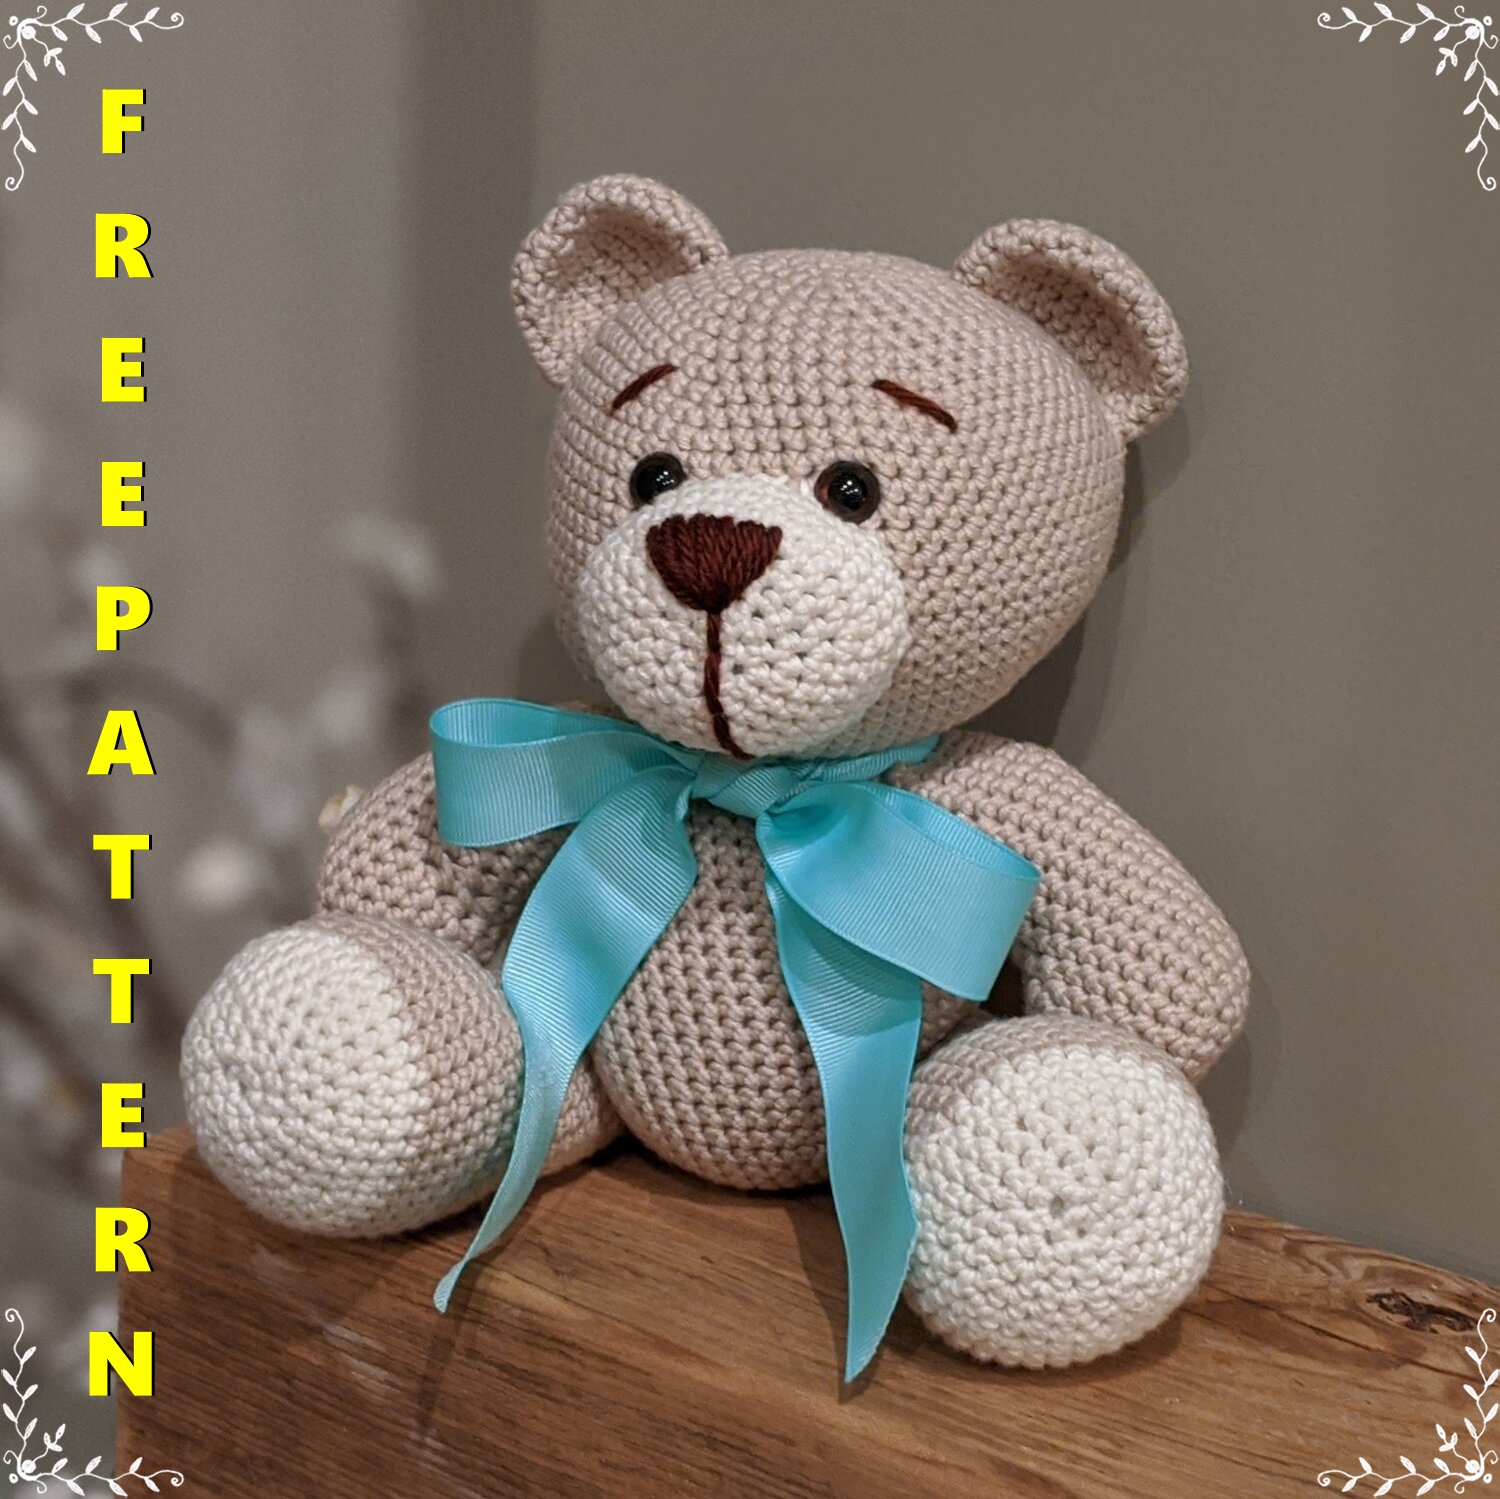
Amigurumi Bear Free Crochet Pattern
Hello my visitors who love to knit amigurumi. In this article, I share new amigurumi patterns for you free of charge. To knit free amigurumi patterns, it will be enough to follow the terms I shared for you. You can delight your children with amigurumi toys.
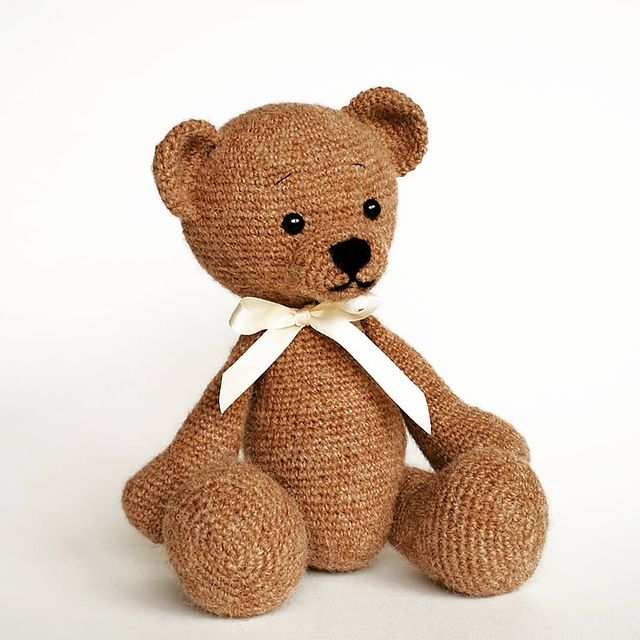
Designer : @knitpaintsew
MATERIALS
Hook: Size G crochet hook. This is my favorite crochet hook and yarn needle set I got from WooCrafts. The set is really affordable and comes with 9 different-sized crochet hooks, 8 yarn needles, stitch markers and a cute carrying case.
Yarn: one skein of Bernat Softee Baby Cotton yarn in tan. Scrap amounts of Bernat Softee baby cotton yarn in cream/ecru and dark brown.
Scissors
Stitch Marker (optional)
Poly-fil stuffing
Plastic safety eyes
Ribbon for bowtie (optional)
ABBREVIATIONS
Ch = chain
Sl st = slip stitch
SC = single crochet
SCD = single crochet decrease
HDC = half double crochet
DC = double crochet
MR = magic ring
Amigurumi bear free pattern
HEAD
To start: MR, 6 SC in MR
Rd 1: *2 sc in each st around (12)
Rd 2: *2 sc in next st, SC 1 (18)
Rd 3: *2 sc in next st, SC 2 (24)
Rd 4: *2 sc in next st, SC 3 (30)
Rd 5: *2 sc in next st, SC 4 (36)
Rd 6: *2 sc in next st, SC 5 (42)
Rd 7: *2 sc in next st, SC 6 (48)
Rd 8: *2 sc in next st, SC 7 (54)
Rd 9: *2 sc in next st, SC 8 (60)
Rd 10: *2 sc in next st, SC 19 (63)
Rd 11: *2 sc in next st, SC 20 (66)
Rd 12-22: SC around
Rd 23: *SCD, SC in next 20 (63)
Rd 24: *SCD, SC in next 19 (60)
Rd 25: *SCD, SC in next 8 (54)
Rd 26: *SCD, SC in next 7 (48)
Rd 27: *SCD, SC in next 6 (42)
Rd 28: *SCD, SC in next 5 (36)
Rd 29: *SCD, SC in next 4* after last st, slip stitch into first st to complete the round. Tie off, weave in ends. (30)
EARS
(Make two)
To start: MR, 6 SC in MR
Rd 1: *2 sc in each st around(12)
Rd 2: *2 sc in next st, SC 1 (18)
Rd 3: *2 sc in next st, SC 2 (24)
Rd 4-8: SC in each around; after last st on last row, slip stitch into first st to complete the round. Tie off, leaving long tail to sew ears onto head.
MUZZLE
To start: MR, 6 SC in MR
Rd 1: *2 sc in each st around (12)
Rd 2: *2 sc in next st, SC 1 (18)
Rd 3: *2 sc in next st, SC 2 (24)
Rd 4: *2 sc in next st, SC 3 (30)
Rd 5: *2 sc in next st, SC 4 (36)
Rd 6-7: SC around; after last st in last row, slip stitch into first st to complete the round. Tie off, leaving long tail to sew muzzle onto head.
ASSEMBLE THE HEAD
To assemble the head, follow these steps:
1) Sew nose on the muzzle: using yarn need and dark brown yarn, sew the nose onto the muzzle. Begin with the nose and then using the same yarn, stitch on the mouth as well. Tie off when done, leaving tail of yarn on the wrong side.
2) Sew muzzle on the face: Using the yarn needle and long tail of cream yarn from the muzzle, sew the muzzle onto the face. Pause once you have sewn around 75% of the edge of the muzzle and stuff the muzzle with the polyfil. Once finished stuffing, finish stitching on the muzzle the rest of the way around. Tie off, weave in end.
3) Put eyes in place: snap on plastic safety eyes in desired positions.
7) Sew ears onto head: fold one ear in half and shape into desired ear shape. Using yarn needle and long tail of yarn from ear, stitch the ear onto the hat. Repeat for the second ear.
5) Stuff the head: fill the head with polyfil stuffing until firm.
ARM
Stuff the arm with polyfil as you go. Make two arms.
To start: MR, 6 SC in MR
Rd 1: *2 sc in each st around (12)
Rd 2: *2 sc in next st, SC 1 (18)
Rd 3: *2 sc in next st, SC 2 (24)
Rd 4-8: SC around
Rd 9: scd 4 times, SC in remaining sts around (20)
Rd 10: scd 2 times, SC in remaining sts around (18)
Rd 11-14: SC around
Rd 15: *SC 4, scd (15)
Rd 16-17: SC around
Rd 18: *SC 3, scd (12)
Rd 19: sc around; after last st, slip st into first st of the round to complete the round. Tie off. Cut the yarn leaving about 2’ for yarn tail. After you have finished stuffing the arm, pinch the top closed and using the yarn needle, sew the top of the arm shut (as pictured). Tie off, leaving remainder of the long tail of the yarn to stitch the arm onto the bear.
Repeat for second arm.
LEG
(make 2, stuffing the leg as you go)
To start: using ecru/cream colored yarn, MR, 6 SC in MR
Rd 1: *2 sc in each st around (12)
Rd 2: *2 sc in next st, SC 1 (18)
Rd 3: *2 sc in next st, SC 2 (24)
Rd 4: *2 sc in next st, SC 3 (30)
Rd 5: *2 sc in next st, SC 4 (36)
Rd 6: SC around
Rd 7: switch to tan yarn, SC around
Rd 8-12: SC around
Rd 13: *scd, SC 4 (30)
Rd 14: scd, SC repeat from star 5 more times, then SC in each remaining st in round (24)
Rd 15-19: SC around
Rd 20: *scd, SC 6 (21)
Rd 21-23: SC around
Rd 24: *scd, SC 5 (18)
Rd 25-26: *scd, SC (12)
Rd 27: SC around; after last st, slip st into first st of the round to complete the round. Tie off. Cut the yarn leaving about 2’ for yarn tail. After you have finished stuffing the leg, pinch the top closed and use long tail with yarn needle to seam top of leg together so seam points between middle of foot. See photo. Tie off, weave in ends.
Repeat for second leg.
MAIN BODY
Rd 1: *2 sc in each st around (12)
Rd 2: *2 sc in next st, SC 1 (18)
Rd 3: *2 sc in next st, SC 2 (24)
Rd 4: *2 sc in next st, SC 3 (30)
Rd 5: *2 sc in next st, SC 4 (36)
Rd 6: *2 sc in next st, SC 5 (42)
Rd 7: *2 sc in next st, SC 6 (48)
Rd 8: *2 sc in next st, SC 7 (54)
Rd 9-19: SC around
Rd 20: *scd, SC 16 (51)
Rd 21: *scd, SC 15 (48)
Rd 22: *scd, SC 14 (45)
Rd 23: *scd, SC 13 (42)
Rd 24: *scd, SC 12 (39)
Rd 25: *scd, SC 11 (36)
Rd 26: *scd, SC 10 (33)
Rd 27: *scd, SC 9; after last st, slip st into first st of the round to complete the round. Tie off. Weave in ends. (30)
ASSEMBLE THE BEAR
1) Using the long tail of yarn, sew the arms onto the torso. The top of the arm should be sewn to the edge of the opening at the top of the torso. Repeat for the second arm.
2) Using the long tail of yarn, sew the head onto the body. The opening at the bottom of the head should align with the opening at the top of the torso.
3) Attach the legs to the torso. There are multiple ways to do this (and no wrong way). Here is the method I used which allows the legs to more easily rotate from standing to sitting position:
– Using a long piece of tan yarn, push the needle through the top center of one leg then thread all the way through the body so that it comes out the body on the other side where you would want to place the second leg.
– Then thread the needle through the top of the second leg. Turn and go back the other way: insert through the top of the 2nd leg, go all the way through the body, come out the other side and go through the top of the first leg.
– Repeat this back and forth 3 or 4 more times until the legs feel secure. Tie off, and weave in ends.
FINISHING
(Optional) Using a piece of ribbon in your desired color, tie a bowtie around the neck of the bear.
We finished our pattern. You can send the finished pattern to me on facebook, instagram and pinterest.
https://www.facebook.com/amigurumi.sdk.today/
https://www.instagram.com/amigurumifreepatternss/
https://www.pinterest.com/crochetblogkb/
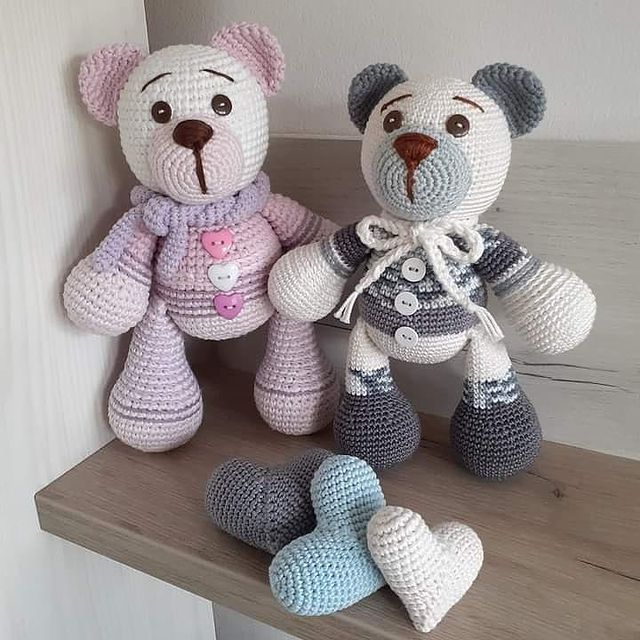
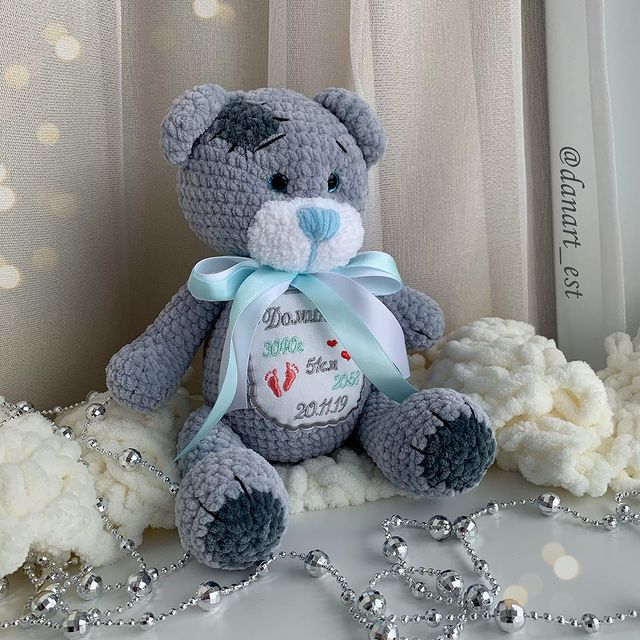
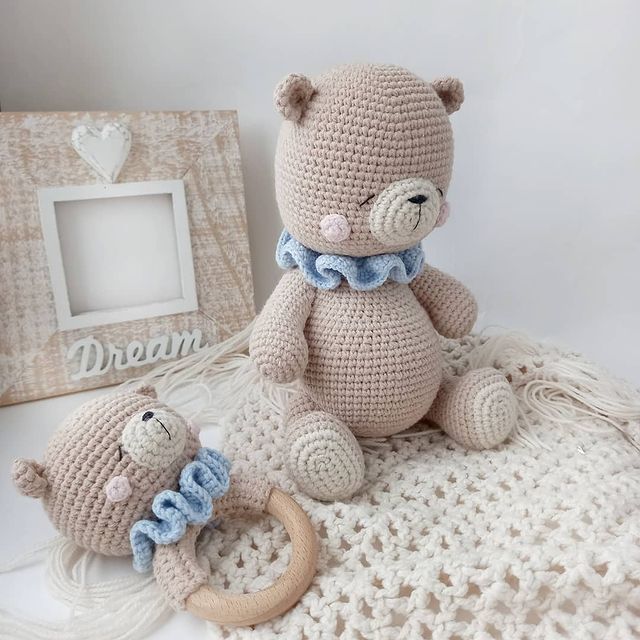
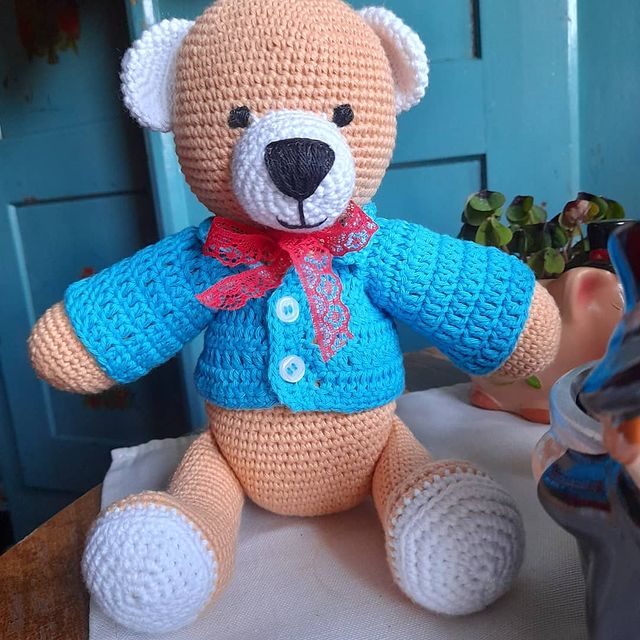
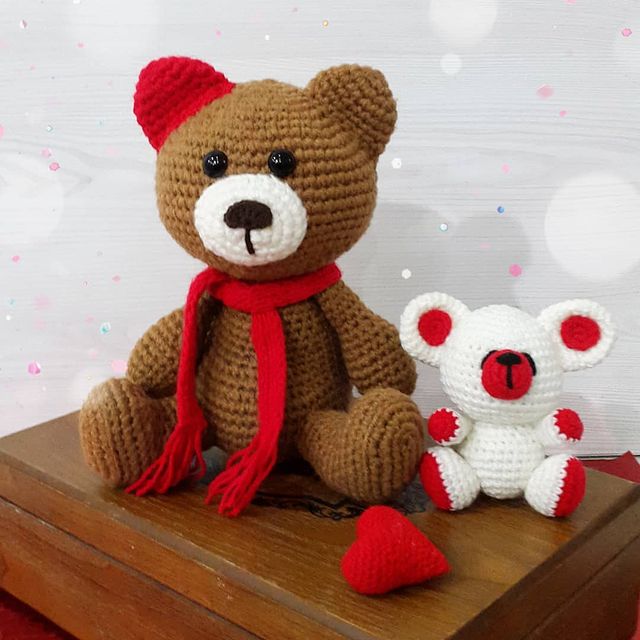
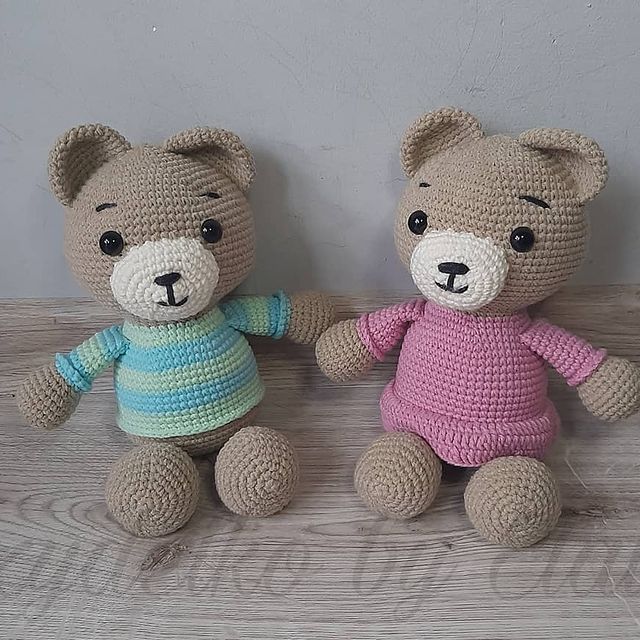
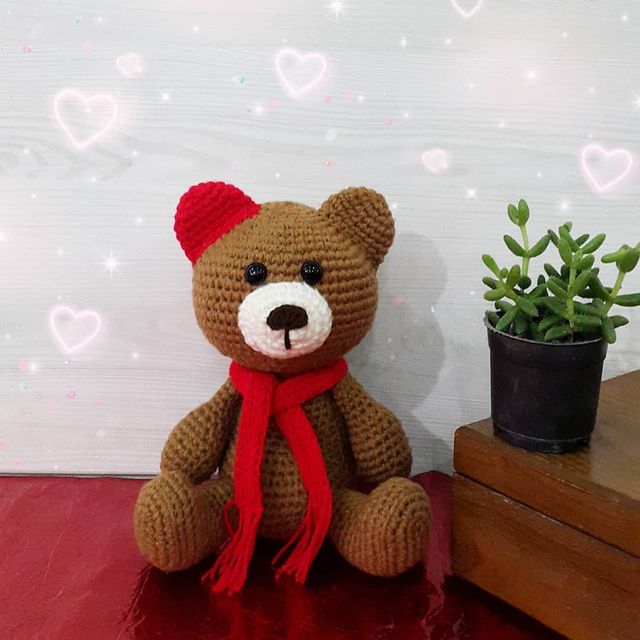
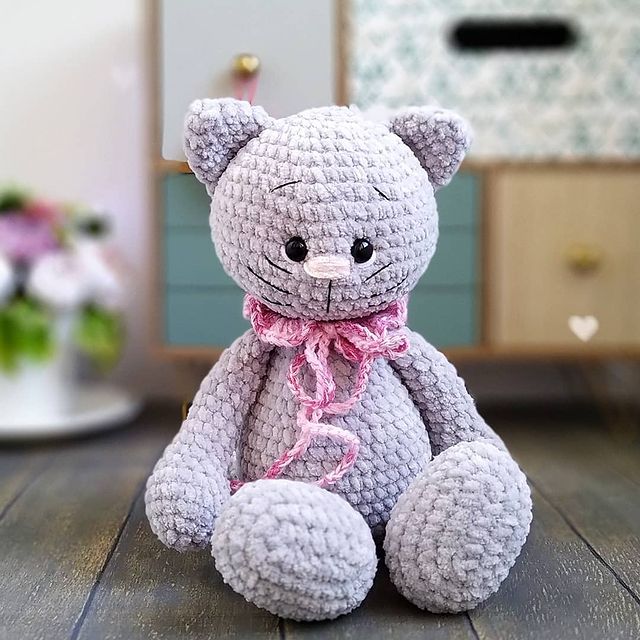
More Amigurumi Bear Ideas