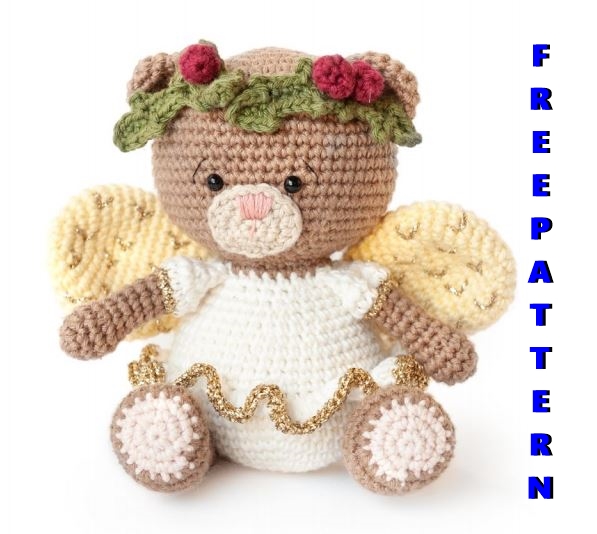
Amigurumi Angel Teddy Bear Free Pattern
Hello my visitors who love to knit amigurumi. In this article, I share new amigurumi patterns for you free of charge. To knit free amigurumi patterns, it will be enough to follow the terms I shared for you. You can delight your children with amigurumi toys.
ABBREVATIONS
BRITISH TERMINOLOGY
BLO : back loop only
ch : chain
dc : double crochet
dec2tog : decrase 2 sts together
in : inch
Rnd(s) : Round(s)
st(s) : stitch(es)
SIZE
13 cm
TOOLS AND MATERIALS
Ricorumi dk
Shade 002 (Cream) 25 g
Shade 005 (Vanilla) 25 g
Shade 007 (Pastel Pink) 25 g
Shade 030 (Burgundy) 25 g
Shade 048 (Olive) 25 g
Shade 051 (Mastic) 25 g
Shade 052 (Light Brown) 25 g
Rico Ricorumi Lamé
Shade 002 (Gold) 10 g
Rico Embroidery Strand
Shade 044 (Dusky Pink)
Shade 296 (Black)
Rico hook 2.5 mm
2 Rico eye buttons, 5 mm
Rico toy stuffing
Rico stitch markers
Rico needle
TENSION
26 sts and 26 rows = 10 x 10 cm
MUZZLE
Rnd 1: In mastic, working into magic ring, 6 dc.
Rnd 2: [2 dc into next st] 6 times. 12 sts.
Rnd 3: 1 dc, 2 dc into next st, 1 htr, 2 htr into next
st (mark this 2 htr with a st marker), 1 dc, 2 dc
into next 2 st, 1 dc, 2 htr into next st (mark this
2 htr with a st marker), 1 htr, 2 dc into next st,
1 dc. 18 sts.
Sl st into next st. Fasten off and break yarn.
Using dusky pink embroidery strand to embroider
nose onto the muzzle, use the picture as a
guideline.
Use the marked sts from Rnd 3 as a guide to
centre the nose.
HEAD
Rnd 1: In light brown, working into magic ring,
6 dc.
Rnd 2: [2 dc into next st] 6 times. 12 sts.
Rnd 3: [1 dc, 2 dc into next st] 6 times. 18 sts.
Rnd 4: [2 dc, 2 dc into next st] 6 times. 24 sts.
Rnd 5: [3 dc, 2 dc into next st] 6 times. 30 sts.
Rnd 6: [4 dc, 2 dc into next st] 6 times. 36 sts.
Rnd 7: [5 dc, 2 dc into next st] 6 times. 42 sts.
Rnd 8: [6 dc, 2 dc into next st] 6 times. 48 sts.
Rnd 9: [7 dc, 2 dc into next st] 6 times. 54 sts.
Rnd 10 – 18: 54 dc.
Rnd 19: [7 dc, dec2tog] 6 times. 48 sts.
Rnd 20: [6 dc, dec2tog] 6 times. 42 sts.
Rnd 21: [5 dc, dec2tog] 6 times. 36 sts.
Rnd 22: [4 dc, dec2tog] 6 times. 30 sts.
Insert eye buttons between rnds 15 – 16.
For this, stab the button between two st,
6 sts apart, and sew it on firmly at the wrong
side.
Using black embroidery strand to embroider
eyebrows over rounds 14 – 15, 2 st wide.
Rnd 23: [3 dc, dec2tog] 6 times. 24 sts.
Rnd 24: [2 dc, dec2tog] 6 times. 18 sts.
Fill firmly with stuffing.
Rnd 25: [Dc, dec2tog] 6 times. 12 sts.
Rnd 26: [Dec2tog] 6 times. 6 sts.
Fasten off and break yarn. Weave thread through
remaining sts, pull tight and weave in ends.
Pin muzzle onto head and sew firmly in place over
rounds 16 – 21 of the head between the eyes.
BODY
Rnd 1: In cream, working into magic ring, 6 dc.
Rnd 2: [2 dc into next st] 6 times. 12 sts.
Rnd 3: [1 dc, 2 dc into next st] 6 times. 18 sts.
Rnd 4: [2 dc, 2 dc into next st] 6 times. 24 sts.
Rnd 5: [3 dc, 2 dc into next st] 6 times. 30 sts.
Rnd 6: [4 dc, 2 dc into next st] 6 times. 36 sts.
Rnd 7: [5 dc, 2 dc into next st] 6 times. 42 sts.
Rnd 8: [6 dc, 2 dc into next st] 6 times. 48 sts.
Rnd 9: [23 dc, 2 dc into next st] 2 times. 50 sts.
Rnd 10 – 12: 50 dc.
Rnd 13: Working in BLO, 50 dc.
Rnd 14: [23 dc, dec2tog] 2 times. 48 sts.
Rnd 15: 48 dc.
Rnd 16: [14 dc, dec2tog] 3 times. 45 sts.
Rnd 17: 4 dc, dec2tog, [13 dc, dec2tog] 2 times,
9 dc. 42 sts.
Rnd 18: 7 dc, dec2tog, [12 dc, dec2tog] 2 times,
5 dc. 39 sts.
Rnd 19: 3 dc, dec2tog, [11 dc, dec2tog] 2 times,
8 dc. 36 sts.
Rnd 20: 5 dc, dec2tog, [10 dc, dec2tog] 2 times,
5 dc. 33 sts.
Rnd 21: 7 dc, dec2tog, [9 dc, dec2tog] 2 times,
2 dc. 30 sts.
Rnd 22: 3 dc, dec2tog, [8 dc, dec2tog] 2 times,
5 dc. 27 sts.
After rnd 22, extra 2 dc. Change yarn.
Rnd 23: In light brown, [7 dc, dec2tog] 3 times.
24 sts.
Sl st into next st. Fasten off and break yarn.
Do not close at the top.
Fill firmly with stuffing. Pin head onto body and
sew firmly in place over rnds 24 – 26 of the head.
SKIRT
Rnd 1: In cream, join yarn to last FLO from rnd 13
of the body, with base of body pointing away from
you. Working FLO, ch 2, starting in the same
FLO to which you joined the yarn, [2 tr in next st]
50 times. Sl st in first st. 100 sts.
Change yarn.
Rnd 2: In gold, [1 dc, 2 dc into next st] 50 times.
Sl st in first st. 150 sts.
Sl st into next st. Fasten off and break yarn.
Weave in ends.
ARM (MAKE 2)
Rnd 1: In light brown, working into magic ring,
6 dc.
Rnd 2: [1 dc, 2 dc in next st] 3 times. 9 sts.
Rnd 3: [2 dc, 2 dc in next st] 3 times. 12 sts.
Rnd 4: 12 dc.
Rnd 5: [Dc, dec2tog] 4 times. 8 sts.
Rnd 6 – 10: 8 dc. Change yarn.
Rnd 11: In gold [2 dc into next st] 8 times. 16 sts.
Change yarn.
Rnd 12: In cream [3 dc, 2 dc into next st] 4 times.
20 sts.
Rnd 13: 20 dc.
Rnd 14: [Dec2tog] 10 times. 10 sts.
After round 14, extra 4 dc.
Fill with stuffing, firmly at the hand and arm with
less at the sleeve.
Hold 2 sides together and work 5 dc through both
sides to close the opening.
Fasten off and break yarn. Pin both onto body and
sew in place between rnds 22 – 23, 7 sts apart in
the front.
LEG (MAKE 2)
LEFT LEG
Rnd 1: In pastel pink, working into magic ring,
6 dc.
Rnd 2: [2 dc into next st] 6 times. 12 sts.
Rnd 3: [1 dc, 2 dc into next st] 6 times. 18 sts.
Change yarn.
Rnd 4: In light brown, [2 dc, 2 dc into next st]
6 times. 24 sts.
Rnd 5 – 7: 24 dc.
Rnd 8: 4 dc, [dec2tog] 8 times, 4 dc. 16 sts.
Rnd 9: 4 dc, [dec2tog] 4 times, 4 dc. 12 sts.
Rnd 10 – 12: 12 dc.
Rnd 13: 6 dc, 2 dc into next st, 5 dc. 13 sts.
Rnd 14: 13 dc.
Rnd 15: 7 dc, 2 dc into next st, 5 dc. 14 sts.
Rnd 16: 14 dc.
Rnd 17: 8 dc, 2 dc into next st, 5 dc. 15 sts.
Rnd 18: 15 dc.
After rnd 18, extra 2 dc.
Fill with stuffing, firmly at the foot with less
towards the top of the leg.
Hold 2 sides together and work 7 dc through both
sides to close the opening.
Fasten off and break yarn. Pin both onto body and
sew in place. The flat edge of each leg should fall
over rnds 5 – 11. Sew extra sts along the length of
the leg to hold against the body.
RIGHT LEG
Rnd 1 – 18: Repeat as for left leg.
After rnd 18, extra 10 dc.
Fill with stuffing, firmly at the foot with less
towards the top of the leg.
Hold 2 sides together and work 7 dc through both
sides to close the opening.
Fasten off and break yarn. Pin both onto body and
sew in place as for the left leg.
EAR (MAKE 2)
Rnd 1: In light brown, working into magic ring,
6 dc.
Rnd 2: [2 dc into next st] 6 times. 12 sts.
Rnd 3: [3 dc, 2 dc into next st] 3 times. 15 sts.
Rnd 4: 15 dc.
Hold 2 sides together and work 7 dc through both
sides to close the opening.
Fasten off and break yarn. Pin both onto head and
sew in place with each ear over rounds 7 – 11 of
the head.
WING (MAKE 2)
Rnd 1: In vanilla, working into magic ring, 6 dc.
Rnd 2: [2 dc into next st] 6 times. 12 sts.
Rnd 3: [1 dc, 2 dc into next st] 6 times. 18 sts.
Rnd 4: [2 dc, 2 dc into next st] 6 times. 24 sts.
Rnd 5: [3 dc, 2 dc into next st] 6 times. 30 sts.
Rnd 6 – 8: 30 dc.
Rnd 9: 6 dc, dec2tog, 13 dc, dec2tog, 7 dc.
28 sts.
Rnd 10: 6 dc, dec2tog, 12 dc, dec2tog, 6 dc.
26 sts.
Rnd 11: 5 dc, dec2tog, 11 dc, dec2tog, 6 dc.
24 sts.
Rnd 12: 5 dc, dec2tog, 10 dc, dec2tog, 5 dc.
22 sts.
Rnd 13: 4 dc, dec2tog, 9 dc, dec2tog, 5 dc.
20 sts.
Rnd 14: 4 dc, dec2tog, 8 dc, dec2tog, 4 dc.
18 sts.
Rnd 15: 3 dc, dec2tog, 7 dc, dec2tog, 4 dc.
16 sts.
Rnd 16: 3 dc, dec2tog, 6 dc, dec2tog, 3 dc.
14 sts.
Rnd 17: 2 dc, dec2tog, 5 dc, dec2tog, 3 dc.
12 sts.
Hold 2 sides together and work 6 dc through
both sides to close the opening.
Fasten off and break yarn. Using gold, embroider
“V”s on the front of the wings.
Pin both onto back of body and sew in place
with each wing sewn over rnds 16 – 21 on an
angle. Sew extra sts along the wings to hold
them against the body.
TAIL
Rnd 1: In light brown, working into magic ring,
6 dc.
Rnd 2: [1 dc, 2 dc in next st] 3 times. 9 sts.
Rnd 3: 9 dc.
Sl st into next st. Fasten off and break yarn.
Pin tail onto back of body and sew in place over
rnds 7 – 8 evenly spaced between the two legs.
LEAF (MAKE 4)
In olive, ch 10.
Rnd 1: Working on one side of the foundation ch,
starting in the 2nd chain from hook, 2 dc, ch 2,
1 sl st in 2nd ch from hook, 1 sl st, 3 dc, ch 3,
1 sl st in 3rd ch from hook, 1 sl st, 2 dc, ch 3, turn
and working on the other side of the foundation
ch, 1 dc in 4th ch from hook, 2 dc, ch 2, 1 sl st in
2nd ch from hook, 1 sl st, 3 dc, ch 3, 1 sl st in
3rd ch from hook, 2 sl st. 35 sts.
Fasten off and break yarn leaving a long tail for
attaching. Sew 2 leaves together, 2 times. Pin the
pairs of leaves to head and sew in place.
BERRY (MAKE 3)
Rnd 1: In burgundy, working into magic ring, 6 dc.
Rnd 2 – 3: 6 dc.
Fasten off and break yarn. Weave thread through
remaining sts, pull tight and weave in ends.
Pin berries onto leaves and sew firmly in place.
Use the picture as a guideline.
We finished our pattern. You can send the finished pattern to me on facebook, instagram and pinterest.
https://www.facebook.com/amigurumi.sdk.today/
https://www.instagram.com/amigurumifreepatternss/
https://www.pinterest.com/crochetblogkb/
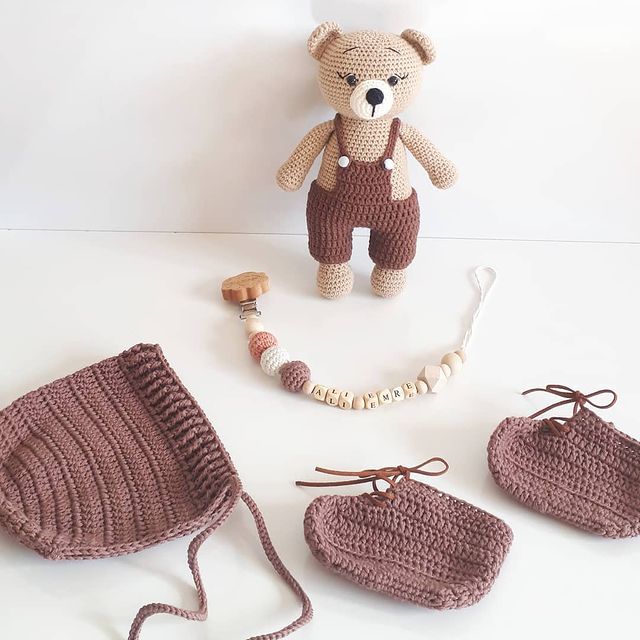
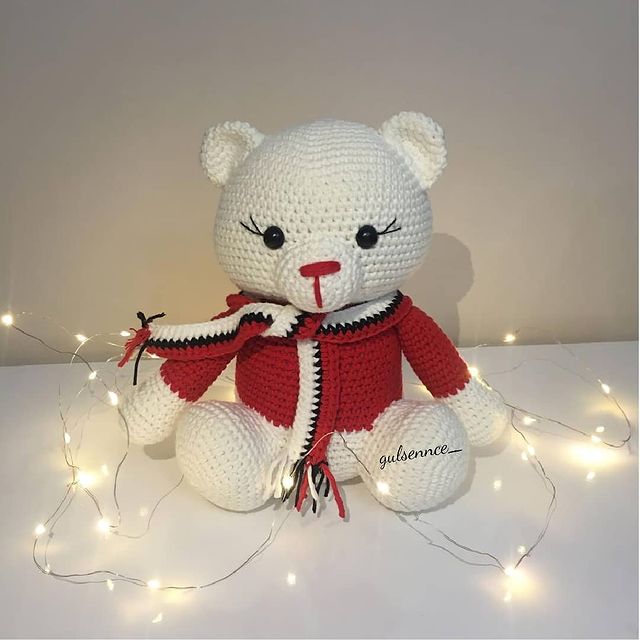
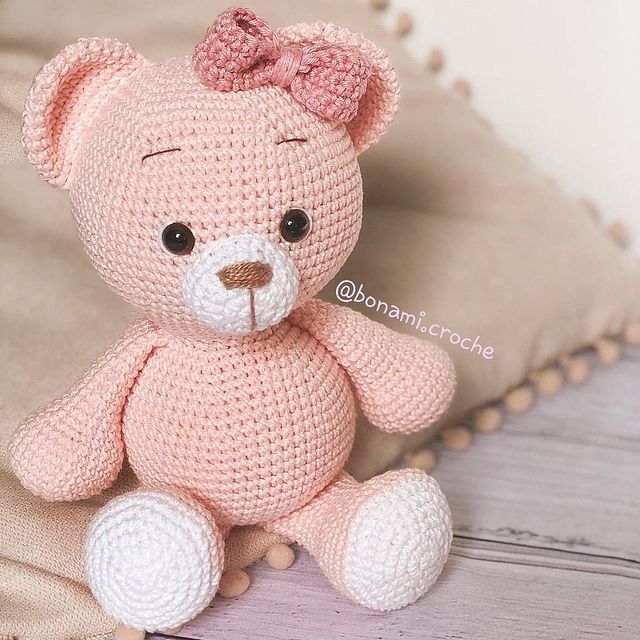
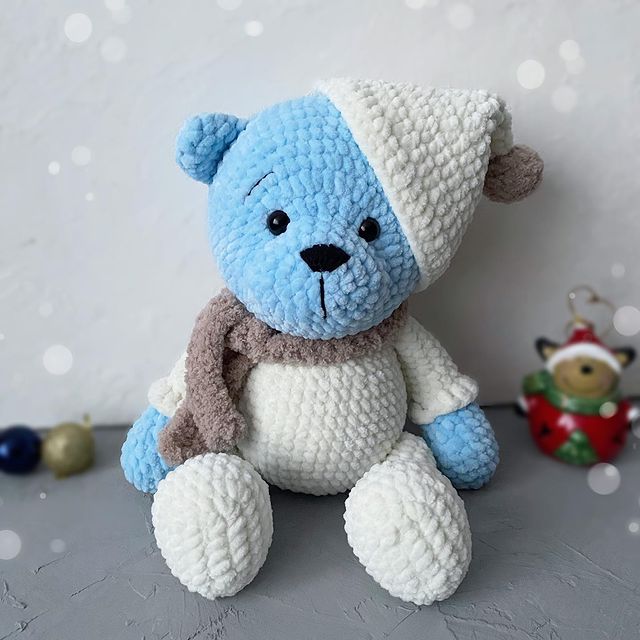
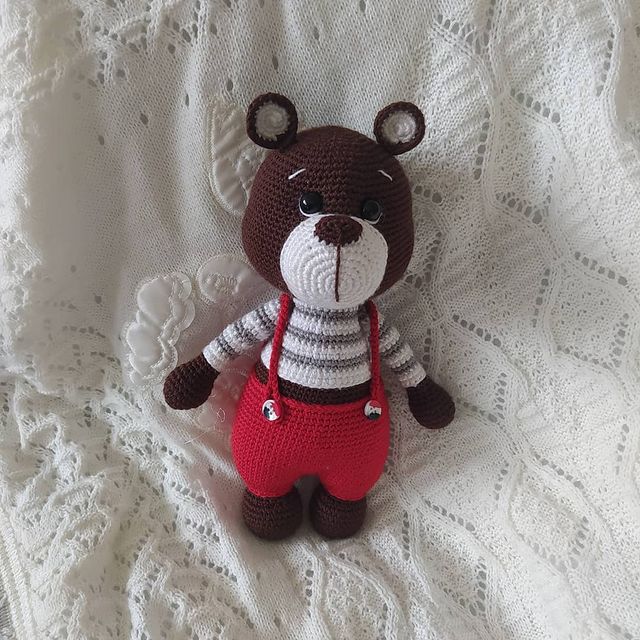
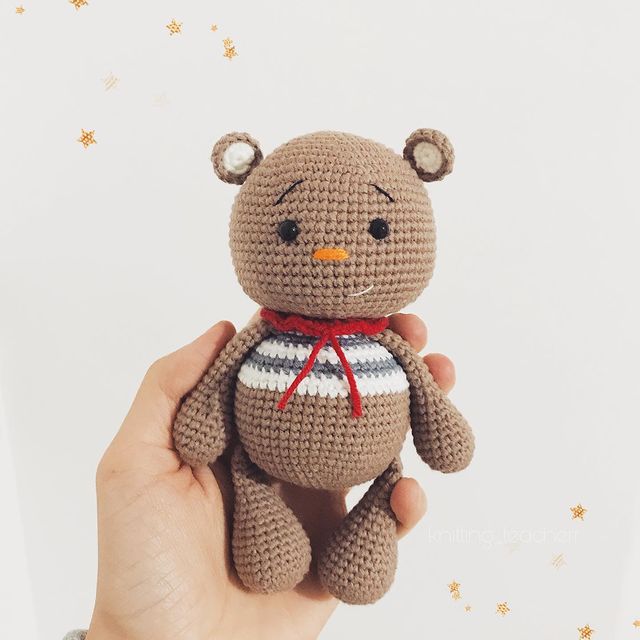
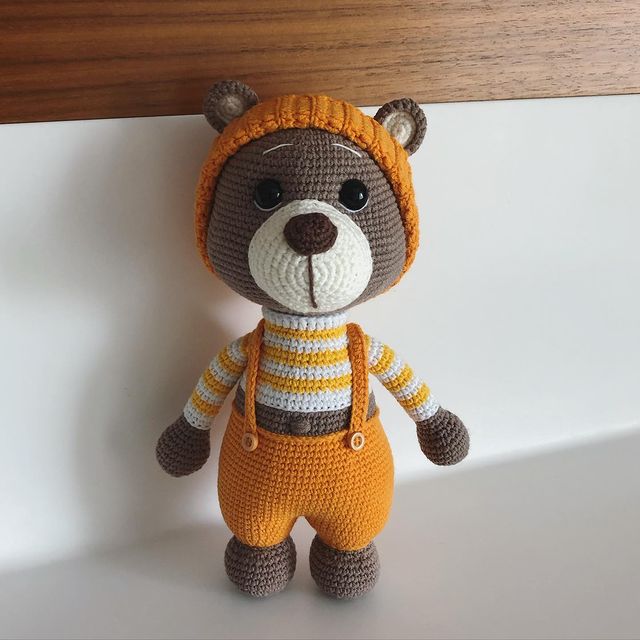
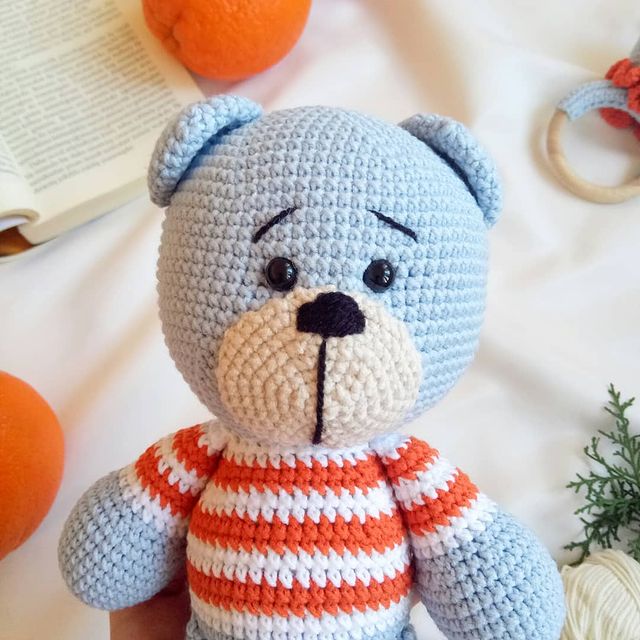
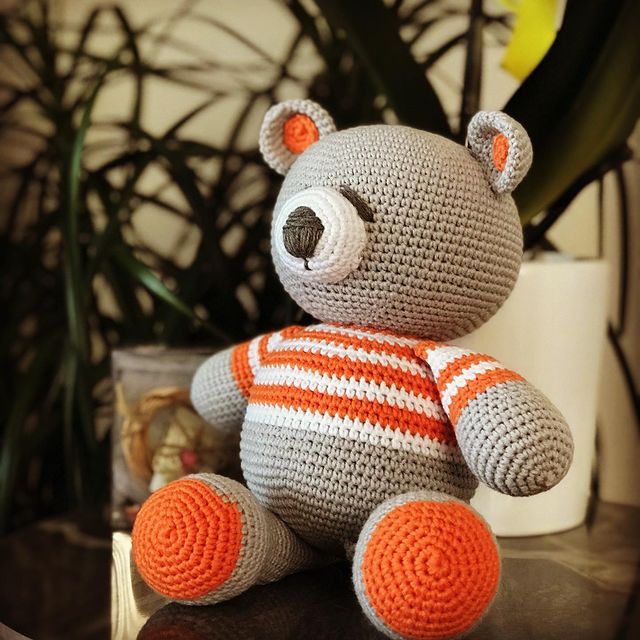
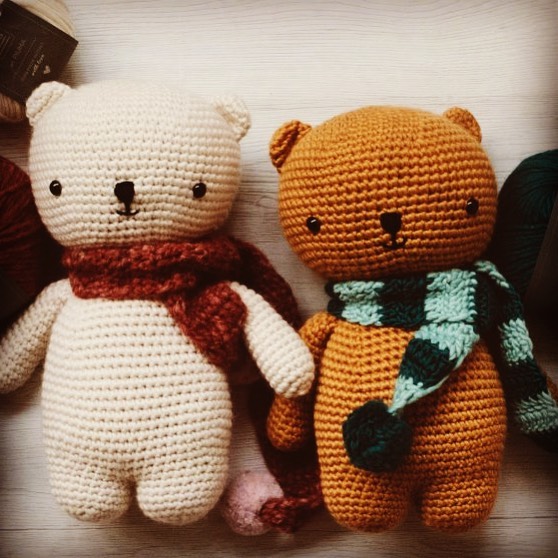
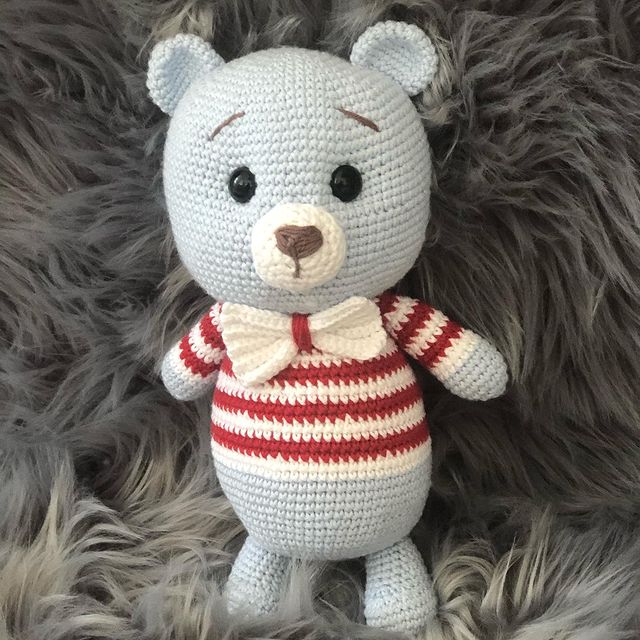
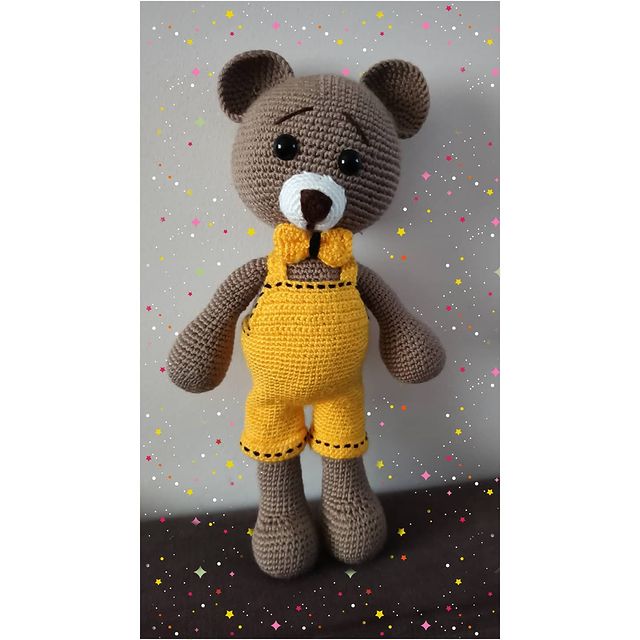
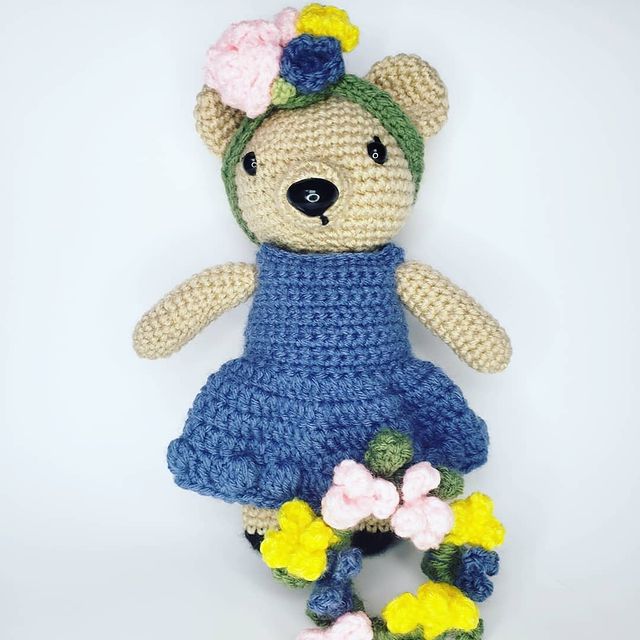
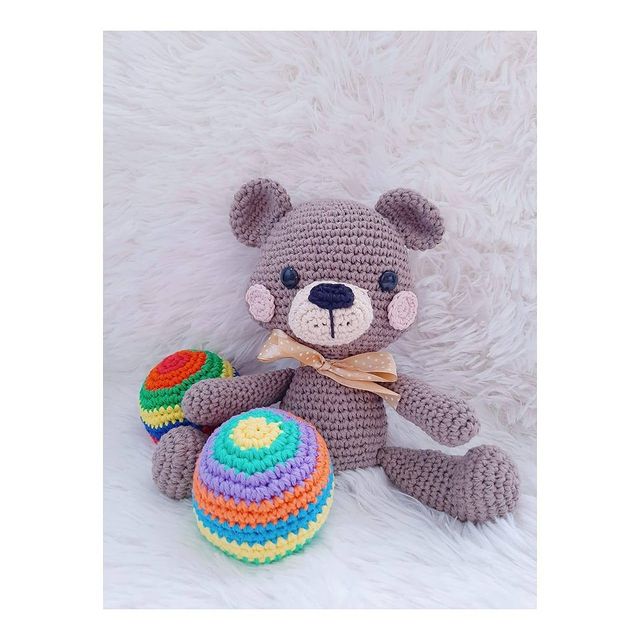
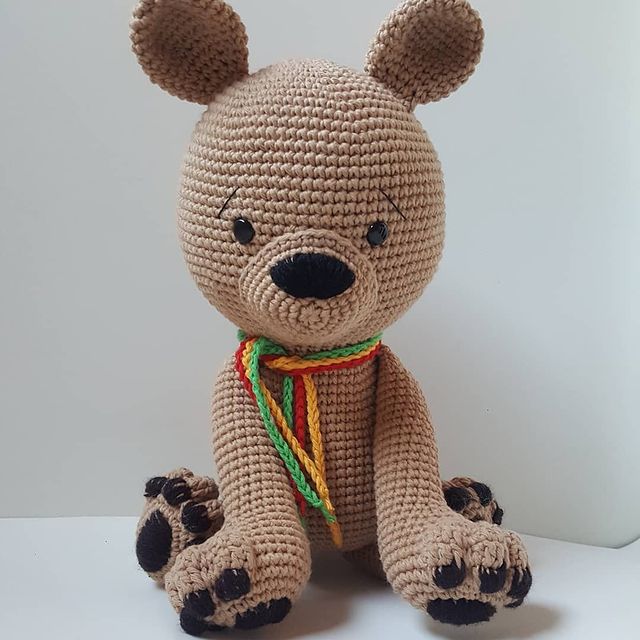
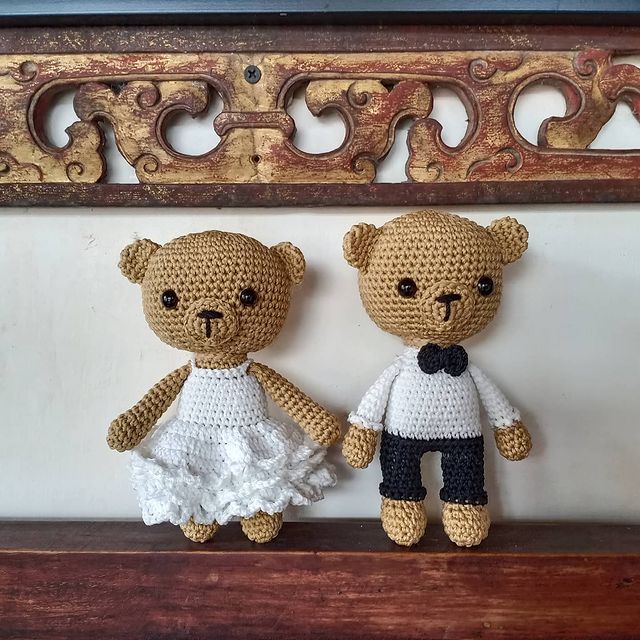
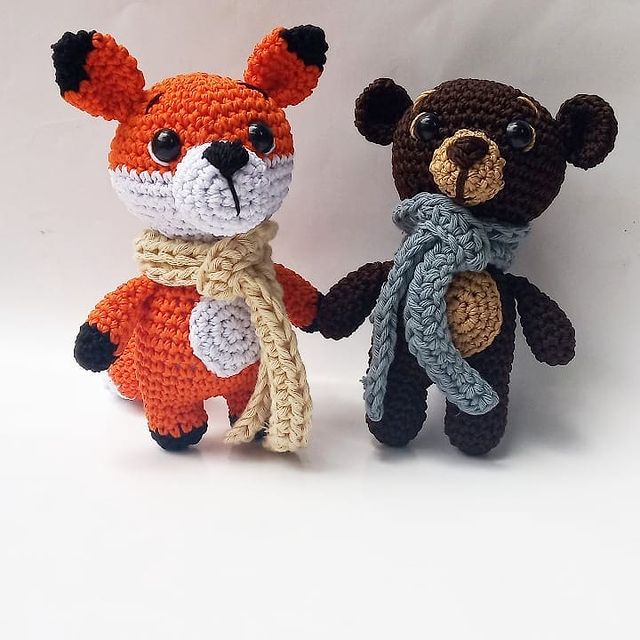
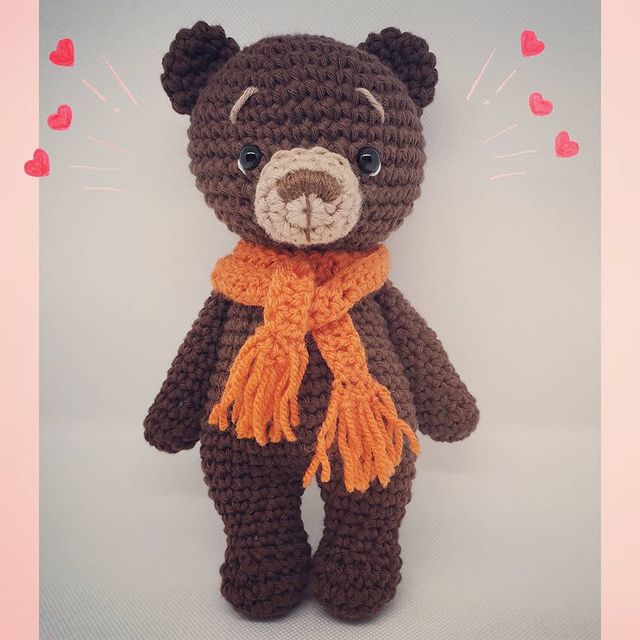
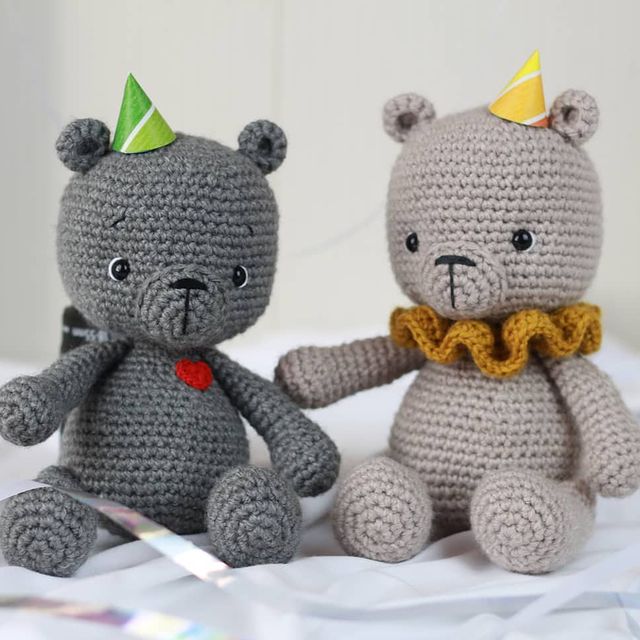
More Amigurumi Bear Ideas