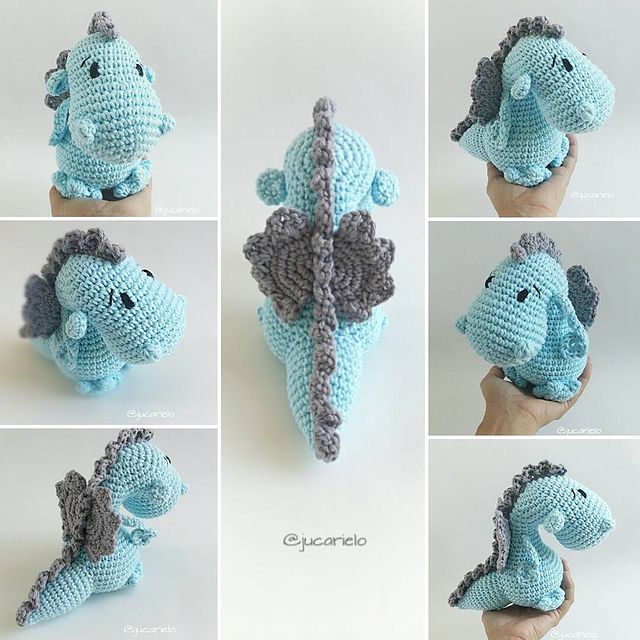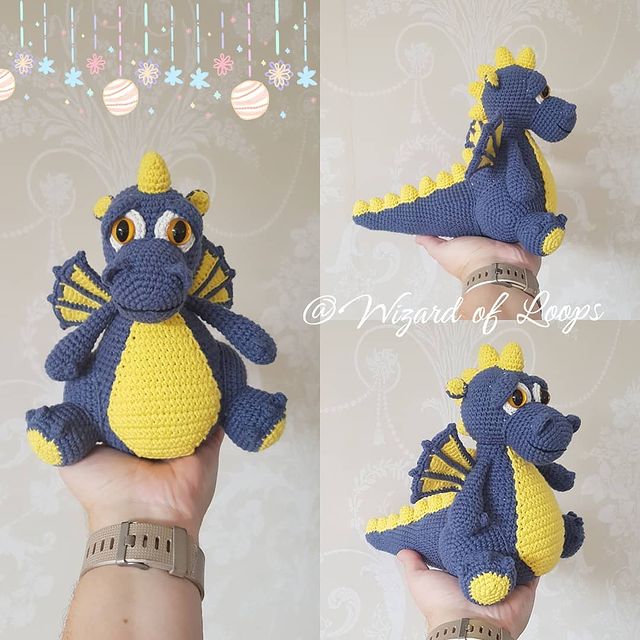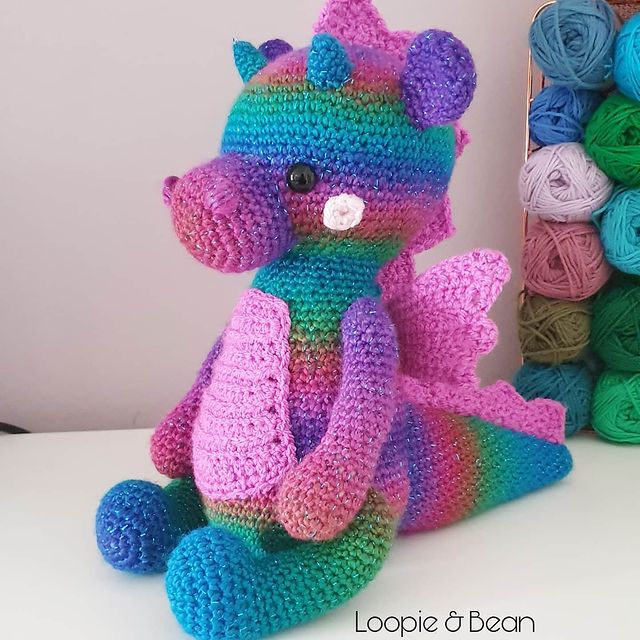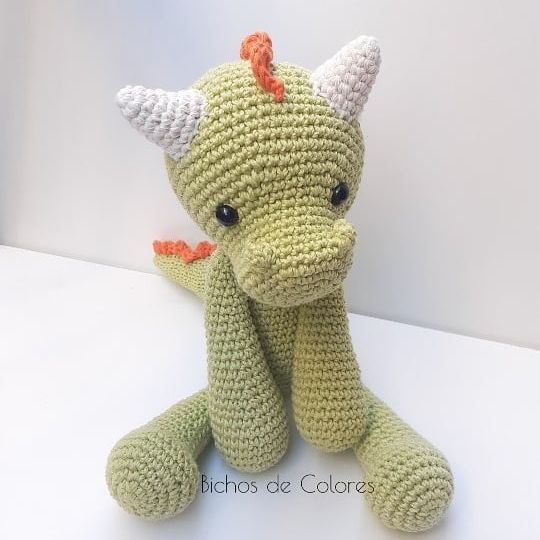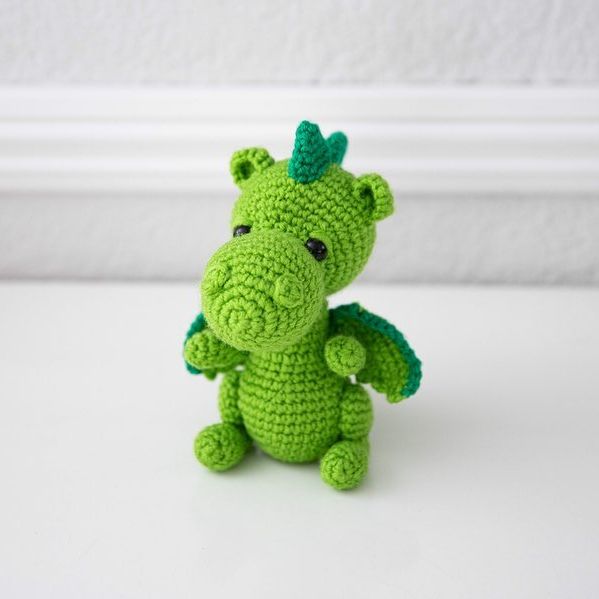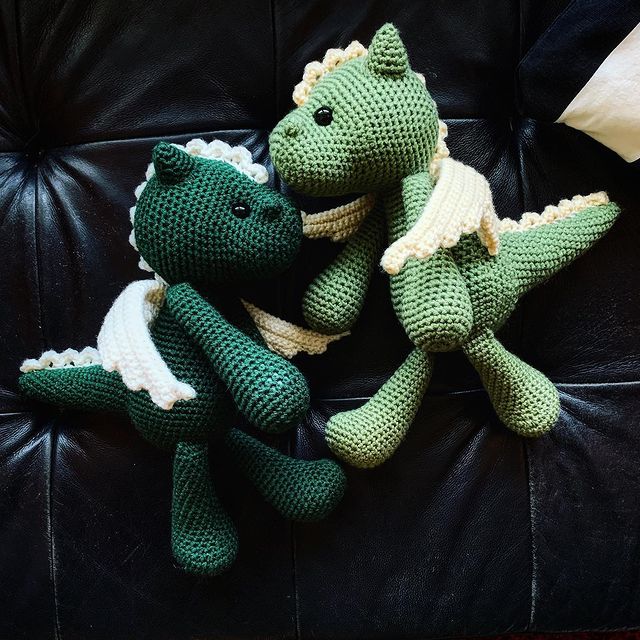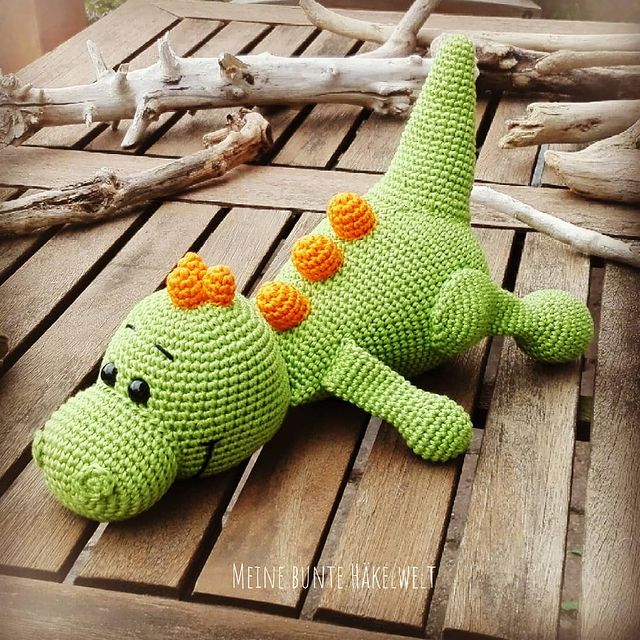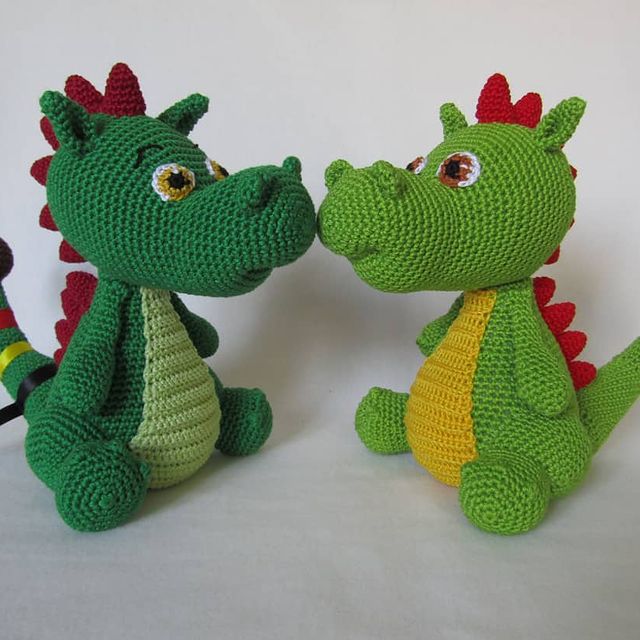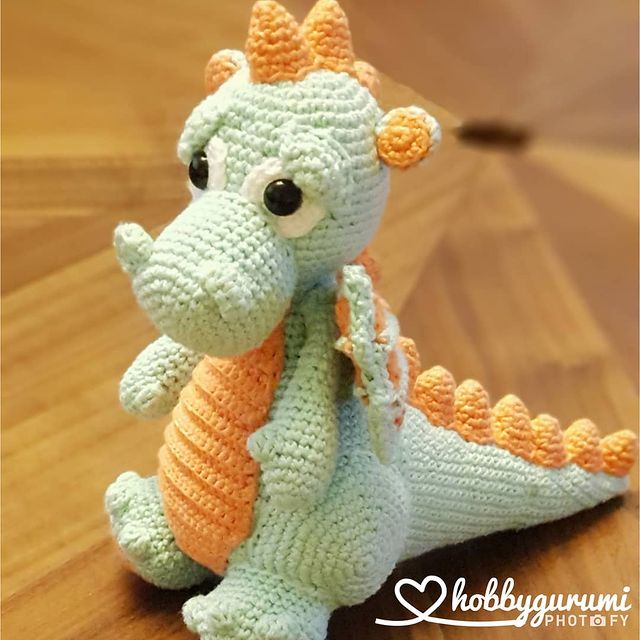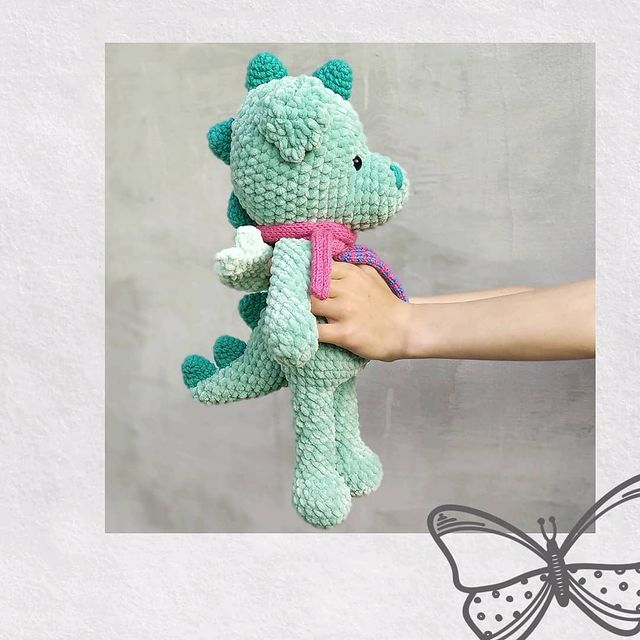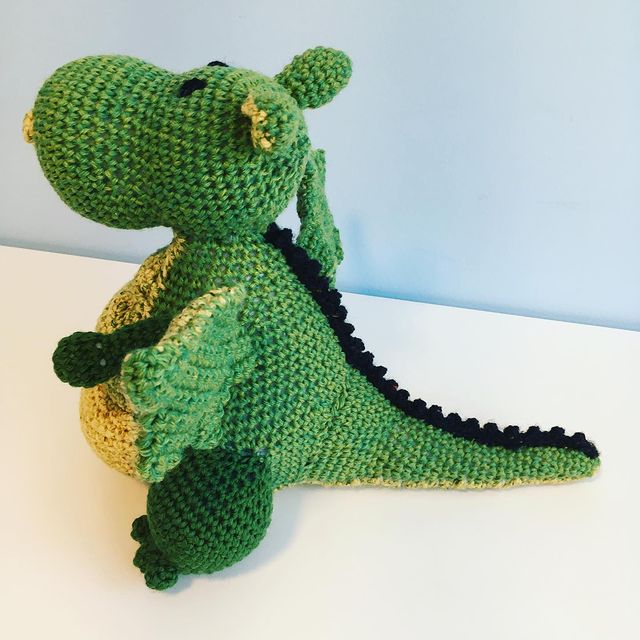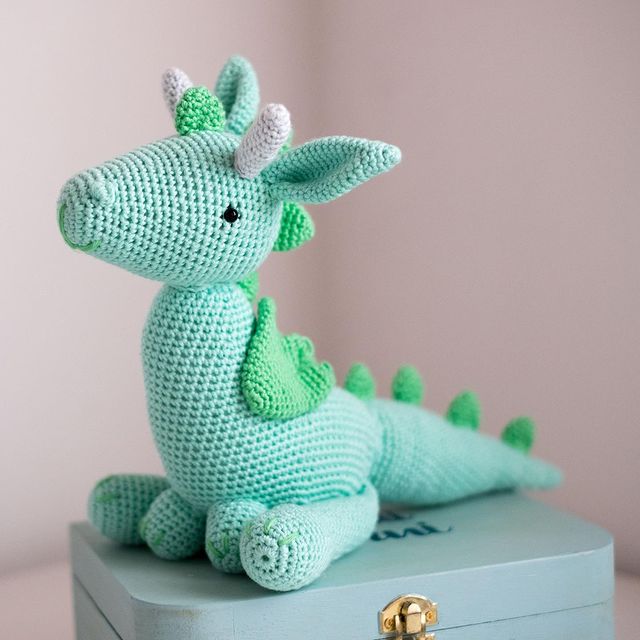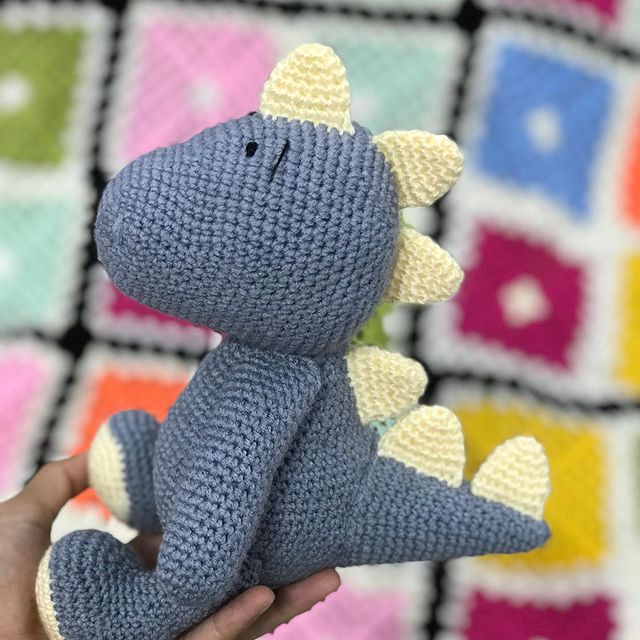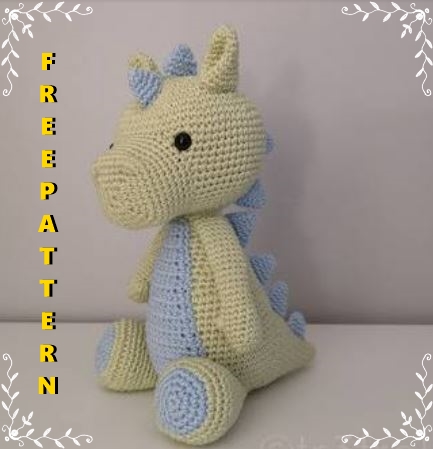
Magic Dragon Amigurumi Free Pattern
Hello my visitors who love to knit amigurumi. In this article, I share new amigurumi patterns for you free of charge. To knit free amigurumi patterns, it will be enough to follow the terms I shared for you. You can delight your children with amigurumi toys.
Materials
Yarn: Scheepjes Catona, 50g = 125m. 2 skein Green: 392, 1 skein Blue: 173
Hook: 2,5mm
Safety eyes: 9mm
Size of finished Poof: Approximately 18cm
Abbreviations
St = stitch
Sl st = slip stitch
Ch = chain
Sc = single crochet
Inc = increase (2sc in one st)
Dec = (2sc together)
Dc = double crochet
Bo = bobble stitch
stars = repeat the instructions between the stars given the number of times
HEAD – green
Rnd 1. 6sc in a magic ring = 6
Rnd 2. inc x6 = 12
Rnd 3. sc in next st, inc x6 = 18
Rnd 4. sc in next 2st, inc x6 = 24
Rnd 5. sc in next 3st, inc x6 = 30
Rnd 6. sc in next 4st, inc x6 = 36
Rnd 7. sc in next 5st, inc x6 = 42
Rnd 8. sc in next 6st, inc x6 = 48
Rnd 9. sc in next 7st, inc x6 = 54
Rnd 10. sc in next 8st, inc x6 = 60
Rnd 11. sc in next 9st, inc x6 = 66
Rnd 12-20. 66sc
Rnd 21. sc in next 9st, dec x6 = 60
Rnd 22. sc in next 8st, dec x6 =54
Rnd 23. sc in next 7st, dec x6 = 48
Rnd 24. sc in next 6st, dec x6 = 42
Rnd 25. sc in next 5st, dec x6 = 36
Rnd 26. sc in next 4st, dec x6 = 30
Rnd 27. sc in next 3st, dec x6 = 24
Rnd 28. sc in next 2st, dec x6 = 18
Cut yarn and fasten off
NOSE – green
Rnd 1. ch4, join together with a sl st, ch1, 2sc, ch4, 2sc x4, sl st
Rnd 2. ch1, sc in the same st as sl st, 1sc, 1sc ch2 1sc in chain, 2sc, 1sc ch2 1sc in chain x3, sl st
Rnd 3. ch1, sc in the same st as sl st, 2sc, 1sc ch2 1sc in chain, 4sc, 1sc ch2 1sc in chain x3, 1sc, sl st
Rnd 4. ch1, sc in the same st as sl st, 3sc, 1sc ch2 1sc in chain, 6sc, 1sc ch2 1sc in chain x3, 2sc, sl st
Rnd 5. ch1, sc in the same st as sl st, 4sc, 2sc in chain, 8sc, 2sc in chain x3, 3sc, sl st.
Rnd 6-11. ch1, sc in same st as sl st, 39sc, sl st = 40sc
Cut yarn but leave a tail to attach the nose to the head
EARS – green
Rnd 1. 6sc in a magic ring
Rnd 2. 6sc
Rnd 3. inc x6 = 12
Rnd 4. 12sc
Rnd 5. 12sc
Rnd 6. sc in next st, inc x6 = 18
Rnd 7. 18sc
Rnd 8. 18sc
Rnd 9. sc in next 2st, inc x6 = 24
Rnd 10. 24sc
Cut yarn but leave a tail to attach the ears to the head
BODY – green
Rnd 1. 6sc in a magic ring = 6
Rnd 2. inc x6 = 12
Rnd 3. sc in next st, inc x6 = 18
Rnd 4. sc in next 2st, inc x6 = 24
Rnd 5. sc in next 3st, inc x6 = 30
Rnd 6. sc in next 4st, inc x6 = 36
Rnd 7. sc in next 5st, inc x6 = 42
Rnd 8. sc in next 6st, inc x6 = 48
Rnd 9. sc in next 7st, inc x6 = 54
Rnd 10-16. 54sc
Rnd 17. sc in next 7st, dec x6 = 48
Rnd 18. 48sc
Rnd 19. 48sc
Rnd 20. sc in next 6st, dec x6 = 42
Rnd 21. 42sc
Rnd 22. 42sc
Rnd 23. sc in next 5st, dec x6 = 36
Rnd 24. 36sc
Rnd 25. 36sc
Rnd 26. sc in next 4st, dec x6 =30
Rnd 27. 30sc
Rnd 28. 30sc
Rnd 29. sc in next 3st, dec x6 = 24
Rnd 30. 24sc
Rnd 31. 24sc
Rnd 32. sc in next 2st, dec x6 = 18
Rnd 33. 18sc
Rnd 34. 18sc
Cut off yarn but leave a long tail to attach the body and the head together.
STOMAGE – blue
Rnd 1. ch4, sc in second st from needle, 2sc, ch1, turn
Rnd 2. 3sc, ch1, turn
Rnd 3. 3sc, ch1, turn
Rnd 4. Inc, 1sc, inc, ch1, turn
Rnd 5. 5sc, ch1, turn
Rnd 6. 5sc, ch1, turn
Rnd 7. Inc, 3sc, inc, ch1, turn
Rnd 8. 7sc, ch1, turn
Rnd 9. 7sc, ch1, turn
Rnd 10. 7sc, ch1, turn
Rnd 11. Inc, 5sc, inc, ch1, turn
Rnd 12. 9sc, ch1, turn
Rnd 13. 9sc, ch1, turn
Rnd 14. Inc, 7sc, inc, ch1, turn
Rnd 15. 11sc, ch1, turn
Rnd 16. 11sc, ch1, turn
Rnd 17. Inc, 9sc, inc, ch1, turn
Rnd 18-22. 13sc, ch1, turn
Rnd 23. Dec, 9sc, dec, ch1, turn
Rnd 24. 11sc, ch1, turn
Rnd 25. Dec, 7sc, dec, ch1, turn
Rnd 26. 9sc, ch1, turn
Rnd 27. Dec, 5sc, dec, ch1, turn
Rnd 28. Crochet a row with sc around the stomage.
Cut off yarn but leave a long tail to attach the stomage on the body.
TAIL – green
Rnd 1. 6sc in a magic ring
Rnd 2. sc I next st, inc x3 = 9
Rnd 3. 9sc
Rnd 4. sc in next 2st, inc x3 = 12
Rnd 5. 12sc
Rnd 6. sc in next 3st, inc x3 = 15
Rnd 7. 15sc
Rnd 8. sc in next 4st, inc x3 = 18
Rnd 9. 18sc
Rnd 10. sc in next 5st, inc x3 = 21
Rnd 11. 21sc
Rnd 12. sc in next 6st, inc x3 = 24
Rnd 13. 24sc
Rnd 14. sc in next 3st, inc x6 = 30
Rnd 15. 30sc
Rnd 16. sc in next 4st, inc x6 = 36
Rnd 17. 36sc
Rnd 18. sc in next 5st, inc x6 = 42
Rnd 19. 42sc
Rnd 20. 42sc
Cut off yarn but leave a long tail to attach the tail on the body.
LEGS
Rnd 1. Start off with blue, 6sc in a magic ring, join with sl st, ch1
Rnd 2. inc x6, sl st, ch1
Rnd 3. sc in next st, dec x6, sl st, ch1
Rnd 4. sc in next 2st, dec x6, sl st, ch1
Rnd 5. Switch color to green, sc in next 3st, dec x6, sl st, ch1
Rnd 6. sc in next 4st, dec x6, sl st, ch1
Rnd 7. 36sc, sl st, ch1
Rnd 8. 36sc, sl st, ch1
Rnd 9. sc in next 4st, dec x6, sl st, ch1
Rnd 10. 30sc, sl st, ch1
Rnd 11. 30sc, sl st, ch1
Rnd 12. sc in next 3st, dec x6, sl st, ch1
Rnd 13. 24sc, sl st, ch1
Rnd 14. 24sc, sl st, ch1
Rnd 15. sc in next 2st, dec x6, sl st, ch1
Rnd 16. 18sc, sl st, ch1
Rnd 17. 18sc, sl st, ch1
Rnd 18. sc in next st, dec x6, sl st, ch1
Rnd 19. 12sc, sl st, ch1
Rnd 20. 12sc, sl st
Cut off yarn but leave a long tail to attach the legs on the body.
ARMS – green
Rnd 1. 6sc in a magic ring
Rnd 2. inc x6 = 12
Rnd 3-6. 12sc
Rnd 7. 2sc, 1bo, 9sc = 12
Rnd 8-17. 12sc, slst
Cut off yarn but leave a long tail to attach the arms on the body.
SPIKES 7 pieces blue
Rnd 1. 6sc in a magic ring
Rnd 2. 6sc
Rnd 3. sc in next st, inc x3 = 9
Rnd 4. sc in next 2sc, inc x3 = 12
Rnd 5. 12sc
Rnd 6. sc in next 3st, inc x3 = 15
Cut off yarn and attach the spikes on the head and body.
SPIKES 2 pieces blue
Rnd 1. 6sc in a magic ring
Rnd 2. 6sc
Rnd 3. sc in next st, inc x3 = 9
Rnd 4. sc in next 2sc, inc x3 = 12
Cut off yarn and attach the spikes on the head and body.
INFO
The opening of the body and the head are sewn together.
The 2 small spikes are mounted as the first on the head and the last on the tail.
The arms are padded in the hands alone.
Bobble stitch – thumb
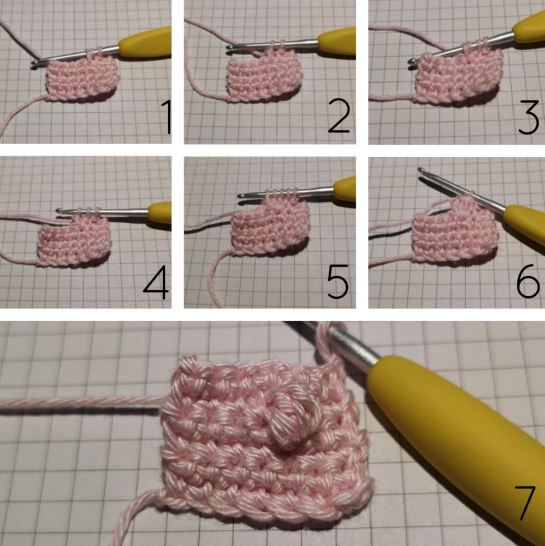
- Make a wrap around the needle, pick up yarn through the stitch, you now have 3 loops on the
needle - Make a wrap around the needle and pull through 2 of the loops on the needle, becoming like a
unfinished dc, and you should have 2 loops left on the needle. - Make a wrap on the needle, pick up yarn through the stitch
- Make a wrap, pull through 2 loops, then you have 3 loops on the needle, and now you have 2
unfinished dc. - Then you will make row 1-4 two times more. And now you will have done 4 unfinished dc and will
have 5 loops in the needle. - Crochet sc in next stitches.
If this is too complicated then Poof will be just as nice if you replace bo with sc
We finished our pattern. You can send the finished pattern to me on facebook, instagram and pinterest.
https://www.facebook.com/amigurumi.sdk.today/
https://www.instagram.com/amigurumifreepatternss/
https://www.pinterest.com/crochetblogkb/
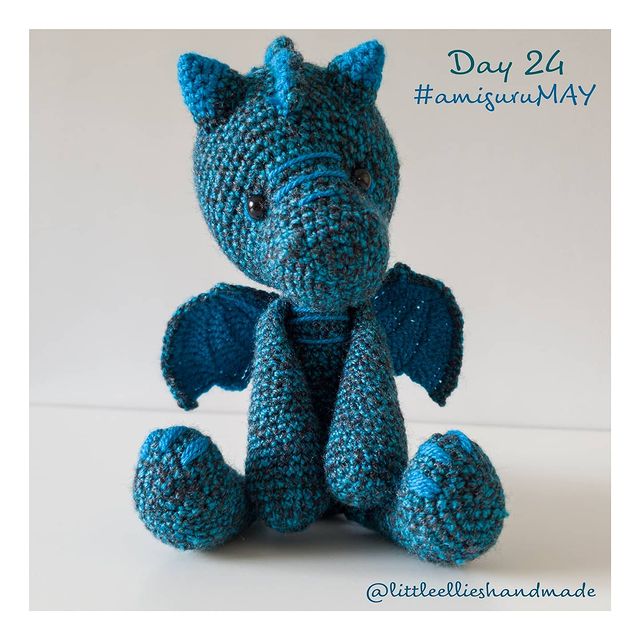
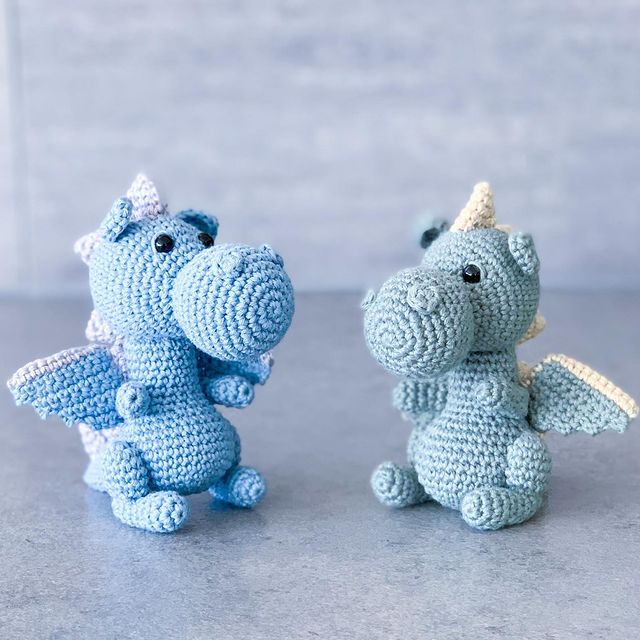
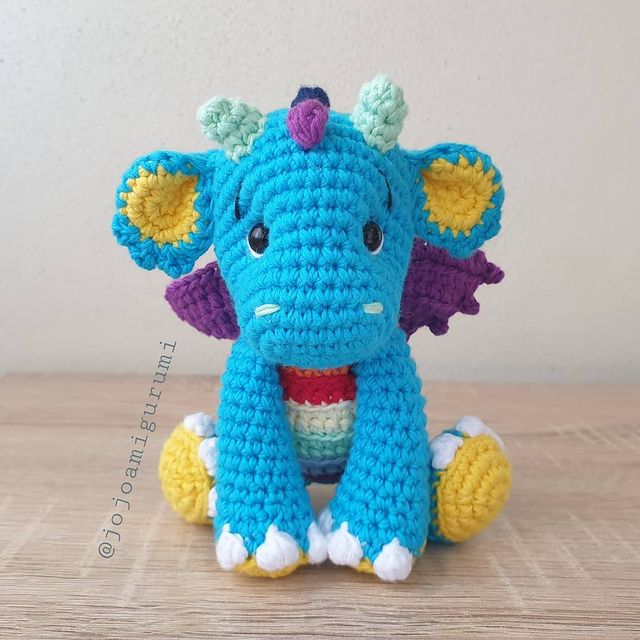
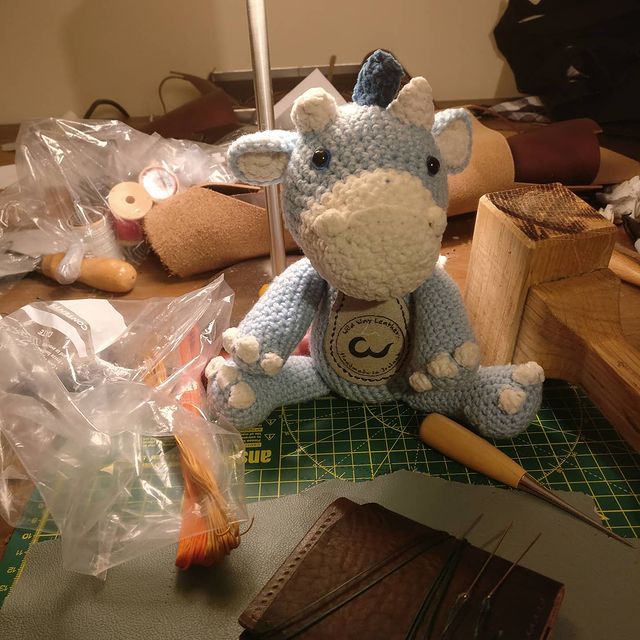
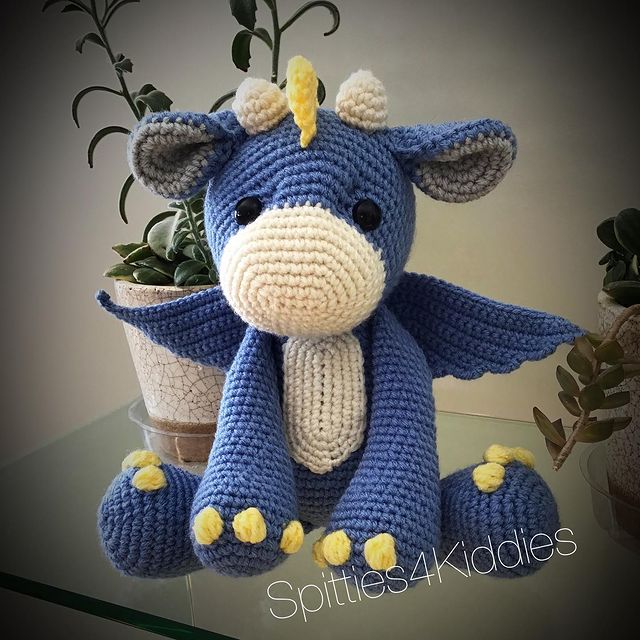
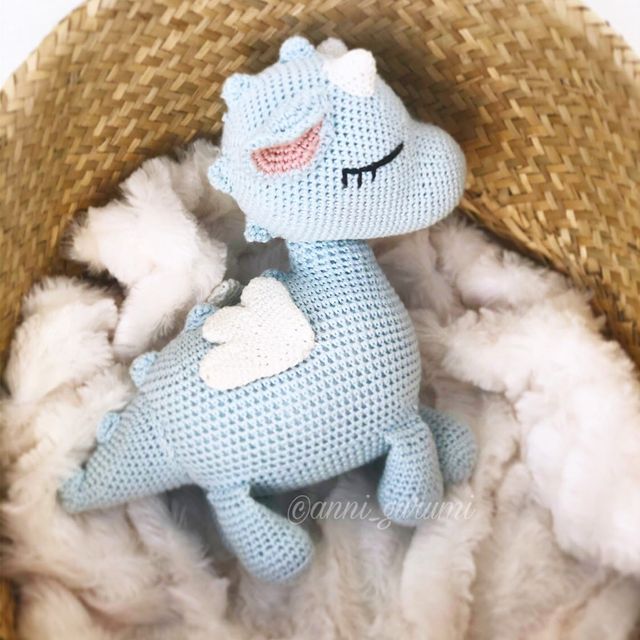
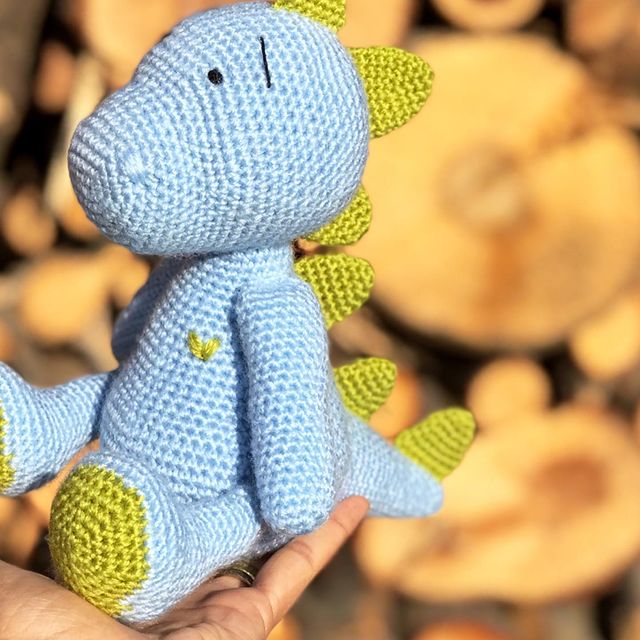
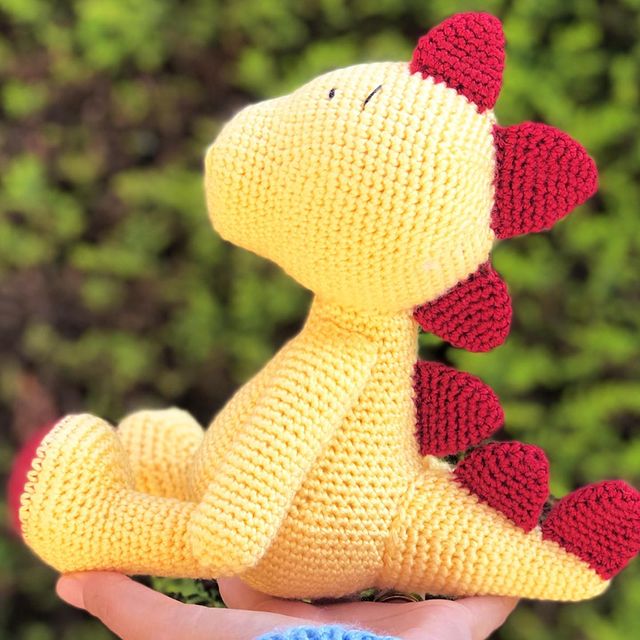
More Amigurumi Dragon İdeas

