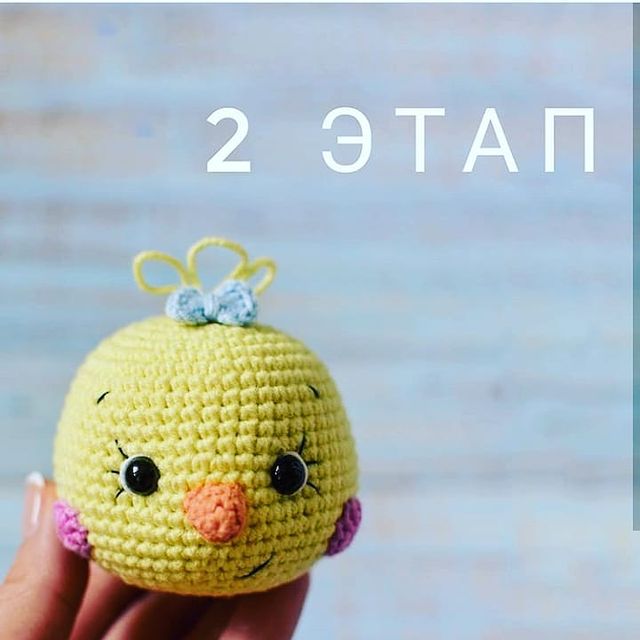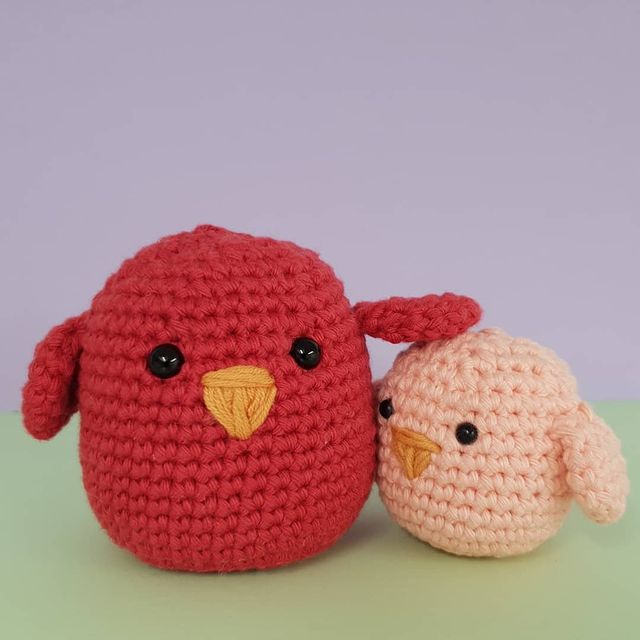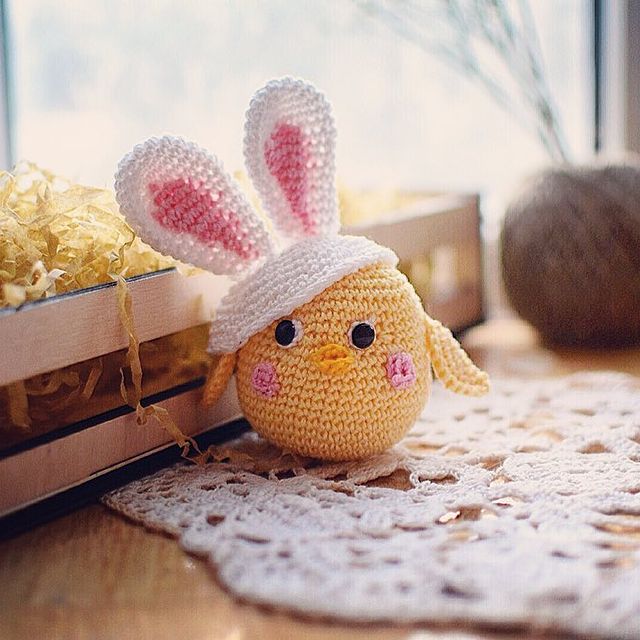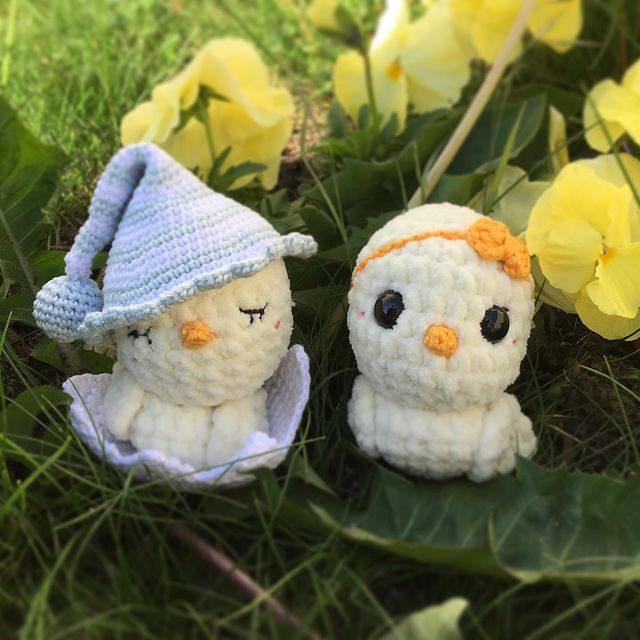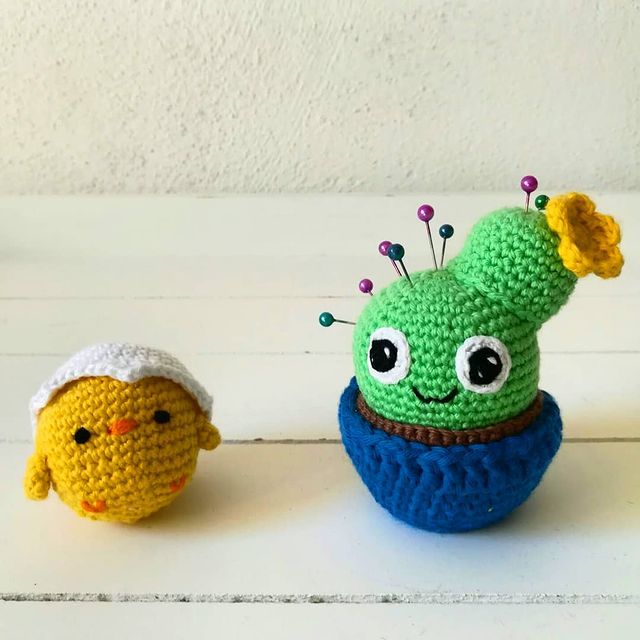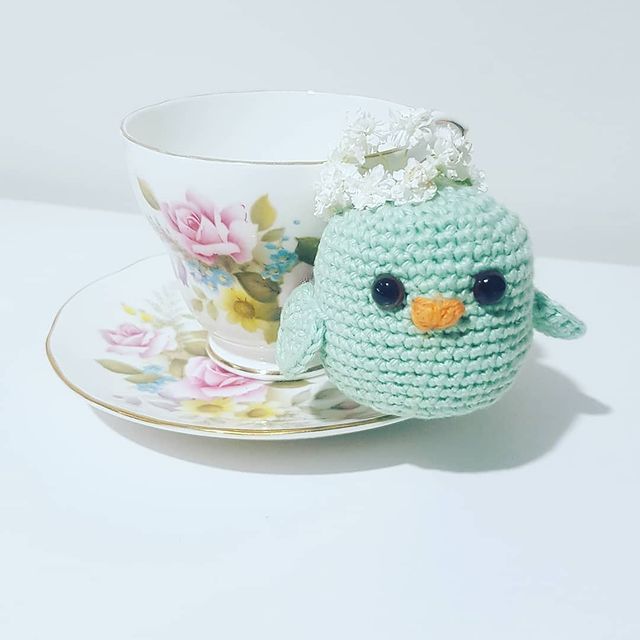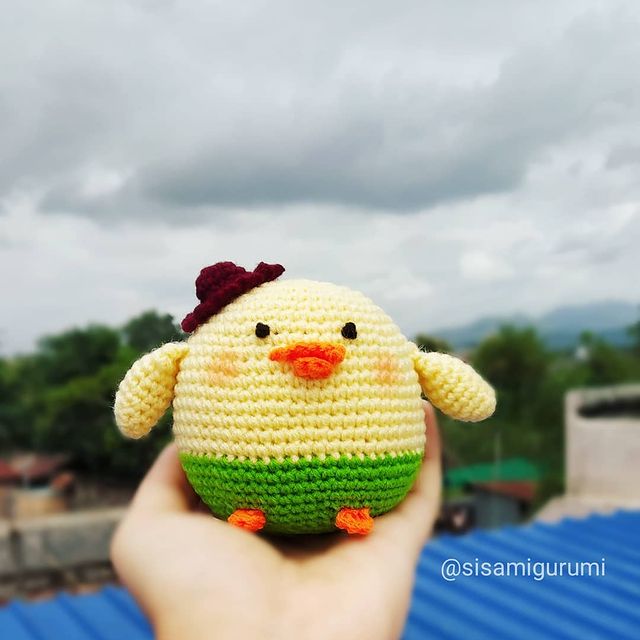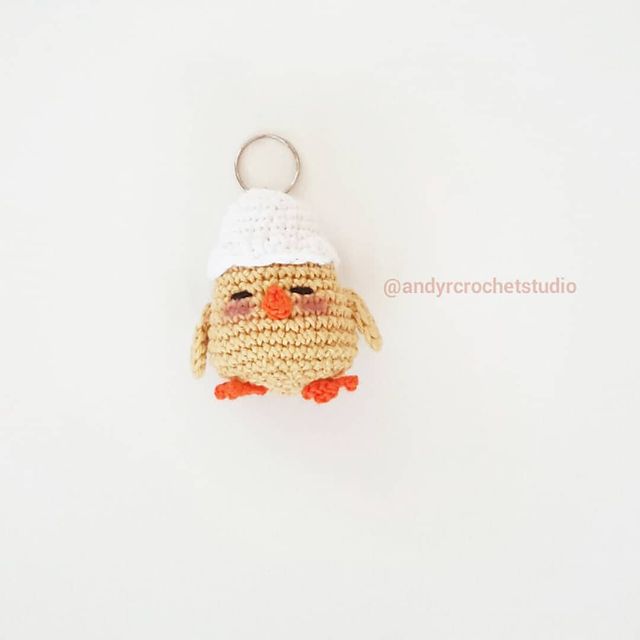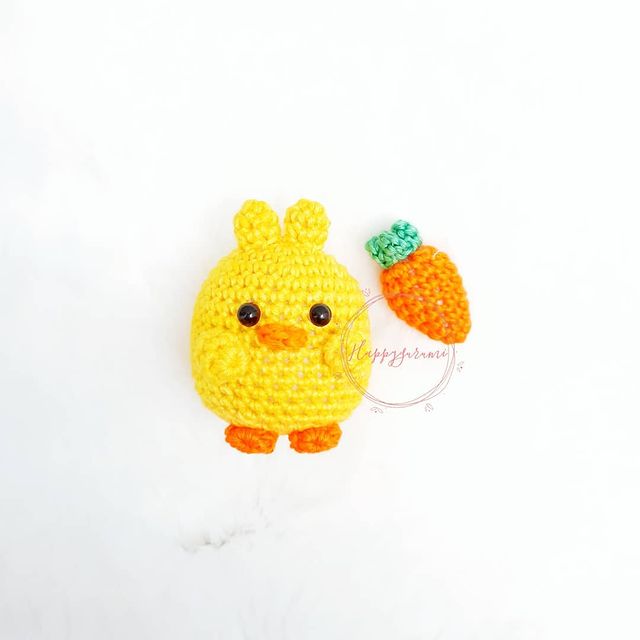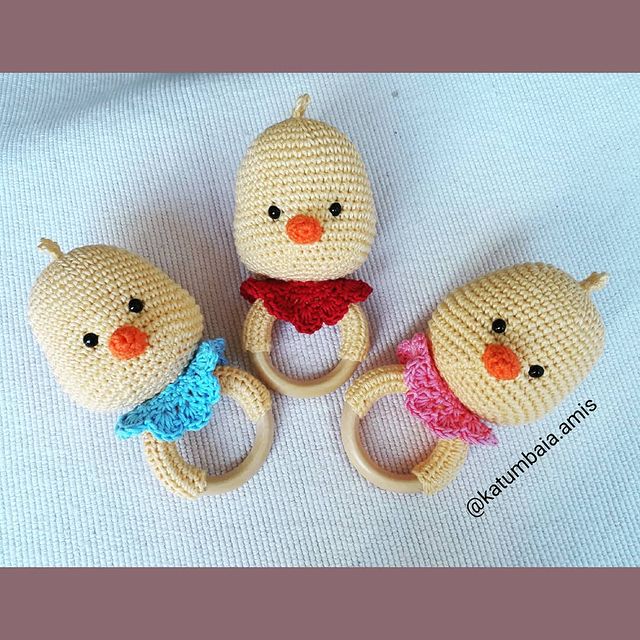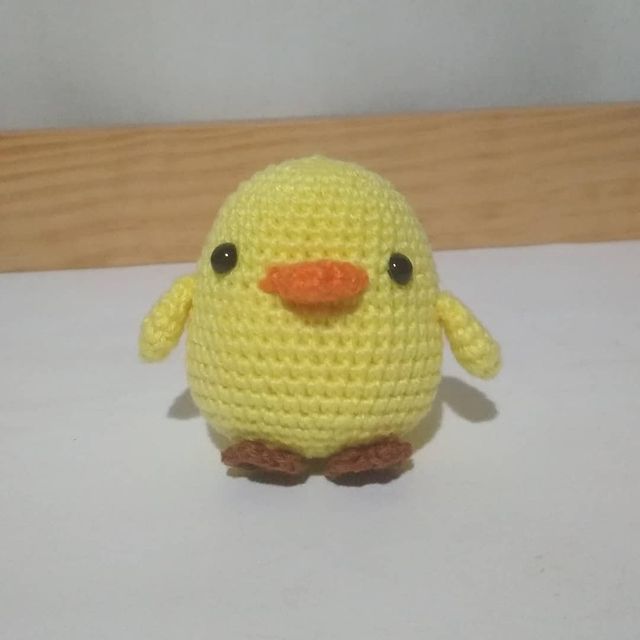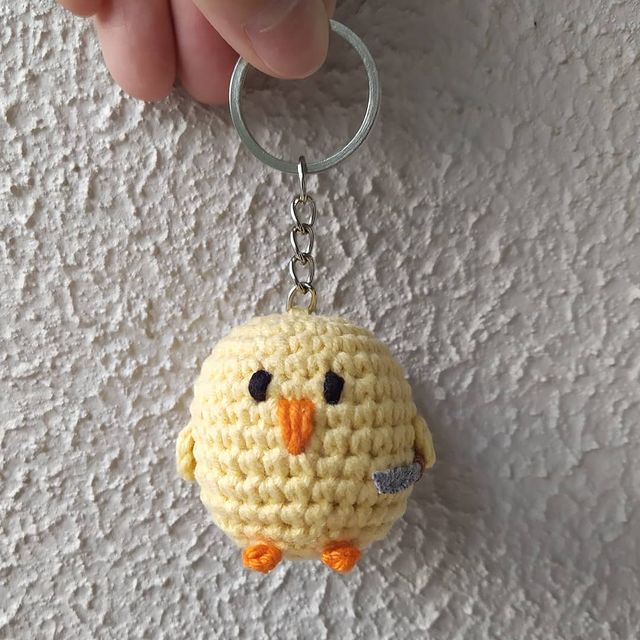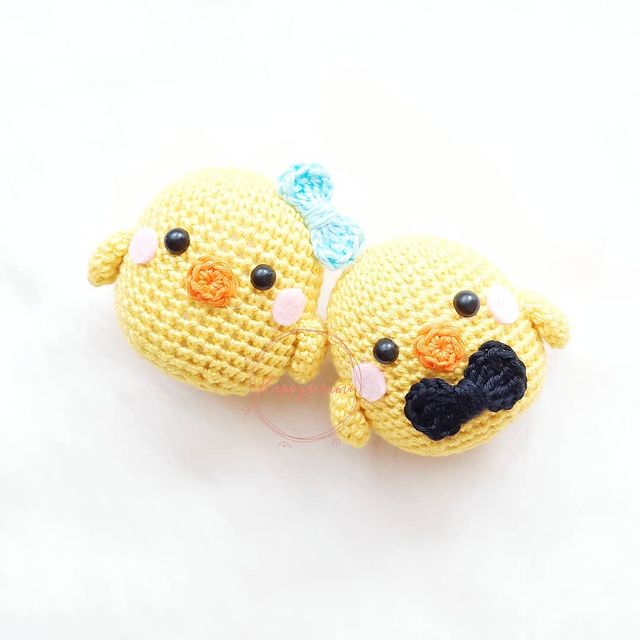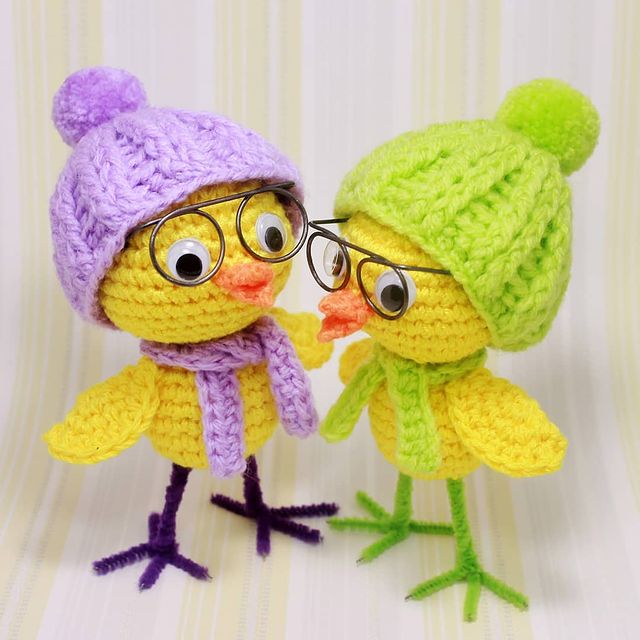
Free Crochet Chicks Pattern
Hello my visitors who love to knit amigurumi. In this article, I share new amigurumi patterns for you free of charge. To knit free amigurumi patterns, it will be enough to follow the terms I shared for you. You can delight your children with amigurumi toys.
Materials
2 Skeins of Capri Yarn found Note- One skein makes 2 chicks!
Colors I used
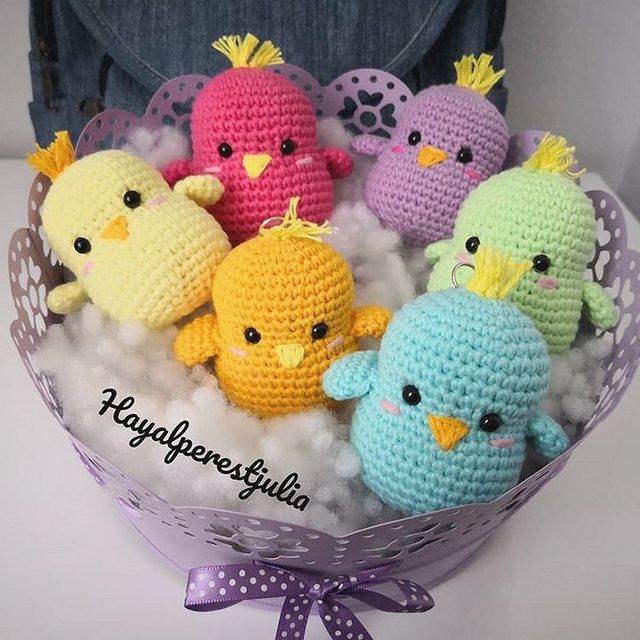
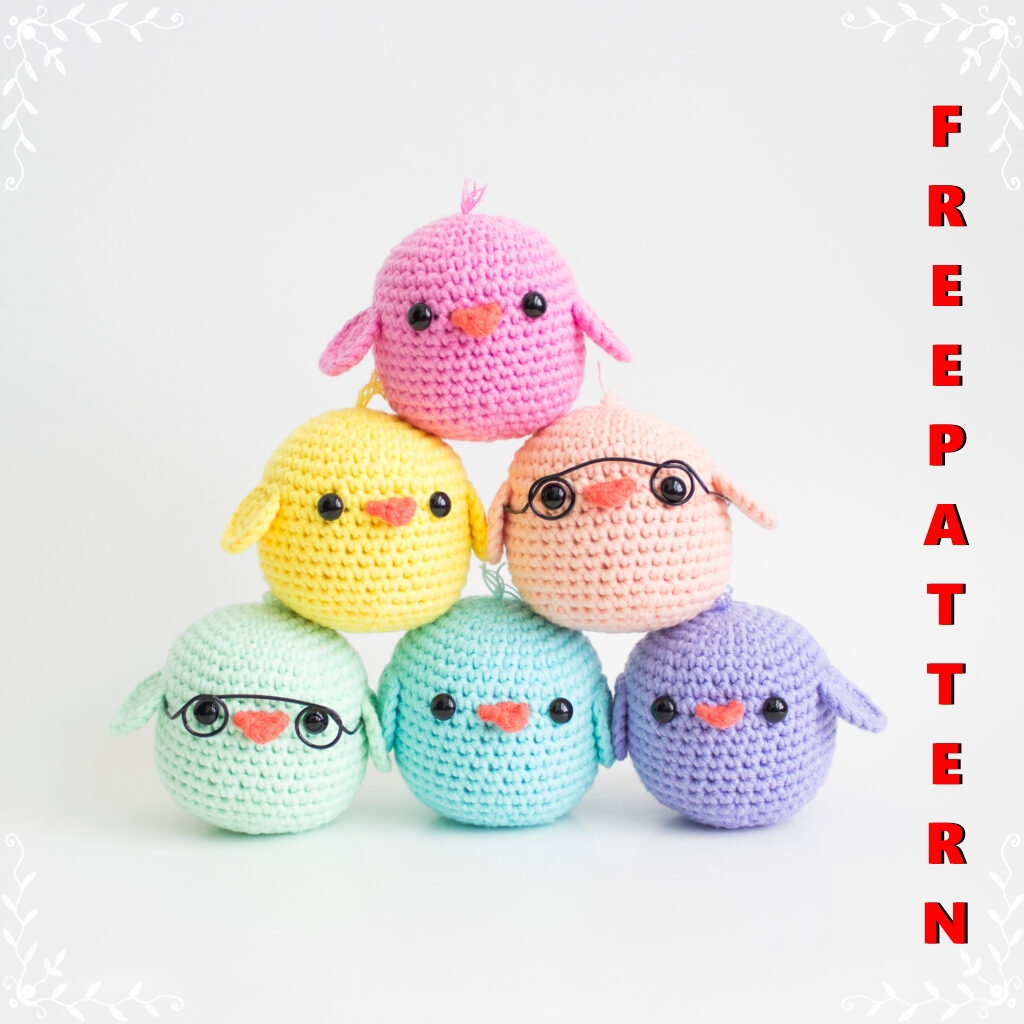
-For the body- Pink, Apricot, Bright Yellow, Mint, Turquoise, Lavender
-For the beak- Perfect Coral
Size E/3.5mm Crochet Hook
1 pair of 9mm Black Safety Eyes
Fiberfill
Stitch Marker
Yarn Needle
Straight Pins
Optional- 16 gauge black wire for the glasses
Abbreviations
R- Round
Sc- Single Crochet
Inc- Increase
Sts- Stitches
Inv dec- Invisible Decrease
Ch- Chain
Hdc- Half Double Crochet
Dc- Double Crochet
Finished Measurement:
2.5 inches wide and 3 inches tall
Body
Using color of your choice
R1: 6 sc in magic ring. (6 sts)
R2: Inc in each st around. (12 sts)
R3: Sc 1, inc 6 times. (18 sts)
R4: Sc 2, inc 6 times. (24 sts)
R5: Sc 3, inc 6 times. (30 sts)
R6: Sc 4, inc 6 times. (36 sts)
R7: Sc 36.
R8: Sc 5, inc 6 times. (42 sts)
R9-18: Sc 42.
Add safety eyes between rounds 10&11, 6 stitches apart.
With a yarn needle, take the starting tail and weave it up through the center of the magic ring to create a little tuft of hair. Trim to desired length.
R19: Sc 5, inv dec 6 times. (36 sts)
R20: Sc 4, inv dec 6 times. (30 sts)
Begin adding fiberfill and continue as you close up the body.
R21: Sc 3, inv dec 6 times. (24 sts)
R22: Sc 2, inv dec 6 times. (18 sts)
R23: Sc 1, inv dec 6 times. (12 sts)
R24: Inv dec around 6 times. (6 sts)
Fasten off and leave a tail to close up the piece.
Beak
Using the color Perfect Coral,
Ch 3. Starting in 2nd ch from hook, hdc, then dc in last chain.
Fasten off and leave a tail for sewing.
With a yarn needle, sew the beak in between the safety eyes. Make sure to sew along the entire edge that is touching the chick body. Secure and hide tails.
Wings – Make 2
Using body color,
R1: 6 sc in magic ring. (6 sts)
R2: Inc in each st around. (12 sts)
R3: Sc 1, inc 6 times. (18 sts)
Fasten off and leave a tail for sewing. With a yarn needle, weave in the starting tail. Then use the needle to sew the wings to the body. Place them near round 11 and use the straight pins to keep them in place while you attach. Secure and hide tail.
For the glasses:
Use wire cutters to cut 12 inches of the 16 gauge wire. Use the safety eyes as a guide to help know where the holes should be. Make sure the arms are straight and then carefully place them on the chick, making sure to not poke into the yarn. If giving this chick to a child, I do recommend omitting the glasses.
And there you have it! The cutest chick for spring! Make a whole flock of them in every color and give them as gifts this Easter! Or use them to decorate your house! The choice is yours! I hope you loved this pattern and I can’t wait to see all the chicks everyone makes!
We finished our pattern. You can send the finished pattern to me on facebook, instagram and pinterest.
https://www.facebook.com/amigurumi.sdk.today/
https://www.instagram.com/amigurumifreepatternss/
https://www.pinterest.com/crochetblogkb/
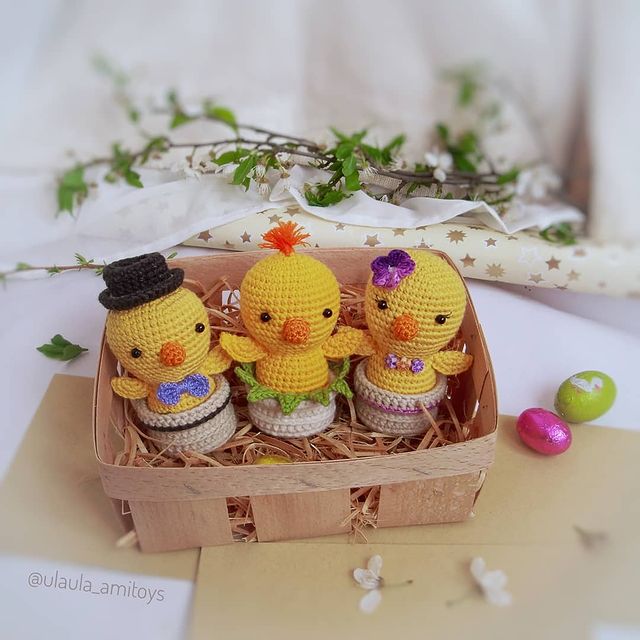
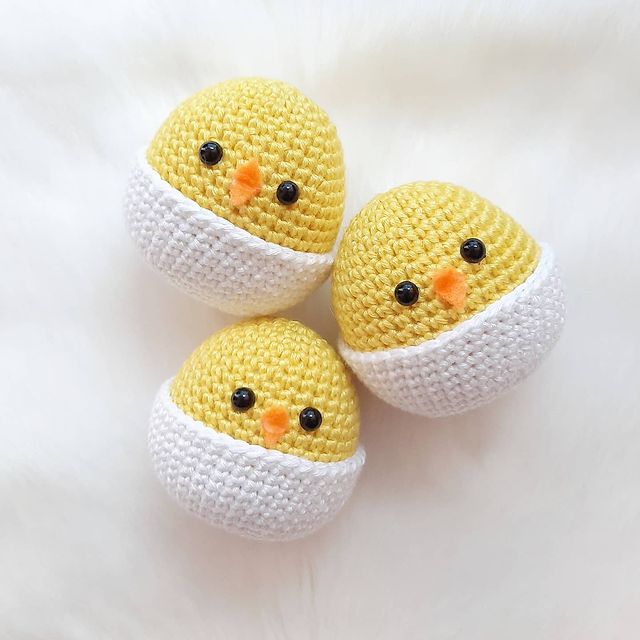
More Amigurumi Chicks Ideas

