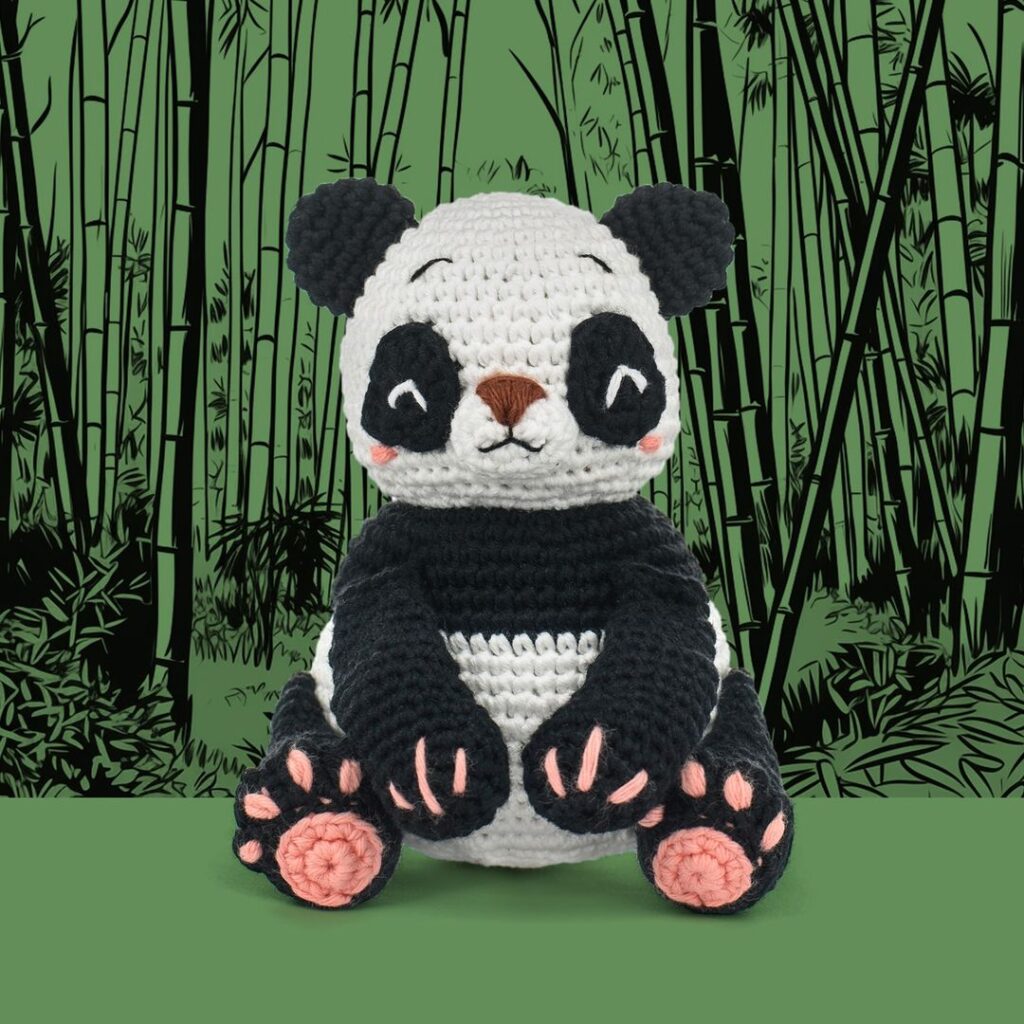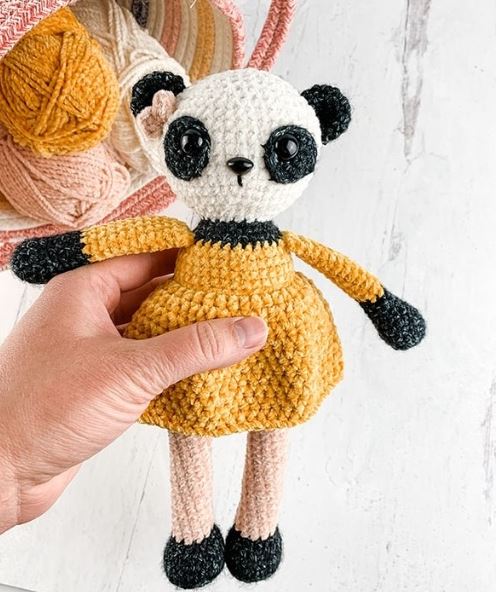
Amigurumi Free Cute Crochet Panda Pattern
Hello my visitors who love to knit amigurumi. In this article, I share new amigurumi patterns for you free of charge. To knit free amigurumi patterns, it will be enough to follow the terms I shared for you. You can delight your children with amigurumi toys.
Materials
Size 4 worsted weight yarn (approx. 60 yards for dress; small amount of white, black and color for pants; pictured here is Yarn Bee Forever Plush)
3.5 mm crochet hook
12mm safety eyes12mm safety nose
Scissors
Tapestry needle
Stuffing
Stitch markers
Abbreviations – US terminology
MC- Magic circle
SC- Single crochet
HDC – Half double crochet
DC – Double crochet
SC INC- Single crochet increase
INV DEC- Invisible decrease
Sl St – Slip stitch
St(s)- Stitch(es)
Ch – Chain
Eye Patch
With black, make 2
Round 1: Create a magic circle with 6 SC
Round 2: SC INC in each stitch around (12)
Round 3: 2 sl st, 2 SC, 4 HDC, 2 SC, 2 sl st (12)
Secure, leaving a long tail for sewing. You will place your safety eyes towards the last round.
Legs
Make 2 – Stuff firmly
Starting with black
Round 1: Create a magic circle with 6 SC
Round 2: SC INC in each stitch (12)
Round 3: SC in the first stitch, SC INC in the next, rep around (18)
Round 4: SC in the first 2 sts, SC INC in the next, rep around (24)
Round 5: SC around in the back loops only (24)
Round 6: SC around (24)
Round 7: SC in the first 6 sts, INV DEC 6 times, SC in the last 6 sts (18)
Round 8: SC in the first 3 sts, INV DEC 6 times, SC in the last 3 sts (12)
Change to pant color
Rounds 9-31: SC around (12)
Fasten off the first leg only. At the end of Round 31 on the 2nd leg, complete a SC in each of the next 6 stitches (this will line up your legs to be straight when we join). Round 32 joins the legs together and starts the body.
Round 32: Chain 6 and attach to the first leg with a SC (make sure both of your feet are facing the same direction), SC in the remaining stitches around the leg, when you reach the chain make a SC across each of the 6 chains, SC in the remaining stitches of the next leg and SC back across each of the 6 chains (you will have SC on both sides of the 6 chains now) (36 SC)
This completes your join and is where your next round will start.
Rounds 33-43: SC around (36)
Change to dress color
Round 44: SC around (36)
Round 45: SC around in the back loops only (36)
Rounds 46-48: SC around (36)
Round 49: SC in the first 4 sts, INV DEC, repeat around (30)
Change to black
Round 50: SC around (30)
Round 51: SC in the first 3 sts, INV DEC, repeat around (24)
Round 52: SC in the first 2 sts, INV DEC in the next, repeat around (18)
Round 53: SC around (18)
Change to white (here is where we will begin the head)
Round 54: SC in the first 2 sts, SC INC in the next, repeat around (24)
Round 55: SC in the first 3 sts, SC INC in the next, repeat around (30)
Round 56: SC in the first 4 sts, SC INC in the next, repeat around (36)
Round 57: SC in the first 5 sts, SC INC in the next, repeat around (42)
Round 58: SC in the first 6 sts, SC INC in the next, repeat around (48)
Rounds 59-65: SC around (48)
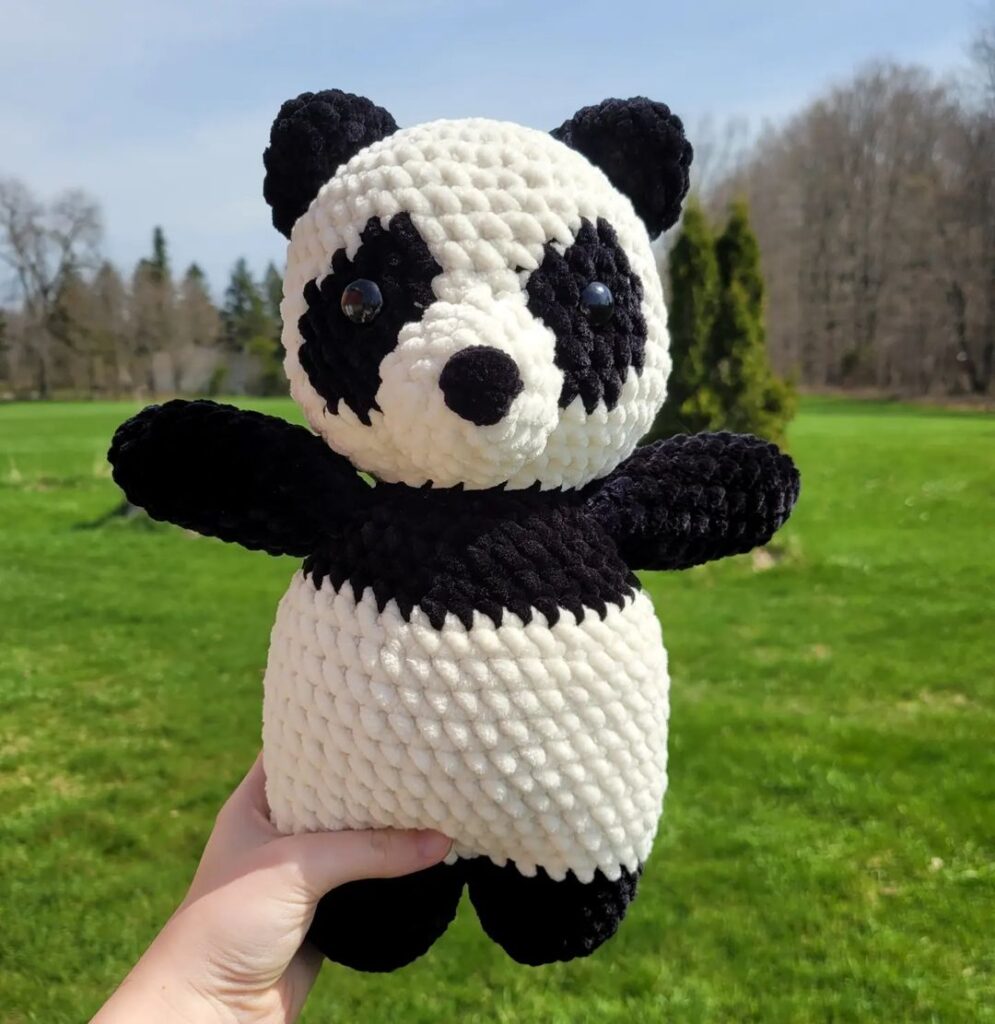
NOTE: Here is where we will attach the facial features. Place the safety eyes into the eye patches and then between rounds 62 and 63 of your head. I left 4 stitches between the eye patches. Sew your patches into place and secure the backs of your safety eyes.
Nose/Mouth – Place your safety nose centered between your eye patches. Once you have your placement remove to embroider the mouth. This will create a hole to add the mouth with ease. With black yarn pass from the nose to the next round. Feel free to add a smile or smirk to your liking. Once complete fasten off and secure the back of your nose.
Round 66: SC in the first 6 sts, INV DEC in the next, repeat around (42)
Round 67: SC in the first 5 sts, INV DEC in the next, repeat around (36)
Round 68: SC in the first 4 sts, INV DEC in the next, repeat around (30)
Round 69: SC in the first 3 sts, INV DEC in the next, repeat around (24)
Round 70: SC in the first 2 sts, INV DEC in the next, repeat around (18)
Round 71: SC in the first st, INV DEC in the next, repeat around (12)
Round 72: INV DEC around (6)
Fasten off and sew remaining part closed, weave in your end.
Dress
To work the dress, have your panda’s head towards you and feet away from you. With dress color create a slip knot and attach with a slip stitch to one of the front loops from round 45 (For a cleaner look attach at the back of the body).
Round 1: Ch 1, HDC in the same stitch and in each stitch around, join with a slip stitch to the first HDC (36)
Round 2: Ch 1, *HDC in the same stich, HDC INC in the next*, *repeat around, join with a slip stitch to the first HDC (54)
Rounds 3-9: Ch 1, HDC around, join with a slip stitch to the first HDC (54)
Fasten off and weave in your ends.
Arms
Make 2
*Lightly stuff the bottom of the arms only*
With black
Round 1: Create a magic circle with 6 SC
Round 2: SC INC in each st around (12)
Round 3: SC in the first 3 sts, SC INC, repeat around (15)
Rounds 4-5: SC around (15)
Round 6: SC in the first st, INV DEC, repeat around (10)
Rounds 7-10: SC around (10)
Change to dress color
Rounds 11-21: SC around (10)
At the end of round 21 pinch the arm flat and make 5 SC across the top to close. Fasten off and leave a long tail to sew onto the body.
Ears
With black make 2
Round 1: Create a magic circle with 6 SC
Round 2: SC INC in each st around (12)
Round 3: SC in the first 3 sts, SC INC, repeat around (15)
Rounds 4-5: SC around (15)
Fasten off leaving a long tail for sewing.
Bow
With color of choice, create a magic circle with 3 DC, sl st, 3 DC, and sl st again. Pull your string tight and wrap it around the middle of the bow 2 times. Tie/secure in the back and cut your string leaving a long section to sew with.
Assembly
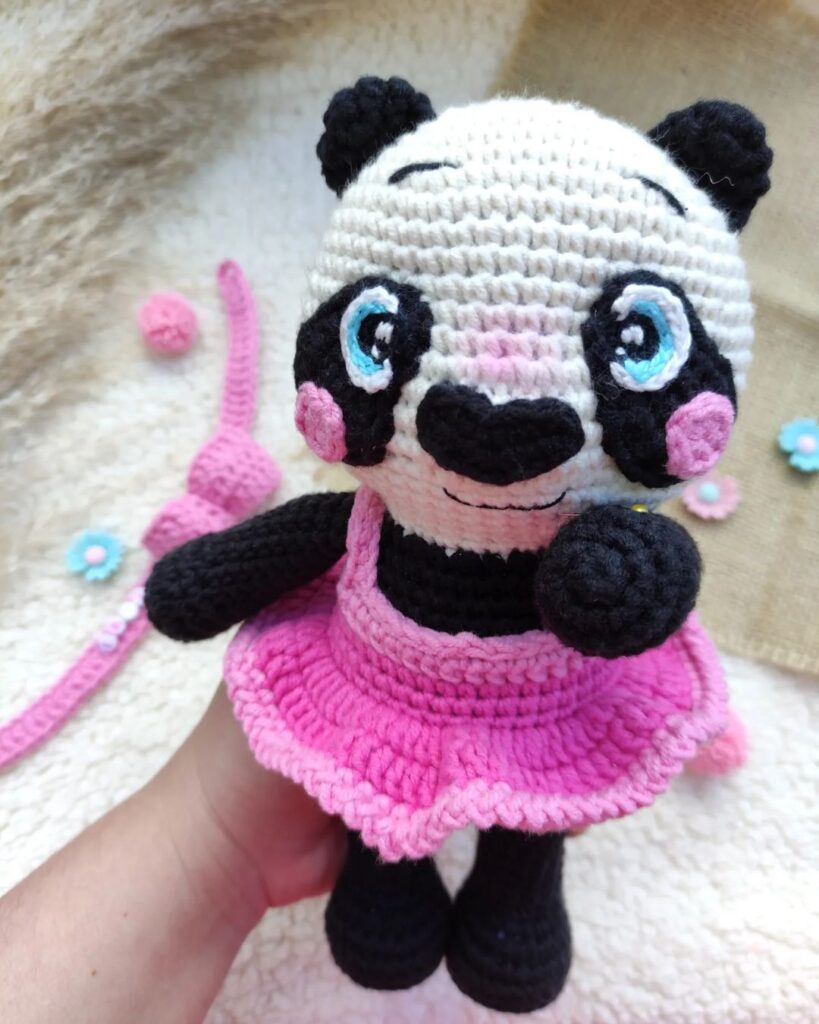
– Sew the arms onto the body centered with the head at row 49.
– Next, sew the ears onto the head. I started at the 6th round from the top and ended at the 10th.
– Lastly, sew the bow onto your desired ear.
Congratulations
More Amigurumi Panda İdeas :
