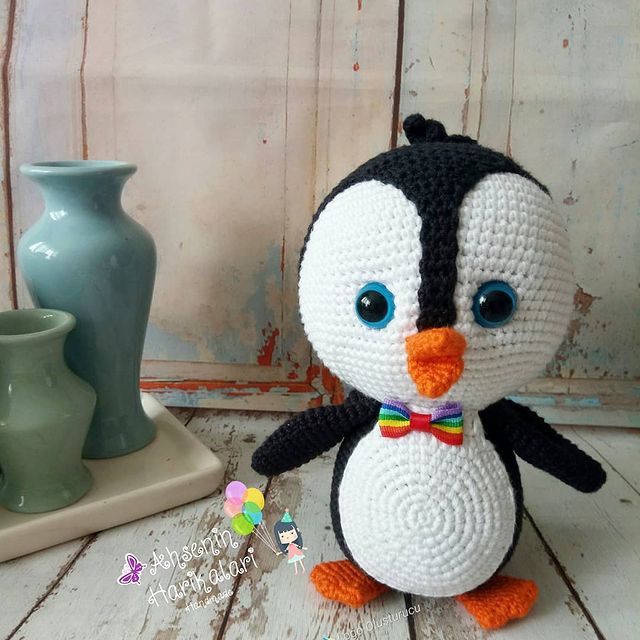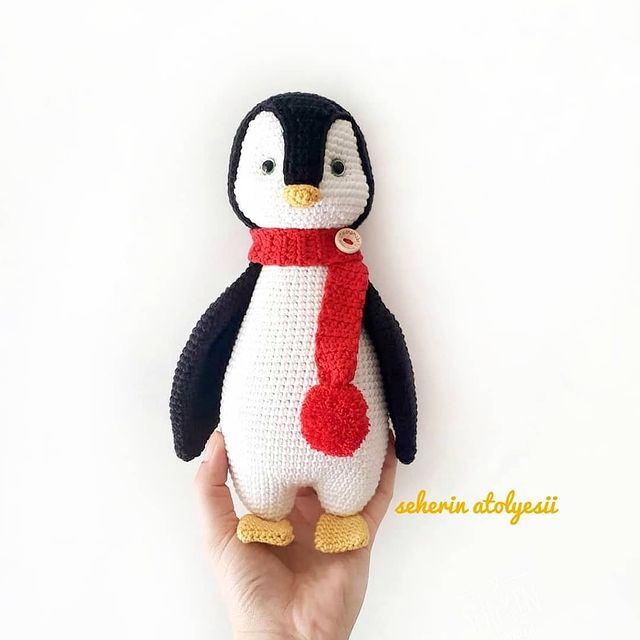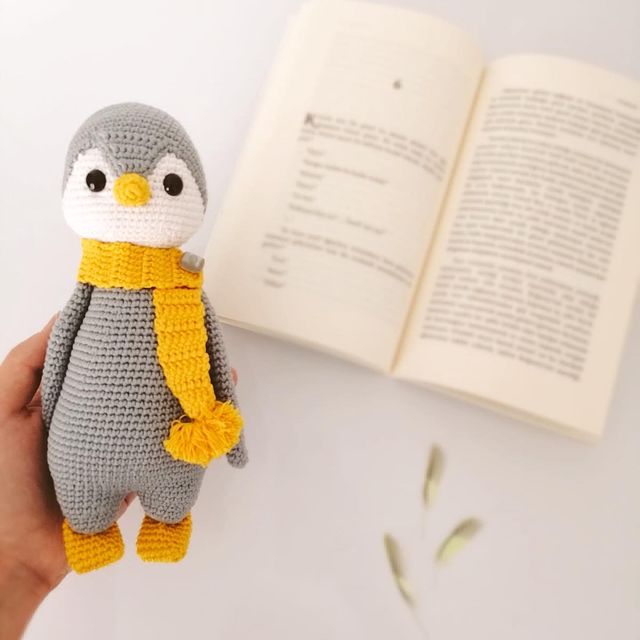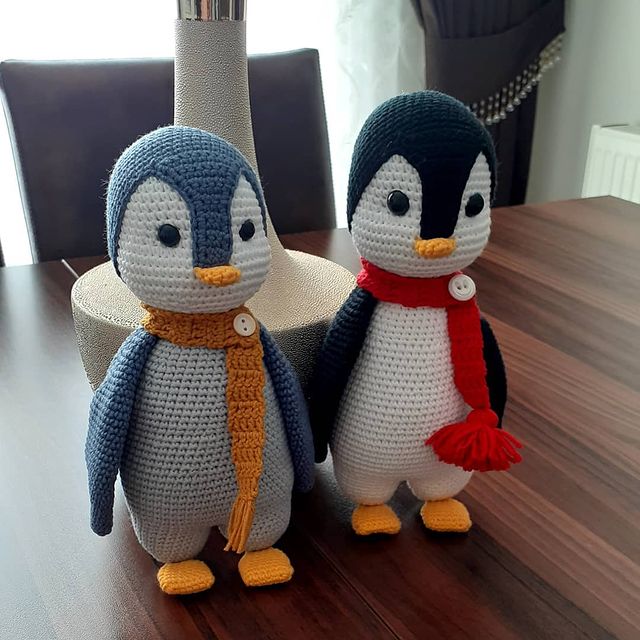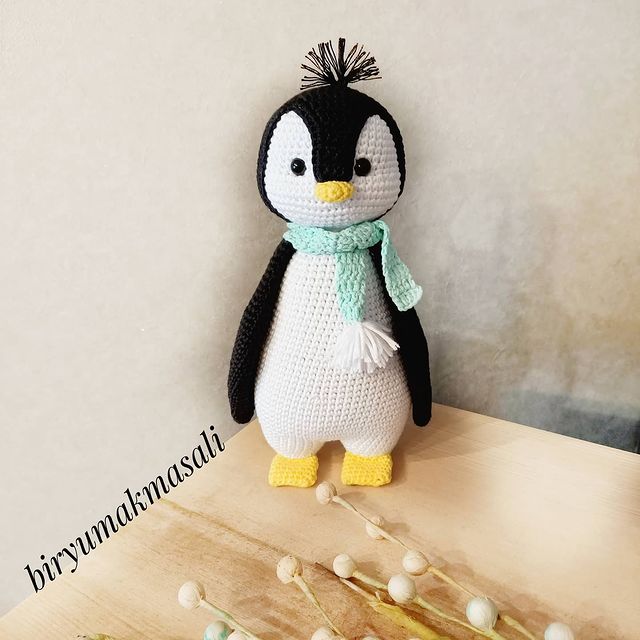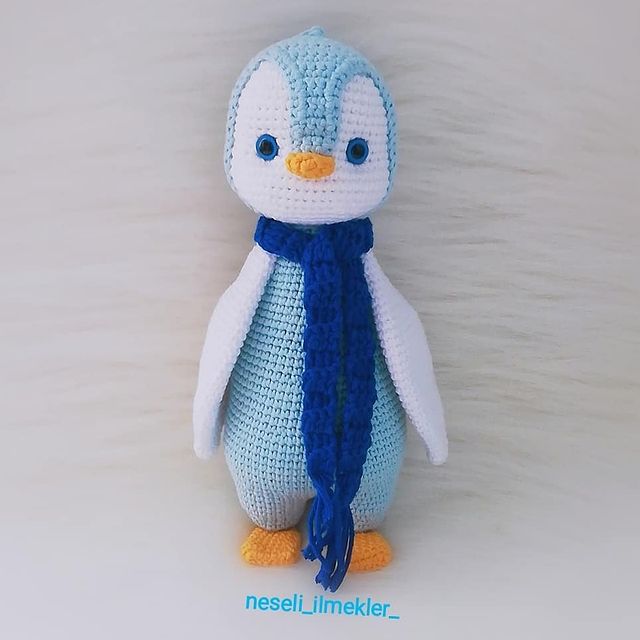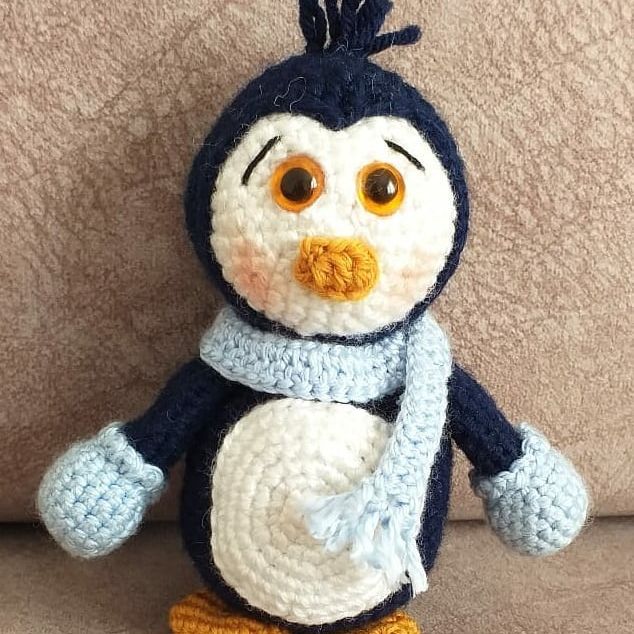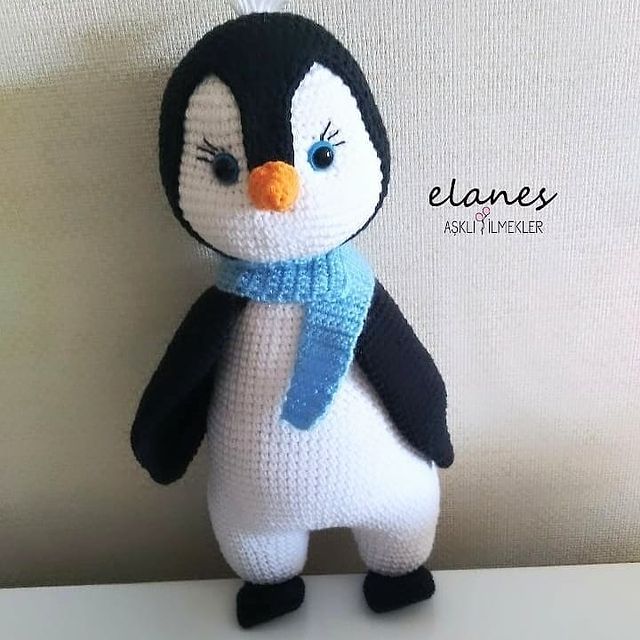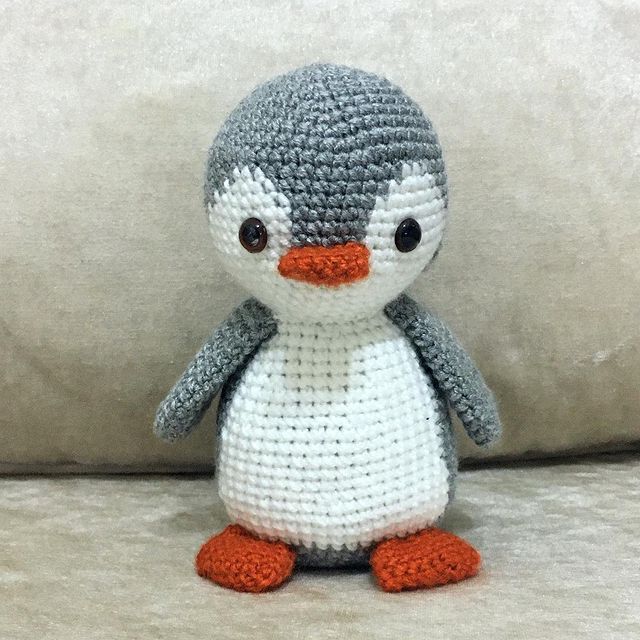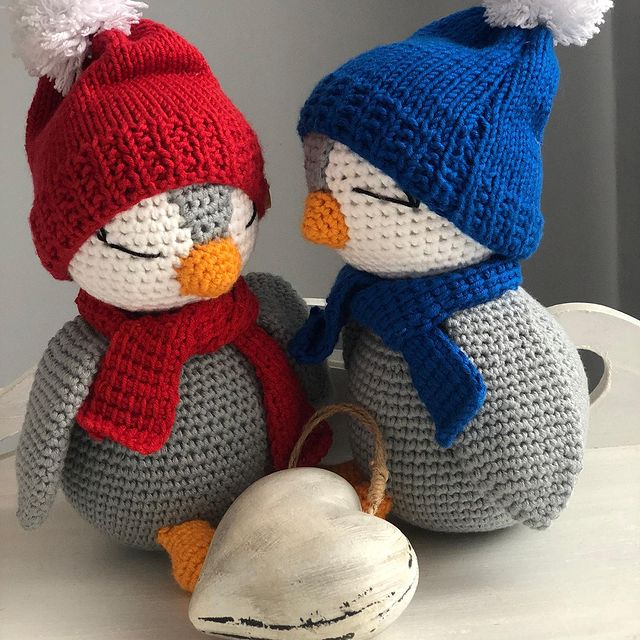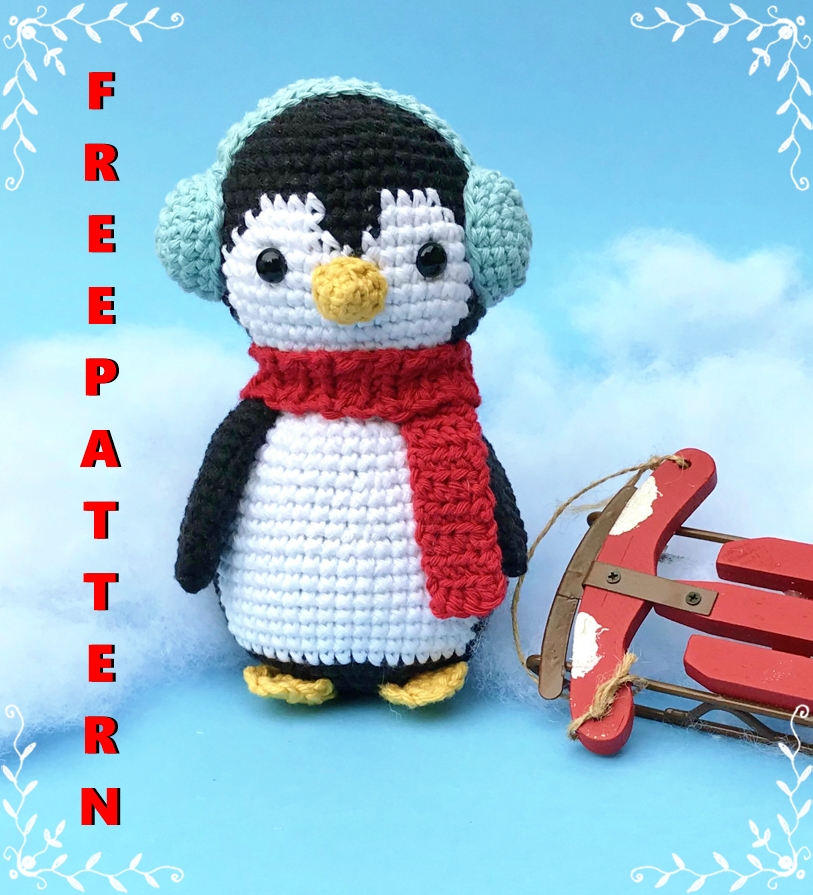
Amigurumi Penguin Crochet Free Pattern
Hello my visitors who love to knit amigurumi. In this article, I share new amigurumi patterns for you free of charge. To knit free amigurumi patterns, it will be enough to follow the terms I shared for you. You can delight your children with amigurumi toys.
Supply List:
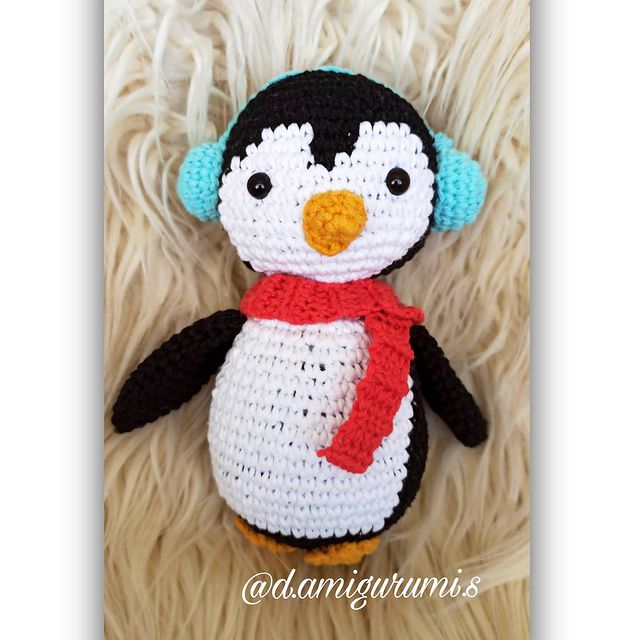
Yarn – Worsted weight yarn in black, white, yellow, light blue, and red. I used Rico Creative Cotton Aran (less than one 50g skein per color) in Black, White, Ice Blue, Cherry, and Sand
Size US E/3.5mm crochet hook
Yarn needle
Stuffing
Stitch marker
2 safety eyes, 9 mm
Key (Stitches Used):
magic ring
ch – chain
ss – slip stitch
sc – single crochet
hdc – half double crochet
sc2tog – single crochet 2 together
invdec – invisible decrease (an alternative to the sc2tog stitch). To invdec, insert your hook through the front loop of the indicated st, then insert your hook into the front loop of the next st. Your hook is now inserted into the front loops of both stitches you’d like to decrease into one stitch. Yarn over and draw up loop through both sts, then yarn over and pull through two loops on hook.
Beak:
R1: In sand, 4 sc in a magic ring. (4)
R2: (Sc, 2 sc) 2x around. (6)
R3: (Sc, 2 sc) 3x around. (9)
If needed, use the end of your hook to push the beak outward so it has a cone shape. Fasten off, leaving a long tail for attaching. Set aside.
Head:
Head is worked from top to bottom.
R1: In black, 6 sc in a magic ring. (6)
R2: 2 sc in each st around. (12)
R3: (Sc, 2 sc) 6x around. (18)
R4: (Sc in next 2 sts, 2 sc) 6x around. (24)
R5: (Sc in next 3 sts, 2 sc) 6x around. (30)
R6: (Sc in next 4 sts, 2 sc) 6x around. (36)
R7: (Sc in next 5 sts, 2 sc) 6x around. (42)
R8: (Sc in next 6 sts, 2 sc) 6x around. (48)
R9-10: Sc in each st around.
You’ll now begin switching between black and white yarn for the penguin’s face. Do not trim and fasten off between rounds; instead, carry each color through inside the head.
R11: 19 sc in black, 4 sc in white, 3 sc in black, 4 sc in white, 18 sc in black.
R12: 18 sc in black, 5 sc in white, 3 sc in black, 5 sc in white, 17 sc in black.
R13: 17 sc in black, 7 sc in white, 1 sc in black, 7 sc in white, 16 sc in black.
R14-R17: 16 sc in black, 17 sc in white, 15 sc in black.
R18: In black, (sc in next 5 sts, invdec) 2x, 2 sc. In white, invdec, 13 sc, invdec. In black, (sc in next 5 sts, invdec) 2x, 1 sc. (42)
R19: In black, (sc in next 4 sts, invdec) 2x, 2 sc. In white, invdec, 11 sc, invdec. In black, (sc in next 4 sts, invdec) 2x, 1 sc. (36)
R20: In black, (sc in next 3 sts, invdec) 2x, 2 sc. In white, invdec, 9 sc, invdec. In black, (sc in next 3 sts, invdec) 2x, 1 sc. (30)
R21: In black, (sc in next 2 sts, invdec) 2x, 2 sc. In white, invdec, 7 sc, invdec. In black, (sc in next 2 sts, invdec) 2x, 1 sc. (24)
Fasten off with the white yarn, securing by knotting or weaving inside the head. Attach safety eyes between rounds 14 and 15, about 9 sts apart. Attach beak, centered between eyes. Stuff the head.
R22: In black, (sc in next 2 sts, invdec) 6x around. (18)
R23: (Sc, invdec) 6x around. (12)
R24: Sc2tog until closed. Fasten off, using yarn needle to pull tightly through final stitches to close completely. Weave in end.
Body:
Body is worked from bottom to top.
R1-R8: In black, repeat rounds 1-8 of head. (48)
You’ll again switch between black and white now, carrying the colors through inside the body.
R9-R16: 15 sc in black, 18 sc in white, 15 sc in black.
R17: (Sc in next 6 sts, invdec) 6x around, continuing to change from black to white and back to black – 13 sc in black, 16 sc in white, 13 sc in black. (42)
R18-R19: 13 sc black, 16 sc in white, 13 sc in black.
R20: (Sc in next 5 sts, invdec) 6x around – 11 sc in black, 14 sc in white, 11 sc in black. (36)
R21-R22: 11 sc in black, 14 sc in white, 11 sc in black.
R23: (Sc in next 4 sts, invdec) 6x around – 9 sc in black, 12 sc in white, 9 sc in black. (30)
R24: (Sc in next 3 sts, invdec) 6x around – 7 sc in black, 10 sc in white, 7 sc in black. (24)
R25: (Sc in next 2 sts, invdec) 6x around – 5 sc in black, 8 sc in white, 5 sc in black. (18)
R26: 5 sc in black, 8 sc in white, 5 sc in black.
Fasten off both black and white yarn, leaving long tails. Stuff body completely and attach head to body (you can use black yarn tail on black sts of the head and white yarn tail on white sts of the head).
Wings (make 2):
R1: In black, 4 sc in a magic ring. (4)
R2: (Sc, 2 sc) 2x around. (6)
R3: (Sc, 2 sc) 3x around. (9)
R4: (Sc in next 2 sts, 2 sc) 3x around. (12)
R5: (Sc in next 3 sts, 2 sc) 3x around. (15)
R6: (Sc in next 4 sts, 2 sc) 3x around. (18)
R7-R14: Sc in each st around.
Fasten off, leaving long tail for attaching. Do not stuff. Attach to sides of body.
Feet (make 2):
R1: In Sand, 6 sc in a magic ring. (6)
R2: 2 sc in each st around. (12)
R3: Ss in first st of this round, then (ch 3, ss in next st) 3x. Fasten off, weaving in ends.
Attach feet to underside of body.
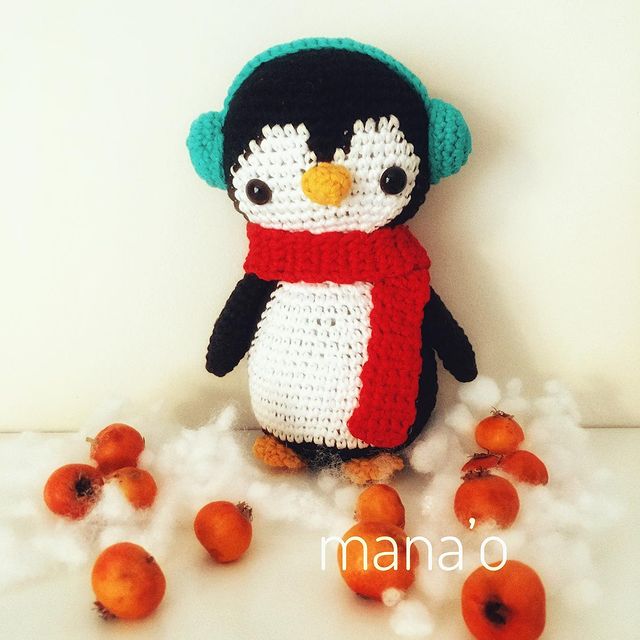
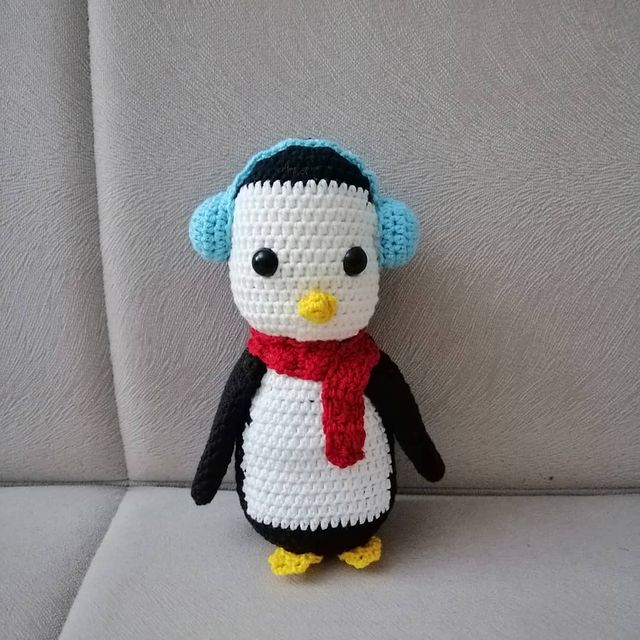
Earmuffs (make 2):
R1: In Ice Blue, 6 sc into a magic ring. (6)
R2: 2 sc in each st around. (12)
R3: (Sc, 2 sc) 6x around. (18)
R4-R5: Sc in each st around.
Fasten off, leaving long tail for attaching.
To make the band, ch 19.
R1: Sc in 2nd ch from hook and in each ch across, ch 1, turn. (18)
R2: Sc in each st across.
Fasten off, leaving long tail for attaching.
Attach band across top of head. Attach round muffs at either side of the band, stuffing lightly if desired.
Scarf:
In Cherry, ch 5.
R1: Hdc in 2nd ch from hook and in each st across, ch 2, turn. (4)
R2-R44: In front loops only, hdc in each st across, ch 2, turn.
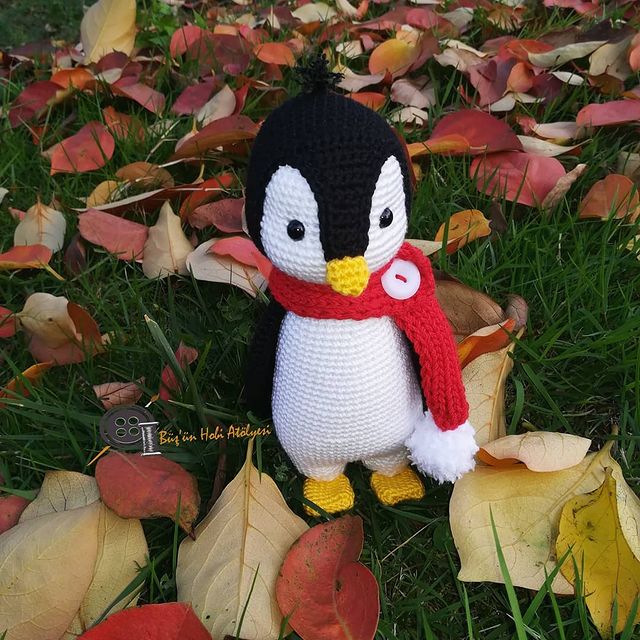
Fasten off, weaving in ends. Wrap scarf around Chilly’s neck and attach with a stitch where the scarf overlaps itself.
We finished our pattern. You can send the finished pattern to me on facebook, instagram and pinterest.
https://www.facebook.com/amigurumi.sdk.today/
https://www.instagram.com/amigurumifreepatternss/
https://www.pinterest.com/crochetblogkb/
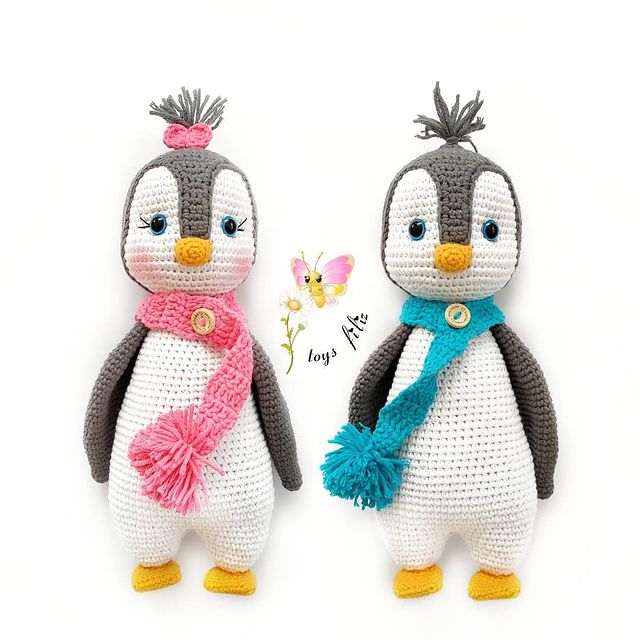
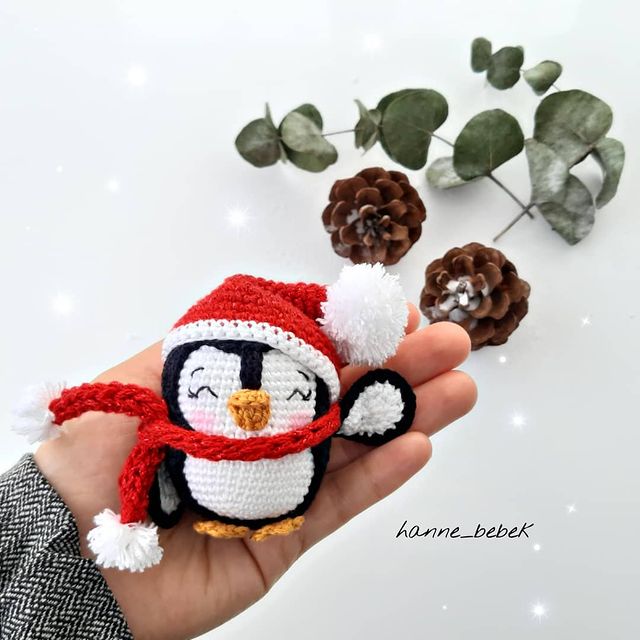
More Amigurumi Penguin Ideas

